Advertisement
Advertisement
Table of Contents

Related Manuals for Response QM-8046


Summary of Contents for Response QM-8046
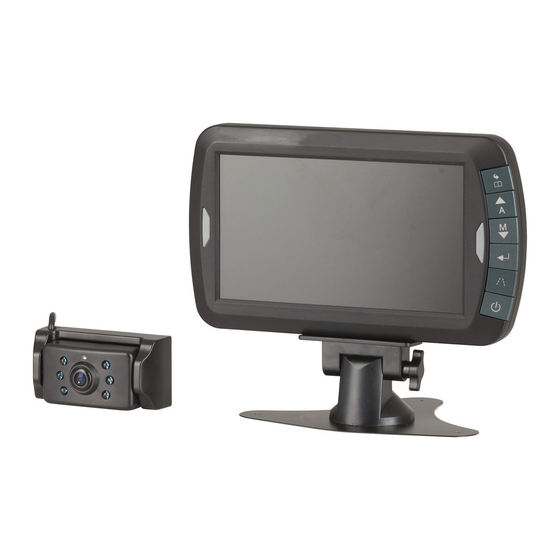
- Page 1 Digital Wireless Reversing Camera with 7" LCD Display QM-8046 User Manual...
-
Page 2: Important Safety Instructions
IMPORTANT SAFETY INSTRUCTIONS If you are not confident working with 12V/24V DC vehicle wiring, removing and reinstalling interior panels, carpeting, dashboards or other components of your vehicle, contact the vehicles manufacturer, or consider having the camera system professionally installed. Do not attempt to open, modify or repair the product Please read through the entire user manual before installation. - Page 3 3. Reinsert the license plate on the license plate bracket. 4. Choose a routing path for the cameras power cable through the vehicles body to the reverse light circuit. 5. Some vehicles may have a hole available to pass the wire through the trunk, otherwise you may need to drill a hole close to where the power cable is attached to the camera.
-
Page 4: Monitor Installation
When choosing a location for the monitor, make sure the monitor is mounted in an area that will not obstruct your vision while driving. The QM-8046 can be fixed to your vehicle in several ways. The monitor can be placed on your dashboard with the mounting bracket, or fixed onto your visor with the mounting straps. -
Page 5: Testing The System
Powering the Monitor 1. Route the supplied power cable to the vehicles 12/24V cigarette lighter socket. The cable routing should not interfere with the safe operation of the vehicle. Plug it in. 2. Insert the small DC plug of the power cable into the side of the monitor. TESTING THE SYSTEM 1. -
Page 6: Operation
OPERATION General Usage Select the desired menu item by using the UP/DOWN buttons. Confirm your choice with the OK button. Press the MENU button to exit a submenu, or wait a fe seconds without any input to exit automatically. Power Button Press the POWER button to power-on the monitor. - Page 7 The device is now ready to pair to the camera (example: CAM1). Now press the rubber button at the bottom of the camera. The screen will show that the pairing has been successful. Back in the pairing menu, a symbol will appear next to the paired cameras. The unit will now pair automatically to the camera when powered on.
- Page 8 Using the Setup Menu Select the desired sub-menu with the UP/DOWN buttons and confirm with the OK button. The respective functions of the sub-menus are being described below. Auto Display; this setting allows you to set your main view. The selected camera (CAM1 or CAM2) will be displayed automatically when backing up.
- Page 9 Version; shows the software version of the monitor system. Using the Picture Menu After selecting the desired camera, you can adjust the brightness, contrast or colour of the displayed picture. Choose the desired function with the UP/DOWN buttons, confirm by pressing the OK button and change the values with the arrow buttons.
- Page 10 Using Nightvision The cameras have an automatic Nightvision infrared function; During night time or in dark areas the IR LEDs will turn on automatically. ATTENTION: Do not look directly into the IR LED light as this can be harmful to your eyes. Distributed by: TechBrands by Electus Distribution Pty.
Need help?
Do you have a question about the QM-8046 and is the answer not in the manual?
Questions and answers