Table of Contents
Advertisement
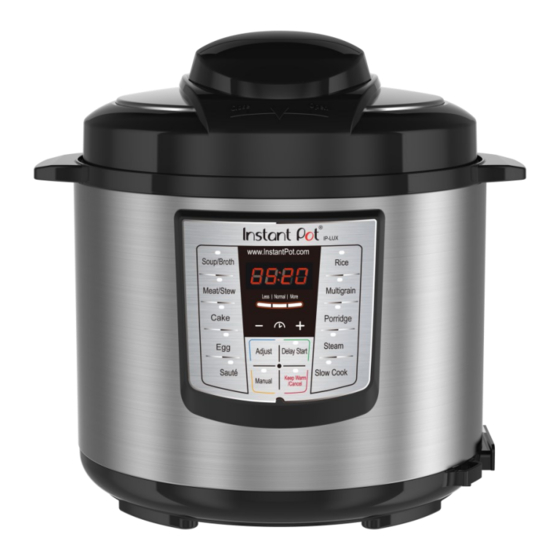
Programmable Electric Pressure Cooker
User Manual
Model: IP-LUX60 V3
July 2016
(Pictures in the manual are for reference only. Please refer to the actual product.)
Thank you for purchasing the multi-functional Instant Pot®. Please read the User Manual
carefully before use and keep it in a convenient place for future reference.
Advertisement
Table of Contents

Related Manuals for Instant Pot IP-LUX60 V3


Summary of Contents for Instant Pot IP-LUX60 V3
- Page 1 (Pictures in the manual are for reference only. Please refer to the actual product.) Thank you for purchasing the multi-functional Instant Pot®. Please read the User Manual carefully before use and keep it in a convenient place for future reference.
-
Page 2: Table Of Contents
Control Panel ......................11 States of the Cooker ....................12 Operation Keys ......................12 Function Keys ......................12 Cooking with Your Instant Pot® ..................14 Initial Test Run ......................14 Pressure Cooking ..................... 14 Slow Cooking ......................16 Delay Start ....................... 16 Sautéing ........................ -
Page 3: Important Safeguards
16. Do not operate any appliance with damaged cord or plug, or after the appliance malfunctions or has been damaged in any manner. 17. Use of accessories and parts that are not recommended by Instant Pot® may cause damages. Cook only in the stainless steel inner cooking pot provided. -
Page 4: Special Cord Set Instructions
Product Introduction Instant Pot® is a convenient, kitchen-friendly time and space saver. It is a 6-in-1 multi-function cooker combining the benefits of a Pressure Cooker, Sauté Pan, Slow Cooker, Rice Cooker, Steamer, and Food Warmer. -
Page 5: Product Features
The microprocessor inside the cooker does your job to control the time, cooking pressure and temperature. Clean and pleasant to use: Instant Pot® produces very little heat, noise and leaks almost no steam. This preserves all the aromas, moisture and flavors in the food, and not in your kitchen. -
Page 6: Product Accessories Included
Measuring Cup quantity of food ingredients such as rice, multi-grains, etc. Please note that these accessories may discontinue and new accessories may become available. For additional purchases, replacements or the latest accessories collection, please visit the Instant Pot website at: www.instantpot.com/store... -
Page 7: Product Accessories For Purchase
Comfortable and easy to put on Creates air-tight and water-tight seal on the Silicone Cover Instant Pot® stainless steel inner pot Dishwasher safe Food safe silicone passing FDA standards Stainless steel steam rack to elevate food... -
Page 8: Before The First Use
Before the First Use Before the first use, please take out all accessories from the package and read this manual carefully. Please pay particular attention to operational instructions and cautions to avoid any injury or property damage. Please wash the inside of the lid and the inner pot with warm soapy water, rinse, and dry thoroughly. -
Page 9: Safe Lid Opening
Safe Lid Opening 1. Make sure the pressure cooking program is complete or press “Keep-Warm/Cancel” to terminate the program. 2. Release pressure by one of the following approaches: Quick Release: Turn the pressure release handle to the "Venting" position to let out steam until the float valve drops down. - Page 10 “ mark on the lid is aligned with the “ “ CLOSE mark on the cooker base rim. Instant Pot® has a safety feature to disable the cooker and the display will flash "Lid" if the lid is not positioned correctly. When using "Soup/Broth", "Meat/Stew", "Steam", "Egg", "Rice",...
-
Page 11: Controls And States Of The Cooker
Controls and States of the Cooker Control Panel The control panel of your Instant Pot® consists of a LED display, 3 mode indicators, 3 operation keys and 12 function keys. Each function key has a function indicator light. Operation keys do not... -
Page 12: States Of The Cooker
Changing the temperature of "Slow Cook" and "Sauté". Function Keys The most important key is “Keep Warm/Cancel”. When Instant Pot® is being programmed or in operation, pressing this key will cancel the program and return the cooker to standby state. When the cooker is in standby state, pressing this key activates the keep- warm program. - Page 13 240 minutes. The “Slow Cook" key allows you to use your Instant Pot® as a conventional slow cooker. The user can change the cooking time by pressing the "+" or "-" key to set the cooking time from 0.5 to 20 hours.
-
Page 14: Cooking With Your Instant Pot
4. Press the "Steam" button, and press the “-“ button to change the time to 2 minutes. 5. In 10 seconds, your Instant Pot® will go into the preheating cycle (display showing “On”). Within a few minutes, steam will release for a minute or two until the Float Valve pops up to seal the cooker. - Page 15 4. Select cooking time. You may use the "Adjust" key (except the “Manual” and “Rice” functions) to adjust cooking time. Press the "Adjust" key repeatedly to change between “Normal”, “More" and “Less" modes which will light up on the display. ...
-
Page 16: Slow Cooking
4. To cancel the Delay Start program, press the “Keep-Warm/Cancel” key at any time. 5. Your Instant Pot® starts cooking when the delay timer counts down to 0. After cooking, the cooker will enter the Auto “Keep Warm” cycle for 10 hours. Please Note: ... -
Page 17: Sautéing
Instant Pot® cooker is unplugged from power source. To reset to factory default settings, press and hold the “Adjust” button for 3 seconds when the... -
Page 18: Care And Maintenance
Or call 1800 828-7280 for the Instant Pot® customer support team The cases in the following tables do not always indicate a faulty cooker. Please examine the cooker carefully before contacting the Instant Pot® customer support team for repair. You can also find tips, videos and FAQs on www.InstantPot.com/faq/... - Page 19 Troubleshooting Table Problem Possible Reason Solution Sealing ring not installed Position the sealing ring well properly Float valve in the popped-up Slightly press the float valve Difficult to close the lid position downward Position the pressure release valve to the venting position to reduce the internal pres- Pressure exists inside the sure.
- Page 20 Troubleshooting Table (Continued) Problem Possible Reason Solution Inspect the power cord to Bad power connection or no ensure a good connection, Display remains power. check the power outlet is blank after con- active. necting the power Cooker’s electrical fuse has cord Contact support online blown...
-
Page 21: Limited Warranty
Instant Pot Representative. This warranty does not cover units that are used outside of US and Canada. Further, the warranty does not cover damage resulting from Acts of God, such as fire, flood, hurricanes and tornadoes. - Page 22 All contents in this document have been checked carefully. Instant Pot Com- pany reserves the right to interpret any printing mistake or misunderstanding of content. For any technical improvement or change in appearance or name plate, changes shall be placed in the revised manual without further notice. In case of changes in appearance and color, please refer to the actual product for detailed information.
Need help?
Do you have a question about the IP-LUX60 V3 and is the answer not in the manual?
Questions and answers
Iplux sautéed fine, now will not work at all, had aways worked fine previously. What do I do?