Table of Contents
Advertisement
Advertisement
Table of Contents

Related Manuals for Grundig SONOCLOCK 890


Summary of Contents for Grundig SONOCLOCK 890
- Page 1 ELECTRONIC CLOCK RADIO Sonoclock 890 ENGLISH...
-
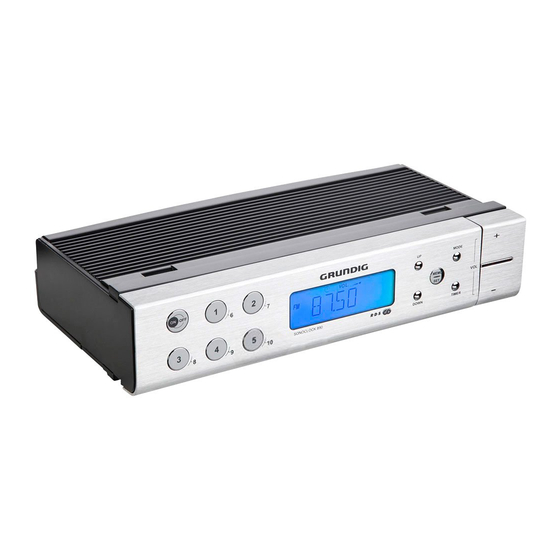
Page 2: Product View/Descriptions
_______________________________________________________________________________ ON/OFF MEMO MODE MODE MEMO + VOL. – VOL. DOWN TIMER DOWN DISPLAY TIMER 1...5 6...10... - Page 3 _______________________________________________________________________________ ENGLISH 11 - 16...
-
Page 4: Specifications
SAFETY AND INFORMATION _______________________________ This device is designed for the playback of audio Technical data signals. Any other use is expressly prohibited. This device is noise-suppressed according to the applicable EU Make sure there is adequate ventilation when posi- directives. tioning the device. -
Page 5: Bottom Of The Device
OVERVIEW _____________________________________________________________ TIMER To set the alarm timer, press See the figure on page 3. and hold down »TIMER« and ON/OFF Switching on/off; set the alarm timer with »UP« or terminates alarm for the day; »DOWN«. terminates the alarm timer. + VOL. -
Page 6: Current Supply
CURRENT SUPPLY __________________________________________________ Insert back-up battery Connecting the mains cable If there is a power failure, the clock time and alarm Note: time of the device are saved by the back-up battery. Check if the mains voltage on the type plate (on Radio mode and alarm mode cannot be used, howe- the back of the device) corresponds to the local ver, the display is not illuminated. -
Page 7: Mounting Device Under Counter
INSTALLATION AND SETTINGS ________________ Note: Setting up the device You can also set the frequency step-by-step The speaker for the device is located at the bottom of (50 kHz) by briefly pressing »UP« or »DOWN«. the device. Only 100 kHz steps are shown in the display. To optimise the sound, mount the device holder on the bottom of the device. -
Page 8: Installation/Settings
INSTALLATION AND SETTINGS ________________ Switching automatic update on/off The automatic update of the time can be switched off and then on again. Switch on the device with »ON/OFF«. Press »MEMO SET« and hold down. ¥ – The indicator » « disappears, the update function is switched off. -
Page 9: Alarm/Timer Mode
ALARM MODE ________________________________________________________ Setting the alarm time and type Switch off device with »ON/OFF«. You can enter an alarm time and select between two Select the alarm type by pressing »MODE« until different alarm types. »e« (= alarm with signal tone) shows in the dis- play. - Page 10 Grundig Intermedia GmbH Beuthener Strasse 41 90471 Nürnberg www.grundig.com 72010 761 5000 13/05...
Need help?
Do you have a question about the SONOCLOCK 890 and is the answer not in the manual?
Questions and answers