TP-Link RE450 User Manual
Wi-fi range extender
Hide thumbs
Also See for RE450:
- Quick start manual ,
- Quick installation manual (61 pages) ,
- Placement manual (39 pages)
Table of Contents
Advertisement
Advertisement
Table of Contents

Related Manuals for TP-Link RE450


Summary of Contents for TP-Link RE450
- Page 1 RE450 User Guide AC1750 Wi-Fi Range Extender REV1.1.1 1910011761...
-
Page 2: Table Of Contents
Contents About This Guide ....................1 Chapter 1. Get to Know About Your Extender ..... . . 2 1. 1. Product Overview ............3 1. - Page 3 5. 6. Change Admin Account ........... 30 5.
-
Page 4: About This Guide
The Quick Installation Guide can be found where you find this guide or inside the package of the router. Specifications can be found on the product page at http://www.tp-link.com. A Technical Support Forum is provided for you to discuss our products at http://forum. -
Page 5: Chapter 1. Get To Know About Your Extender
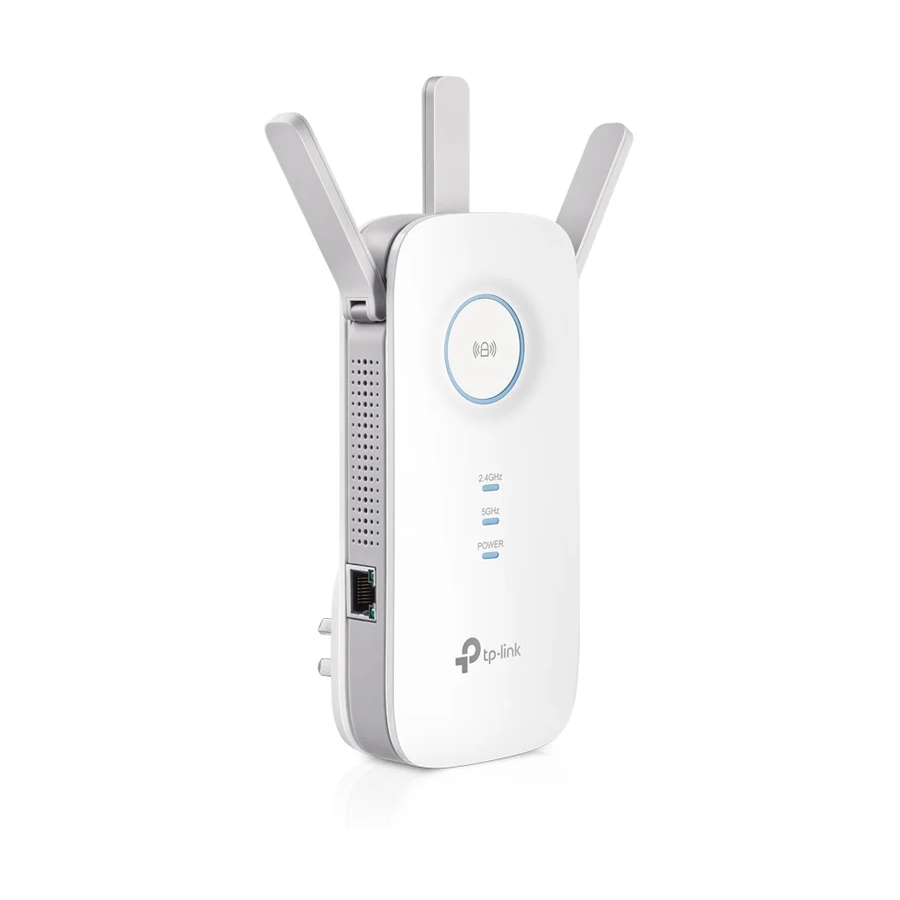
Chapter Get to Know About Your Extender This chapter introduces what the extender can do and its appearance. This chapter contains the following sections: • Product Overview • Appearance... -
Page 6: Product Overview
Product Overview Bring Dead Zones Back to Life Tired of Wi-Fi “dead zones”? The TP-LINK extender is connected to your router wirelessly, strengthening and expanding its signal into areas it can’t reach on its own. The device also reduces signal interference to ensure reliable Wi-Fi coverage throughout your home or office. -
Page 7: Led Explanation
Chapter 1 Get to Know About Your Extender 1. 2. 1. LED Explanation You can check the extender’s working status by following the LED Explanation table. Name Status Indication The extender is connected to the router, and is in a good Solid Blue location. -
Page 8: Chapter 2. Set Up Internet Connection
Chapter Set Up Internet Connection This chapter introduces how to boost your host wireless coverage. Please follow the step-by-step instructions to set up the Internet connection. This chapter contains the following sections: • Quick Setup • Position Your extender... -
Page 9: Quick Setup
Chapter 2 Set Up Internet Connection 2. 1. Quick Setup Power on Plug the extender into an electrical outlet near your host router, and then wait until the Power LED changes to solid blue. Connect to the host network There are two ways to connect to the host network: via the WPS button or via a web browser. -
Page 10: Method Two: Via A Web Browser
Chapter 2 Set Up Internet Connection 2. 1. 2. Method Two: Via a web browser 1. Connect your computer to the extender's wireless network. Tips: Before connecting, please find the SSID (network name) on the label of the extender. • For Windows Users 1 ) Unplug the Ethernet cable from your computer (if any). - Page 11 Chapter 2 Set Up Internet Connection 1 ) Launch a web browser and type http://tplinkrepeater.net in the address field. admin (all lowercase) for both username and password to log in. Tips: If the login window does not pop up, please refer to the FAQ. 2 ) Create a new username and password for secure management purpose, and then click Confirm.
- Page 12 Chapter 2 Set Up Internet Connection 4 ) Select your host router’s 5GHz SSID (network name), enter the password (NOT the password you just created for management), and click Next. Tips: If your host router does not support 5GHz wireless network, please click Skip to continue.
- Page 13 Chapter 2 Set Up Internet Connection 6 ) Verify your wireless settings and click Save. The corresponding LED(s)(2.4GHz or 5GHz) should turn on.
-
Page 14: Position Your Extender
Chapter 2 Set Up Internet Connection Enjoy! Connect to the extended network and enjoy the Internet. Both extended networks share the same wireless passwords as those of your host networks, but may have different network names if you have customized the SSIDs during the configuration. -
Page 15: Chapter 3. Customize Your Network
Chapter Customize Your Network This chapter guides you on how to configure network settings that are available for this extender. This chapter contains the following sections: • Check Internet Status • Configure Wireless Network • Change LAN Settings • Specify DHCP Server Settings •... -
Page 16: Check Internet Status
Chapter 3 Customize Your Network 3. 1. Check Internet Status You can view the Internet status of your extender to check whether you have successfully set up the extended network(s). 1. Visit http://tplinkrepeater.net, and log in with the username and password you set for the extender. -
Page 17: Configure Wireless Network
Chapter 3 Customize Your Network 3. 2. Configure Wireless Network If you want to extend another host network after Quick Setup, you can refer to this section. Moreover, you can change the wireless settings for your extended networks. Visit http://tplinkwifi.net, and log in with the username and password you set for the extender. -
Page 18: Change Lan Settings
Chapter 3 Customize Your Network ¾ To enable or disable the extended network: 1. Go to Settings > Wireless > Extended Network. 2. The wireless radio is enabled by default. If you want to disable the wireless function of a certain band, just clear the Enable checkbox. -
Page 19: Specify Dhcp Server Settings
Chapter 3 Customize Your Network 5. Click Save. 3. 4. Specify DHCP Server Settings By default, the DHCP (Dynamic Host Configuration Protocol) Server is enabled and the extender acts as a DHCP server; it dynamically assigns TCP/IP parameters to client devices from the IP Address Pool. -
Page 20: Adjust Wi-Fi Coverage
Chapter 3 Customize Your Network ¾ To view the DHCP Client List You can view the information of the DHCP clients connected to the extender in the DHCP Client List. 3. 5. Adjust Wi-Fi Coverage You can set the extender’s Wi-Fi coverage depending on how large you want your Wi-Fi area to be. - Page 21 Chapter 3 Customize Your Network 1. Visit http://tplinkrepeater.net and log in with the username and password you set for the extender. 2. Go to Settings > Advanced Settings > Access Control. 3. Enable Access Control. ¾ To block specific device(s) Note: Devices connected to the extender via an Ethernet cable can not be blocked.
- Page 22 Chapter 3 Customize Your Network 5. Click OK. ¾ To permit specific device(s) 1. Select Whitelist and click Save. 2. Click in the Devices in Whitelist table. Enter the Device Name Address. And you can set the Effective Time for a certain entry as needed. 3.
-
Page 23: Chapter 4. More Features Of Your Extender
Chapter More Features of Your Extender This chapter presents how to use the extender as a wireless adapter and as an access point . This chapter contains the following sections: • Use Your Extender as a Wireless Adapter • Transform Your Existing Wired Network to a Wireless One... -
Page 24: Use Your Extender As A Wireless Adapter
Chapter 4 More Features of Your Extender 4. 1. Use Your Extender as a Wireless Adapter The extender can be used as a wireless adapter to connect any wired-only device, such as a Blu-ray player, game console, DVR, or smart TV, to your wireless network. After configuration, you can connect an Ethernet-enabled device to the extender via an Ethernet cable. - Page 25 Chapter 4 More Features of Your Extender 2. Click Mode in the top right corner of the page. Select Access Point and click Save. The extender will reboot and switch to Access Point mode. 3. After rebooting, connect the extender to your modem or wired router via an Ethernet cable.
-
Page 26: To Connect Your Wireless Devices To The Extender Via Wps
Chapter 4 More Features of Your Extender 4. 2. 2. To Connect Your Wireless Devices to the Extender via WPS Wi-Fi Protected Setup (WPS) provides an easier approach to set up a security-protected Wi-Fi connection. Wireless devices that support WPS, including Android phones, tablets, most USB network cards, can be connected to your extender through this method (not supported by iOS devices). - Page 27 Chapter 4 More Features of Your Extender • Push Button (Recommended): Click Connect and push the WPS button on the client device. • PIN code: Enter the client’s PIN, and click Connect.
-
Page 28: Chapter 5. Manage Your Extender
Chapter Manage Your Extender This chapter presents how to manage and maintain your extender. This chapter includes the following sections: • Set Up System Time • Control LEDs • Power Schedule • Upgrade the Firmware • Backup and Restore Configuration Settings •... -
Page 29: Set Up System Time
Chapter 5 Manage Your Extender 5. 1. Set Up System Time System time is the time displayed when the extender is running. The system time you configure here will be used for time-based functions like Power Schedule. If you have enabled the Daylight Saving Time feature, the system time will be sychronized with the daylight saving time you configure. -
Page 30: Control Leds
Chapter 5 Manage Your Extender 5. 2. Control LEDs The LEDs of the extender indicate its activities and status. You can enable the Night Mode feature to specify a time period during which the LEDs are off. 1. Visit http://tplinkrepeater.net, and log in with the username and password you set for the extender. -
Page 31: Upgrade The Firmware
Manage Your Extender 3. Click Save. 5. 4. Upgrade the Firmware TP-LINK is dedicated to improving, richening the product features and giving you a better network experience. You can download the latest firmware file from the Support page of our website www.tp-link.com... -
Page 32: Backup And Restore Configuration Settings
Chapter 5 Manage Your Extender 5. Wait a few minutes for the upgrade and reboot. 5. 5. Backup and Restore Configuration Settings The configuration settings are stored as a configuration file in the extender. You can backup the configuration file and restore the extender to the previous settings from the backup file when needed. -
Page 33: System Log
Chapter 5 Manage Your Extender 2. Wait a few minutes for the reset and reboot. Note: 1. During the resetting process, do not power off or reset the router. 2. We strongly recommend you backup the current configuration settings before resetting the extender. 5. - Page 34 Chapter 5 Manage Your Extender ¾ To Save the system log in local: 1. Choose the type and level of the system log as needed. 2. Click Save Log to save the system logs to local.
- Page 35 Q1. How to reset the extender to its factory default settings? • With the extender powered on, use a pin to press the RESET button until all the LEDs turn on momentarily and then release the button. • Log into the extender’s web management page. Go to System Tools >...
- Page 36 filter, wireless access control, or ACL is enabled, the devices connected to the extender cannot get an IP address from the extender and cannot access the Internet. To solve this problem, please follow the steps below: 1. Log into your router and disable the MAC filter, wireless access control or ACL. Note: For more information about how to disable your router’s MAC filter, wireless access control or ACL, please refer to your router’s user guide.
- Page 37 Specifications are subject to change without notice. is a registered trademark of TP-LINK TECHNOLOGIES CO., LTD. Other brands and product names are trademarks or registered trademarks of their respective holders. No part of the specifications may be reproduced in any form or by any means or used to make any derivative such as translation, transformation, or adaptation without permission from TP-LINK TECHNOLOGIES CO., LTD.
- Page 38 FCC STATEMENT This equipment has been tested and found to comply with the limits for a Class B digital device, pursuant to part 15 of the FCC Rules. These limits are designed to provide reasonable protection against harmful interference in a residential installation. This equipment generates, uses and can radiate radio frequency energy and, if not installed and used in accordance with the instructions, may cause harmful interference to radio communications.
- Page 39 CE Mark Warning This is a class B product. In a domestic environment, this product may cause radio interference, in which case the user may be required to take adequate measures. RF Exposure Information This device meets the EU requirements (1999/5/EC Article 3.1a) on the limitation of exposure of the general public to electromagnetic fields by way of health protection.
- Page 40 2. Le gain maximal d’antenne permis pour les dispositifs avec antenne(s) amovible(s) utilisant la bande 5725-5850 MHz doit se conformer à la limitation P.I.R.E spécifiée pour l’exploitation point à point et non point à point, selon le cas. En outre, les utilisateurs devraient aussi être avisés que les utilisateurs de radars de haute puissance sont désignés utilisateurs principaux (c.-à-d., qu’ils ont la priorité) pour les bandes 5250-5350 MHz et 5650-5850 MHz et que ces radars pourraient causer du brouillage et/ou des dommages aux dispositifs LAN-EL.
-
Page 41: Safety Information
• 插槽與開口供通風使用,以確保本產品的操作可靠並防止過熱,請勿堵塞 或覆蓋開口。 • 請勿將本產品置放於靠近熱源的地方。除非有正常的通風,否則不可放在 密閉位置中。 • 請不要私自打開機殼,不要嘗試自行維修本產品,請由授權的專業人士進 行此項工作。 Продукт сертифіковано згідно с правилами системи УкрСЕПРО на відповідність вимогам нормативних документів та вимогам, що передбачені чинними законодавчими актами України. Safety Information • When product has power button, the power button is one of the way to shut off the product;...
Need help?
Do you have a question about the RE450 and is the answer not in the manual?
Questions and answers