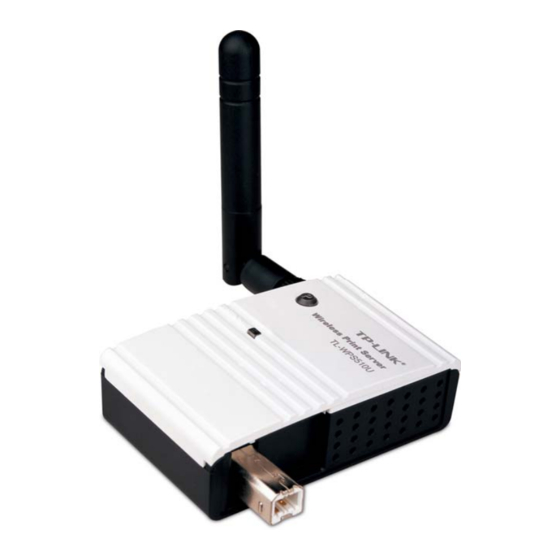
TP-Link TL-WPS510U Quick Installation Manual
Hide thumbs
Also See for TL-WPS510U:
- User manual (83 pages) ,
- Quick installation manual (19 pages) ,
- Hardware installation (10 pages)
Advertisement
Quick Links
TL-WPS510U Quick Installation Guide
1. Preparatory work before installation.
(1) Please download the latest compatibility list from our website:
http://www.tp-link.com/products/product_des.asp?id=170
Please check whether your printer is in the list. If you can not find your printer
there, it may be incompatible with our print server (Of course, maybe we just
don't test the printer model).
(2) Please directly connect your printer to your computer and make sure you
can print without problem.
(3) You'd better manually reset the print server to factory default settings first.
Please refer here:
http://www.tp-link.com/support/showfaq.asp?id=140
(similar as the router to reset)
2. Install the print server to your network.
TL-WPS510U supports two working modes: Ad-Hoc and Infrastructure.
Ad-Hoc Mode
Infrastructure Mode
1
Advertisement

Summary of Contents for TP-Link TL-WPS510U
- Page 1 (3) You’d better manually reset the print server to factory default settings first. Please refer here: http://www.tp-link.com/support/showfaq.asp?id=140 (similar as the router to reset) 2. Install the print server to your network. TL-WPS510U supports two working modes: Ad-Hoc and Infrastructure. Ad-Hoc Mode Infrastructure Mode...
- Page 2 Step 1 Connect the print server to your printer with the supplied printer cable, and turn on the print server’s power. Step 2 Connect your computer to TL-WPS510U (Ad-Hoc Mode). For Windows XP: (1) On the Windows taskbar, click the Start->Control Panel, then select and double-click Networking Connections.
- Page 3 (4) Select “Use the following IP address” and input the static IP address, e.g.192.168.0.101, subnet mask: 255.255.255.0; (5) Find the SSID WLAN-PS of wireless print server by Windows Zero Configuration or vendor utility of wireless adapter. Then click Connect. For Windows Vista: (1) On the Windows taskbar, click the Start, then select Control Panel;...
- Page 4 (2) Select Classic View on the left side then double-click Networking and Sharing center; (3) Click Manage network connections on the left side; (4) Right click on Wireless Network Connection and select Properties;...
- Page 5 (5) Highlight the Internet Protocol Version 4(TCP/IPv4) and select Properties; (6) Select “Use the following IP address” and input the static IP address, e.g.192.168.0.101 Subnet mask: 255.255.255.0, then click OK.
- Page 6 (7) Go back to Network and Sharing Center, then click Manage network connections. Right click Wireless Network Connection select Connect/Disconnect;...
- Page 7 (9) Click Refresh button to view the wireless network. Select the WLAN-PS, then double click it or click Connect. Step 3 Configure the wireless print server to connect to your existing wireless network (Infrastructure Mode). Open web browser and type the IP address of the print server (default is 192.168.0.10) to the address bar and press Enter.
- Page 8 After you Safe & Restart the settings, you should change the static IP of your wireless network connection from 192.168.0.a to 192.168.1.b, then search and connect the TL-WPS510U again. Please just refer to the Step 2. Then you could log into the setup page again by the IP 192.168.1.y (for example here is 192.168.1.10).
- Page 9 Click Save & Restart to save the settings, then the print server will connect to your wireless network and any computer wired or wireless connected to the network could access to the print server.
- Page 10 We recommend run the utility PSWizard to add it automatically. 1 Insert the setup CD into your CD-drive. The auto-run program will be started. 2 Choose TL-WPS510U to begin the setup. (3) Choose Setup Wizard to install the print server and configure the connected printer.
- Page 11 (5) On the “Select A Print Server” screen, select the print server that you want to configure and click Next. (6) On the Change Settings screen, just click Next and then to select your printer connected to print server.
- Page 12 (printer) fail to work, I think you’d better reset the print server to factory defaults manually and redo all the settings above. 3. You also could add Standard TCP/IP print port manually. Please refer to here: http://www.tp-link.com/support/showfaq.asp?id=181...


Need help?
Do you have a question about the TL-WPS510U and is the answer not in the manual?
Questions and answers