Table of Contents
Advertisement
montpellier
Installation and Operating Instructions
: MR90CEMK, MR90CEMX,
MODELS
MR90CMC & MR90CMK
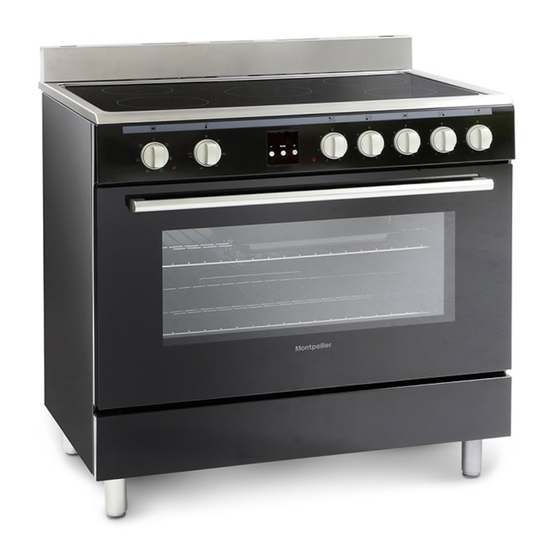
90cm Range Cooker - Electric
(Picture indicative of model supplied)
Please read these instructions carefully before attempting to install or use this appliance.
It is advisable to keep these instructions in a safe place for future reference.
N.B. Should your appliance require attention, our service agents will not be able to book
a service call without your unique serial number which can be found on the last page of
.
this manual
Advertisement
Table of Contents

Related Manuals for montpellier MR90CEMK


Summary of Contents for montpellier MR90CEMK
- Page 1 Installation and Operating Instructions : MR90CEMK, MR90CEMX, MODELS MR90CMC & MR90CMK 90cm Range Cooker - Electric (Picture indicative of model supplied) Please read these instructions carefully before attempting to install or use this appliance. It is advisable to keep these instructions in a safe place for future reference.
- Page 2 Introduction montpellier branded appliance . Thank you for choosing this It has been designed to give years of trouble-free use provided it is installed and maintained correctly. Please read these instructions carefully before installing or using your appliance. It is advisable to keep your purchase and installation receipts with these instructions in a safe place for future reference.
- Page 3 Your 2 year Manufacturer's guarantee THIS DOES NOT AFFECT YOUR STATUTORY RIGHTS. Your new montpellier appliance carries a free guarantee which protects you against the cost of repairs during the first 24 months from date of purchase provided that: Any claim is accompanied by evidence of the model reference, model serial number and proof of purchase, such as a Sales Receipt, showing that the appliance was purchased within the 24 months prior to the date of claim.
- Page 4 Description Of The Appliance...
- Page 5 CONTENTS: Section 1. Installation Section 2. Safety Advice Section 3. Operating the Appliance Section 4. Maintenance...
- Page 6 Section 1. Installation Remove all packaging, protective film and securing tape from the appliance. Position the appliance in a dry atmosphere. The following dimensions are provided as a guide for installation – your installer will carry out the installation in accordance with the current regulations.
- Page 7 1.2. Electrical Connection This appliance must be ‘hard wired’ into a suitable fused spur adjacent to the appliance housing, by a Qualified Electrician. Please note that a switchable spur should be accessible above the work surface in order that the power can be turned off by the consumer.
- Page 8 1.3. Level the Appliance Finally, ensure that the appliance is level by adjusting the 4 feet as shown below.
- Page 9 Section 2. Safety Advice Please read this booklet thoroughly before installing and switching on the appliance. The manufacturer accepts no responsibility for incorrect installation and usage. This appliance is guaranteed for Domestic Use Only. The appliance is not intended for use by persons (including children) with reduced physical, sensory or mental capabilities, or lack of experience and knowledge, unless they have been given supervision or instruction concerning the use of the...
- Page 10 Section 3. Operating the Appliance 3.1. Oven Control Panel 1. Oven Function Control Knob 2. Oven Thermostat Operation Light 3. Oven Thermostat Control Knob 4. Digital Timer 5. Rear Left Heat Zone Control Knob 6. Front Left Heat Zone Control Knob 7.
- Page 11 Remember to turn the Heat Zone control knob back to Zero when you have finished cooking. 3.2.2. Operating the Oven Turn the Oven Function Control Knob to the required setting (See diagram below). See Section 3.2.4 for function list. ...
- Page 12 3.2.3. Setting the Timer...
- Page 16 3.2.4. List of Cooking Functions Please note that your model may not feature all of the functions listed below:...
- Page 18 Section 4. Maintenance Before any maintenance or cleaning work is carried out, DISCONNECT the appliance from the ELECTRICITY supply and ensure that the appliance is completely cool. 4.1. Cleaning the Oven Clean spillages from inside the oven as soon as possible after use. Always ensure that the surface has cooled down before cleaning.
-
Page 19: Removing The Oven Door
4.3. Removing the Oven Door If your oven is fitted with a removable door, proceed as follows: In order to improve access when cleaning the oven, you can remove the door as follows: Lift the two safety catches up then close the oven door partially. - Page 20 4.4. What to do if something goes wrong There is no power to the appliance: Check there is not a power cut Check there is power to the electric socket/appliance The oven operates but the oven light is not working: If your model is fitted with an oven light, replace the oven bulb as described in section 4.2.
- Page 21 Important Note: This appliance is marked according to the European directive 2002/96/EC on Waste Electrical and Electronic Equipment (WEEE). By ensuring this product is disposed of correctly, you will help prevent potential negative consequences for the environment and human health, which could otherwise be caused by inappropriate waste handling of this product.
Need help?
Do you have a question about the MR90CEMK and is the answer not in the manual?
Questions and answers