Ipevo Point 2 View Quick Start Manual
Hide thumbs
Also See for Point 2 View:
- Quick start manual ,
- User manual (28 pages) ,
- Quick start manual (2 pages)
Advertisement
Quick Links
Download this manual
See also:
User Manual
Quick Start Guide
Point 2 View
3. The Software Interface at a Glance
Free Presenter software features a range of useful image customizations and functions, including snapshots, video recording, digital zoom,
image rotation and more. Here are some highlights:
Camera Mode (default)
Provides a window with the live video
image from the camera.
1
2
3
Use menus to adjust view: zoom,
mirror, resolution, etc.
A focus frame at the center guides
you when bringing Point 2 View into
focus.
Click on-screen icons to focus and
take snapshots.
Click the top-right arrows to enter
Full Screen mode.
For the latest version of Presenter as well as the full Quick Start Guide for the software, please visit http://support.ipevo.com/presenter .
www.ipevo.com
Review Mode
Review snapshots and video you have
taken.
4
Use menus to adjust view (zoom,
rotate) or edit photos (delete, share).
Use thumbnails for quick overview of
your library.
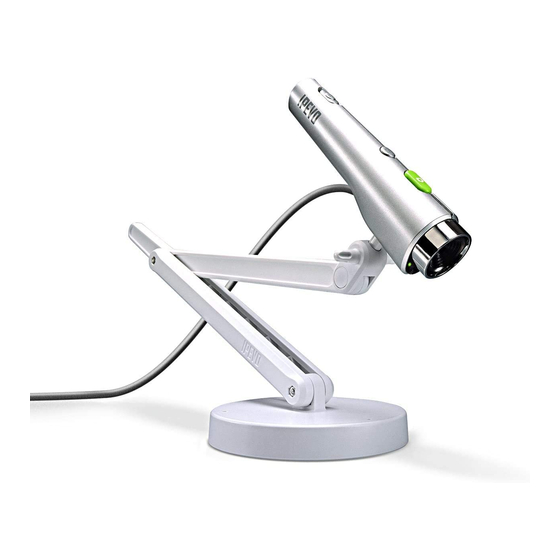
1. Package Contents
Your Point 2 View product package should contain these items:
• Point 2 View USB Camera
• Weighted stand with adjustable arm
• Quick-start guide (this document)
Note: For a complete explanation of Point 2 View's features, please refer
to the user manual located at the Point 2 View support page at:
http://support.ipevo.com/p2v
2. Installing IPEVO Presenter Software
Point 2 View requires IPEVO Presenter software to function.
Please download the latest version for PC or Mac at:
http://support.ipevo.com/presenter
Step 1:
Double-click the downloaded file and follow the prompts to
install Presenter.
Note: By installing the latest version of Presenter, the older version
of Presenter on your computer will be removed or replaced.
Step 2:
Connect Point 2 View's USB cord to any open USB port on your
computer.
Step 3:
Launch the Presenter software. A window containing a live
video image from your Point 2 View should appear. Point 2
View is now ready to use.
2
1
Full Screen
Point 2 View's image will take up the
entire screen. This is particularly useful
for projecting the image in classroom or
conference settings.
2
3
Click the top-right arrows again to
return to a smaller window.
Click on the screen to hide the icons
and provide an unobstructed image.
Click again to bring the icons back .
Focus/Snapshot icons are available
in this mode also.
1
Advertisement

Related Manuals for Ipevo Point 2 View


Summary of Contents for Ipevo Point 2 View
-
Page 1: Review Mode
Focus/Snapshot icons are available take snapshots. in this mode also. Click the top-right arrows to enter Full Screen mode. For the latest version of Presenter as well as the full Quick Start Guide for the software, please visit http://support.ipevo.com/presenter . - Page 2 4. Taking Snapshots Follow these steps to learn how to bring Point 2 View into focus and take a snapshot. Overview of controls Step 1: Bring Point 2 View into focus Before taking a snapshot, make certain that you are in Camera mode and the image is in focus. Toggle the AF switch...
Need help?
Do you have a question about the Point 2 View and is the answer not in the manual?
Questions and answers