Table of Contents
Advertisement
Advertisement
Table of Contents

Related Manuals for Oregon Scientific WMR86


Summary of Contents for Oregon Scientific WMR86
- Page 1 Pro Weather Station Model: WMR86 / WMR86A USER MANUAL...
-
Page 2: Table Of Contents
Pro Weather Station INtRodUctIoN Thank you for selecting the Oregon Scientific™ Weather Model: WMR86 / WMR86A Station (WMR86 / WMR86A). USER MANUAL The base station is compatible with other sensors. To purchase additional sensors, please contact your local retailer. coNtENtS Introduction ............... -
Page 3: Rain Gauge
3. SEARcH: Searches for sensors or for the radio- FRoNt VIEW controlled clock signal 4. EU / Uk switch: Select the nearest radio signal (WMR86 only) 5. Battery compartment Lcd dISPLAY 1. ModE: Switch between the different display modes / settings; set clock; set altitude; activate autoscan... -
Page 4: Wind Sensor
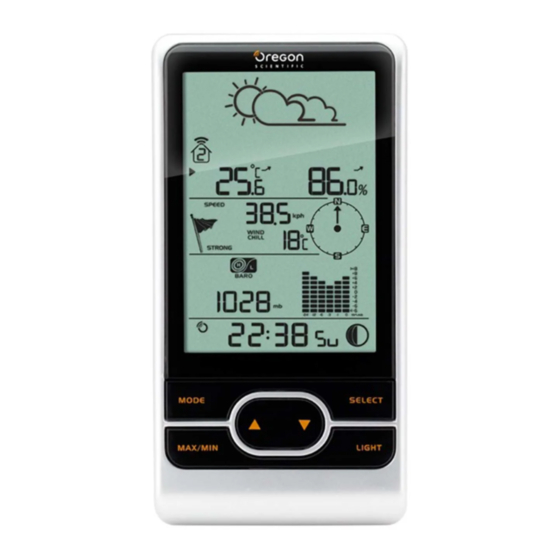
: Main unit battery low 3. Past 24hrs rainfall is displayed 2. Weather forecast 4. UVI level indicator 5. UVI / barometric pressure (mmHg, inHg or mb) / A. Temperature Area rainfall readings (in or mm) for the current hour B. -
Page 5: Outdoor Temperature / Humidity Sensor
1. Unscrew the anemometer from the wind sensor carefully. 2. Insert batteries matching the polarities (+ / -) and replace the anemometer. Press RESEt after each battery change. SEt UP REMotE tEMPERAtURE / HUMIdItY SENSoR The remote sensor can collect data from up to 3 channels. to set up the remote sensor: 1. -
Page 6: Verify Connection
• Wind direction indicator. Move the direction of the wind indication and verify the icon moves in the same direction tEMPERAtURE / HUMIdItY SENSoR 2. Insert the batteries, matching the polarities (+ / -). 3. Press RESEt after each battery change. 4. -
Page 7: Temperature / Humidity Sensor
WWVB-60 signal: within 3200km (2000 miles) of Fort Collins Colorado. WMR86 only - slide the EU / Uk switch to the appropriate Secure the sensor in the desired location using the wall setting based on your location. Press RESEt whenever mount bracket or table stand. -
Page 8: Clock / Calendar
to enable (and force a signal search) / disable the AUto ScANNINg FUNctIoN clock radio reception (clock synchronization): to activate the outdoor temperature and humidity 1. Press SELEct to navigate to the Clock / Calendar / auto-scan function: Moon Phase Area. will show next to the Area. -
Page 9: Temperature And Humidity Trend
NotE The unit of all temperature related displays will be the wind level is shown by a series of icons: changed simultaneously. IcoN LEVEL dEScRIPtIoN <2 mph (<4km/h) to view temperature (current / Min / Max temperature) readings: Light 2-8 mph (3~13 km/h) 1. -
Page 10: Uv Index
2. Press ModE repeatedly to select Barometric E.g., if it is 10:30 pm now, the bar plotted directly above -1 shows the reading recorded from 9 to 10 pm and display. -6 shows the reading recorded earlier in the evening, 3. -
Page 11: About Oregon Scientific
Transmission Approx. every 102 seconds Visit our website (www.oregonscientific.com) to learn Channel no. more about Oregon Scientific products. If you're in the US Batteries 2 x UM-4 (AAA) 1.5V and would like to contact our Customer Care department directly, please visit: https://us.oregonscientific.com/ service/support.asp... -
Page 12: Eu Declaration Of Conformity
Hereby, Oregon Scientific, declares that this Pro Weather Address: 19861 SW 95 Ave.,Tualatin, Station (models: WMR86 / WMR86A) is in compliance Oregon 97062 USA with the essential requirements and other relevant provisions of Directive 1999/5/EC. A copy of the signed Telephone No.:... - Page 13 © 2011 Oregon Scientific. All rights reserved. P/N:300102839-00004-10...
Need help?
Do you have a question about the WMR86 and is the answer not in the manual?
Questions and answers