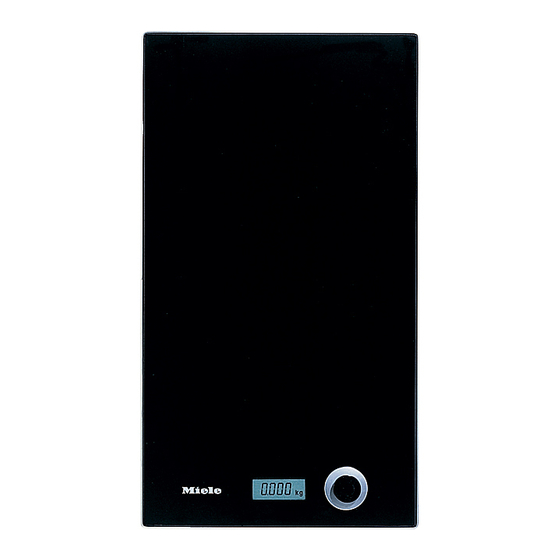
Summary of Contents for Miele CSWA 400
- Page 1 Combiset-Waage CSWA 400 Frastillingsplade CSWA 400 med vægt Combiset-weegschaal CSWA 400 GUVrW Combiset scale CSWA 400 M.-Nr. 05 680 880...
-
Page 2: Table Of Contents
Contents Description of the appliance ........52 Warning and Safety instructions . -
Page 3: Description Of The Appliance
Description of the appliance Appliance surface a Pot rest and weighing surface b Control c Display d Building-in frame Battery compartment/underside of the appliance e Battery compartment lid f 9V battery g Battery clip... -
Page 4: Warning And Safety Instructions
Warning and Safety instructions Before using the appliance for the Do not let liquid get into the first time, read the operating building-in frame through the gap instructions carefully. They contain around the appliance. This could important notes on the safety, operation damage the electronic unit. -
Page 5: Caring For The Environment
Caring for the environment Disposal of the packing Disposal of an old appliance material Old appliances contain materials which can be reclaimed or recycled. Please The transport and protective packing contact your dealer, your local waste has been selected from materials which collection centre or scrap merchant are environmentally friendly for disposal about potential recycling schemes. -
Page 6: Before Using For The First Time
Before using for the first time General notes Inserting the battery A data plate for your appliance is Before the weighing function can be supplied with this documentation. It used, the battery supplied must be should be stuck into the space inserted into the appliance. -
Page 7: Operation
Operation Changing from metric to Switching on and weighing imperial measurements ^ Switch on the weighing function by pressing the control. The weight can be displayed in kg or in lb/oz. You can only change from one to "88888" will appear in the display first of the other when the weighing function is all, followed automatically by switched off. -
Page 8: Calibrating
Operation Calibrating Over loading / under loading You can calibrate the weighing If the item(s) being weighed is more than 10 kg / 22 lb "- - - - -" will appear function, i.e. set the display back to zero, to add items to those already in the display. -
Page 9: Replacing The Battery
Replacing the battery ^ Close the battery compartment lid The battery needs replacing approx. every 2 years. When it does, the firmly making sure that it clicks into following will appear in the display: place. ^ Place the weighing surface back on to the building-in frame. -
Page 10: Cleaning And Care
Cleaning and care The ceramic surface of the appliance Under no circumstances use a should be cleaned after each use. Also steam cleaning appliance to clean check the frame after each use and this appliance. Pressurised steam remove any food debris or liquid imme- could cause permanent damage to diately. -
Page 11: Technical Data And After Sales Service
Technical data and After sales service Technical data Load capacity: 10 kg / 22 lb Weighing measurement units: 5 g / 0.2 oz Battery: 9V battery, Type PP3... -
Page 12: After Sales Service
In the event of any faults which you cannot remedy yourself, please contact – Your Miele Dealer – The Miele Service Department (see address on back cover). When contacting the Service Department, please quote the model and serial number of your appliance. These are given on the data plate. -
Page 13: Installation
Installation Appliance and building-in dimensions 2 8 8 5 1 4 2 6 6 a Spring clamps... - Page 14 Installation a Spring clamps b Spacer bar c Gap between spacer bar and worktop e Silicone sealant...
- Page 15 Installation Fixing spring clamps / spacer bars in granite worktops a Spring clamps b Spacer bar d Double sided adhesive tape e Silicone sealant...
-
Page 16: Installation
Installation Installation Worktop cut-out Depth Width (= Dim B) Number of in mm in mm appliances ± 1 mm ± 1 mm 1130 1418 1706 1994 Dimensions 7 mm and 11 mm show the space taken up by the frame of the Important: appliance on the worktop. - Page 19 Änderungen vorbehalten / 2803 M.-Nr. 05 680 880 / 08 Ret til ændringer forbeholdes Wijzigingen voorbehouden Alteration rights reserved...


