Advertisement
49697 / 02
Installation Guide
Required Tools
AA
Use and programming
instructions are located on the
Additional Tools (depending on application)
reverse side of this document.
3
Install latch
For doors with chiseled edge
For doors without chiseled edge
A
When installing "A," make
sure slot is at the bottom.
When installing "A," make
sure slot is at the bottom.
slot
A2
A
J (2x)
B
wood
block
7
Load batteries and reset the lock
A
B
C
Press and hold the
Reset button on the
H
interior assembly for
five seconds, until you
Note: The turnpiece
hear three beeps.
may rotate on its own.
4x
AA
G
Ensure correct polarity. For best
results, use new, non-rechargeable
Alkaline batteries only.
10
Install strike
B
J (2x)
Parts in the Box
Latch and Strike
Exterior Assembly
A
B
C
If needed, please contact
Kwikset to order a drive-in
latch for your lock.
D
E
A2
Kwikset
1-800-327-5625
www.kwikset.com
4
Prepare exterior keypad (if needed)
For doors with 2-1/8" (54 mm) holes
For doors with 1-1/2" (38 mm) holes
2-1/8"
54 mm
A
Temporarily remove gasket
Proceed to step 5.
slot
C
C
Reinstall gasket,
ensuring a tight seal.
8
Install interior assembly
A
B
G
45°
door
edge
Rotate turnpiece
AWAY from the
door edge.
Align colored edges of
connectors and ensure
secure cable connection.
11
Re-key the lock
D
If needed, re-key the lock to
work with your existing key.
See the supplied SmartKey
Re-key instructions for more
information.
1
Check dimensions
Interior Assembly
2-3/8" (60 mm)
or
2-3/4" (70 mm)
H
F
1-1/2"
2-1/8"
G
or
38 mm
54 mm
Additional door preparation may be
Fasteners
required for doors with 1-1/2" (38 mm)
holes. Consult the drilling instructions at
www.kwikset.com/doorprep.
J
K
L
5
Prepare mounting plate (if needed)
For doors with 2-1/8" (54 mm) holes
1-1/2"
2-1/8"
38 mm
54 mm
B
Remove adapter ring
Proceed to step 6.
Use pliers to remove the two tabs from the mounting plate (F).
C
D
E
G
Check for smooth turnpiece rotation.
If turnpiece does not rotate, pull
interior assembly (G) off the door.
Make sure
Repeat steps 7B and 7C, making
tailpiece is
sure the turnpiece is rotated
horizontal.
away from the door edge.
12
Program the lock
Programming
instructions are
located on the
reverse side of
this document.
2
Adjust the backset of latch (if needed)
A
Hold the latch in front of the
door hole, with the latch face
flush against the door edge.
1-3/8" — 1-3/4"
35 mm — 44 mm
1"
A / A2
25 mm
Latch Adjustment (only if needed)
6
Install keypad and mounting plate
A
For doors with 1-1/2" (38 mm) holes
Locate screws (L)
and keep them
1-1/2"
within reach.
38 mm
L
D
Keep parallel to
edge of door
Tighten
F
screws
evenly
9
IMPORTANT: Enter door handing code and test lock
F
A
While the door is OPEN AND UNLOCKED, enter the following code to teach the lock the orientation of the door.
Default
MASTERCODE:
0-0-0-0
B
Press the Lock
K (3x)
Make sure
button once.
door is
unlocked.
Template
If your door requires drilling, cut out the template and place it on the exterior side of the door.
Complete door drilling instructions are available at www.kwikset.com/doorprep.
B
If the latch holes are
centered in the door hole, no
adjustment is required.
Proceed to step 3.
If the latch holes are NOT
centered, adjust latch. See
"Latch Adjustment."
180°
B
C
Tailpiece must be
horizontal!
C
F
Cable goes
underneath latch
E
E
Insert key and test latch.
If latch does not extend
or retract smoothly,
adjust screws (L).
L
Remove key when
finished and make sure
the latch bolt is in the
unlocked position.
L (2x)
Lock
Lock
If programming is successful,
"0"
button
button
the keypad will flash green
twice with two beeps.
If unsuccessful, the keypad will
flash red three times with three
beeps. Attempt to enter the
code again.
C
If the latch bolt
D
extends to lock,
Unlock
the lock has
door.
correctly learned
the orientation of
the door.
Edge
Face
Fold
Centerline
2-3/8" (60 mm)
2-3/4" (70 mm)
Backset
Advertisement

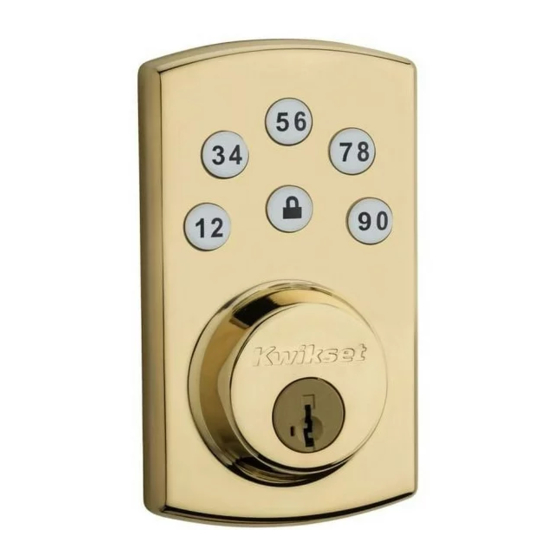
Summary of Contents for Kwikset Powerbolt2
- Page 1 Program the lock Template If your door requires drilling, cut out the template and place it on the exterior side of the door. Programming Complete door drilling instructions are available at www.kwikset.com/doorprep. instructions are located on the reverse side of this document.
-
Page 2: Codes
If this equipment of the device. Re-enter the door handing code, using your mastercode. *Beeping sound will not be heard when the lock is muted. ©2014 Kwikset Corporation See “Factory Reset,” steps 2 and 3.


Need help?
Do you have a question about the Powerbolt2 and is the answer not in the manual?
Questions and answers