Advertisement
Quick Links
Model_QT_100T 27/05/2009 16:51 Page 1
Warranty:
Applicable to units installed and used in the United Kingdom. Airflow's Warranty covers the QuietAir fan for TWO years. The Warranty can be upgraded to THREE years from date of
purchase against faulty material or workmanship by registering on our web site at www.airflow.com.
The Warranty covers the product only and not the installation cost..
In the event of any defective parts being found, Airflow Developments Ltd reserve the right to repair or at our discretion replace without charge provided that the unit
1. Has been installed and used in accordance with the fitting and wiring instructions supplied with each unit
2. Has not been connected to an unsuitable electrical supply
3. Has not been subjected to issue, neglect or damage.
4. Has not been modified or repaired by any person not authorised by Airflow Developments Ltd.
5. Has been installed in accordance with latest Building Regulations and IEE wiring regulations.
Airflow Developments shall not be liable for any loss, injury or other consequential damage, in the event of a failure of the equipment or arising from, or in connection with, the
equipment excepting only that nothing in this condition shall be construed as to exclude or restrict liability for negligence.
This warranty does not in any way affect any statutory or other consumer rights.
Airflow Developments Limited
Lancaster Road, Cressex Business Park
High Wycombe, Buckinghamshire
HP12 3QP, United Kingdom
E-mail: info@airflow.co.uk
Telephone: +44 (0) 1494 525252
Facsimile: +44 (0) 1494 461073
airflow.com
Advertisement

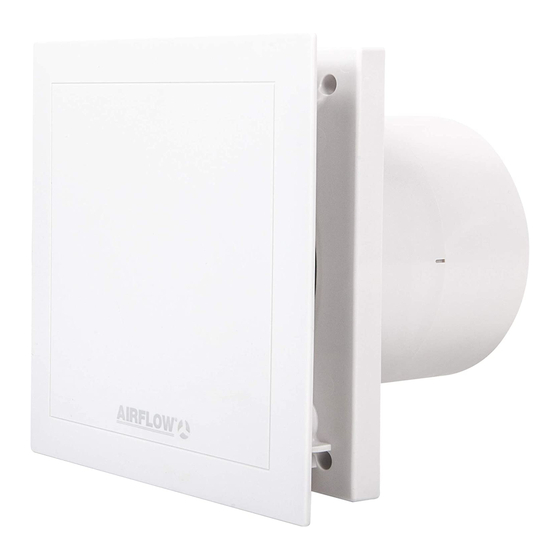
Summary of Contents for Airflow QuietAir QT 100T
- Page 1 5. Has been installed in accordance with latest Building Regulations and IEE wiring regulations. Airflow Developments shall not be liable for any loss, injury or other consequential damage, in the event of a failure of the equipment or arising from, or in connection with, the equipment excepting only that nothing in this condition shall be construed as to exclude or restrict liability for negligence.
- Page 2 Model_QT_100T 27/05/2009 16:51 Page 2 9041263 Installation and Operating Instructions QuietAir 100mm Axial Fan MODEL:QT 100T - Two Speed Fan (75/90m /hr) with Delay Start and Adjustable Timer • Low Energy • Whisper Quiet • Long Life • Extra Safe •...
- Page 3 Model_QT_100T 27/05/2009 16:51 Page 3 Contents CHAPTER 1. GENERAL INFORMATION ............Page 1 Important information .
- Page 4 Model_QT_100T 27/05/2009 16:51 Page 4 Installation and Operation Instructions QuietAir 100T Important information CHAPTER 1 To ensure safety and correct operation please read and observe the following instructions carefully before proceeding. The electrical connection must be fully isolated from the supply up to the final assembly ! Keep the installation and INSTALLATION AND OPE- operating instructions as a reference at the device.
- Page 5 Model_QT_100T 27/05/2009 16:51 Page 1 Installation and Operation Instructions 1.10 Electrical connection WARNING All work must be carried out with the equipment fully isolated from the power supply. The electrical connection are to be carried out in accordance with the relevant wiring diagram and are only to be done by a certified elec- trician.
-
Page 6: Standard Installation
Model_QT_100T 27/05/2009 16:51 Page 2 Installation and Operation Instructions Wall or ceiling installation fig.4 fig.5 With installation of the device, the guide vane (5) must be mounted vertically (as shown). Snaps into place every 90° rotation. Affix the rubber foam Back Break out entry draught... -
Page 7: Troubleshooting
Model_QT_100T 27/05/2009 16:51 Page 3 Installation and Operation Instructions Electrical connection CHAPTER 4 ELECTRICAL CONNECTION All work must be carried out with the equipment fully isolated from the power supply. The electrical connection WARNING is to be carried out in accordance with the relevant wiring diagram and are only to be done by a certified elec- trician. -
Page 8: Wiring Diagram Overview
Model_QT_100T 27/05/2009 16:51 Page 4 Installation and Operation Instructions Wiring diagram overview Internal functional principle / Jumper position Connection client SS-931 time function/- input manual input a) time function WARNING b) manual on Electrical connection: - Terminal N / L: The supply voltage of 230 V is connected permanently to terminal N/L - Terminal 1:...


