Makita 1100 Instruction Manual
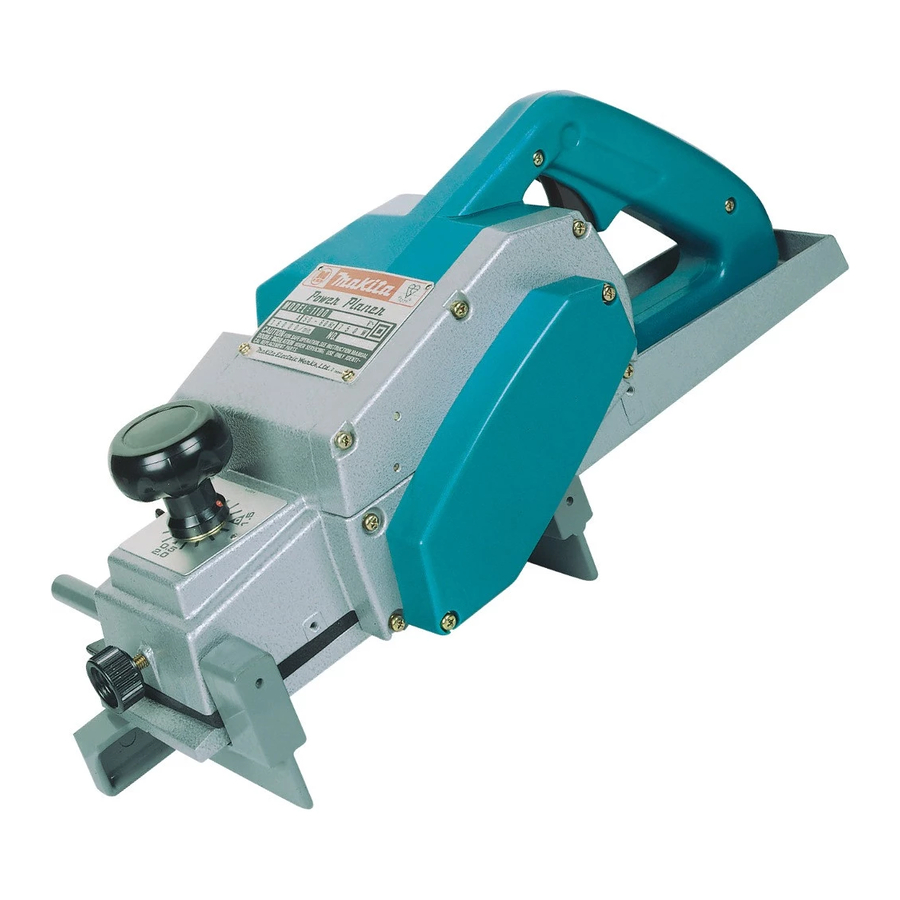
82 mm (3-1/4”) power planer
Hide thumbs
Also See for 1100:
- Instruction manual (61 pages) ,
- Operator's manual (2 pages) ,
- Parts list (4 pages)
Advertisement
Table of Contents
- 1 Important Safety Instructions
- 2 Additional Safety Rules
- 3 Removing or Installing Mini Planer Blades
- 4 Planer Blade Adjustment
- 5 For the Correct Planer Blade Setting
- 6 Adjusting Depth of Cut
- 7 Switch Action
- 8 Planing Operation
- 9 Shiplapping
- 10 Chamfering
- 11 Sharpening Planer Blades
- 12 Maintenance
- 13 Replacing Carbon Brushes
- 14 Accessories
- 15 Exploded View
- 16 Parts List
- Download this manual
See also:
Instruction Manual
Power Planer
Planing
width
82 mm ( 3 4 4 " ) MODEL 1100
Planing
Rabbeting
No load speed
Overall
Net
depth
depth
(RPM)
length
weight
INSTRUCTION MANUAL
82
mm
(3-114")
DOUBLE
INSULATION
415 mm
4.9 kg
(1 6-318")
(10.8 Ibs)
16,000
3 mm
20
mm
(118")
(314")
SPECIFICATIONS
Manufacturer reserves t h e right
to
change specifications w i t h o u t notice.
*
Note: Specifications may differ from country t o country.
Advertisement
Table of Contents

Related Manuals for Makita 1100


Summary of Contents for Makita 1100
- Page 1 3 mm (3-114”) (118“) Manufacturer reserves t h e right Note: Specifications may differ from country t o country. Power Planer 82 mm ( 3 4 4 ” ) MODEL 1100 Rabbeting No load speed depth (RPM) 16,000 (314”) change specifications w i t h o u t notice.
- Page 2 SAFETY INSTRUCTIONS WARNING: WHEN USING ELECTRIC TOOLS, BASIC SAFE- TY PRECAUTIONS SHOULD ALWAYS BE FOLLOWED TO REDUCE THE RISK OF FIRE, ELECTRIC SHOCK, AND PER- SONAL INJURY, INCLUDING THE FOLLOWING: READ ALL INSTRUCTIONS. KEEP WORK AREA CLEAN. Cluttered areas and benches invite injuries. CONSIDER WORK AREA ENVIRONMENT.
- Page 3 REMOVE ADJUSTING KEYS AND WRENCHES. Form habit of checking to see that keys and adjusting wrenches are removed from tool before turning 15. AVOID UNINTENTIONAL STARTING. Don't carry plugged-in tool with finger on switch. Be sure switch is OFF when plugging in. 16.
- Page 4 13. Do not leave the tool running. Operate the tool only when hand-held. 1 4 . When leaving the planer, switch off and set wooden block, so that the blades do not contact anything. Always change both blades or covers on the drum, otherwise the resulting imbalance will cause vibration and shorten tool life.
- Page 5 Loosely attach the adjust plate t o the set plate with the pan head screws and set the mini planer blade on the gauge base so that the cutting edge of the blade is perfectly flush with the inside flank of the gauge plate.
- Page 6 Check the three hex flange head bolts for final tightness. Repeat procedures 1-9 for other blade. Planer blade adjustment (optional accessory) To install the blades, first clean out all chips or foreign matter adhering t o the drum or blades. Use blades of the same...
- Page 7 For the correct planer blade setting Your planing surface will end up rough and uneven, unless the blade i s set properly and securely. The blade must be mounted so that the cutting edge is absolutely parallel t o the surface of the rear base. Below are some examples of proper and improper...
- Page 8 The speed and depth of cut determine the kind of finish. The power planer keeps cut- ting a t a speed that will not result in jam- ming by chips. For rough cutting, the depth of cut can be increased, while for a good finish you should reduce the depth of cut and advance the tool more slowly.
- Page 9 Shiplapping To make a stepped cut as shown a t the right, use the edge fence. Draw a cutting line on the workpiece. In- sert the edge fence into the hole in the front of the tool. Align the blade edge with the cutting line.
- Page 10 (A). Sharpening planer blades Always keep your blades sharp for the best performance possible. Use the sharpening holder to remove nicks and produce a fine edge.
- Page 11 Immerse the dressing stone in water for minutes before sharpening. Hold the holder so that the blades both contact the dressing stone for simultaneous sharpening a t the same angle.
- Page 12 To maintain product SAFETY and RELIABILITY, repairs, any other maintenance or adjustment should be performed by Makita Authorized or Factory Service Centers, always using Makita replacement parts. Brush holder cap...
- Page 13 CAUTION : These accessories or attachments are recommended f o r use w i t h your Makita t o o l specified manual. The use of any other accessories o r attachments m i g h t present a risk The accessories o r attachments should be used o n l y in t h e proper and intended manner.
- Page 14 May-l5-'90 mm (3-1/4') POWER PLANER Model 1100 Note: The switch, noise suppressor and other part configurations may differ from country to country.
- Page 15 MODEL 1100 ITEM DESCRIPTION USED MACHINE Pan Head Screw M3x6 (With Washer] Name Plate Pan Head Screw M5x18 {With Washer1 Rivet 0 - 5 Switch Pan Head Screw M4x6 IWlfh Washer1 Cord Guard Pan Head Screw M4x18 (With Washer) Strain Relief...
- Page 16 MAKITA LlMrED ONE YEAR WARRANTY Every Makita tool is thoroughly inspected and tested before leaving the factory. It is warranted to be free of defects from workmanship and materials for the period of ONE YEAR from the date of original purchase. Should any trouble develop during this one- year period, return the COMPLETE tool, freight prepaid, t o one of Makita’s Factory or Authorized Service Centers.