
Related Manuals for XtendLan SDOMEOAT2-SD310


Summary of Contents for XtendLan SDOMEOAT2-SD310
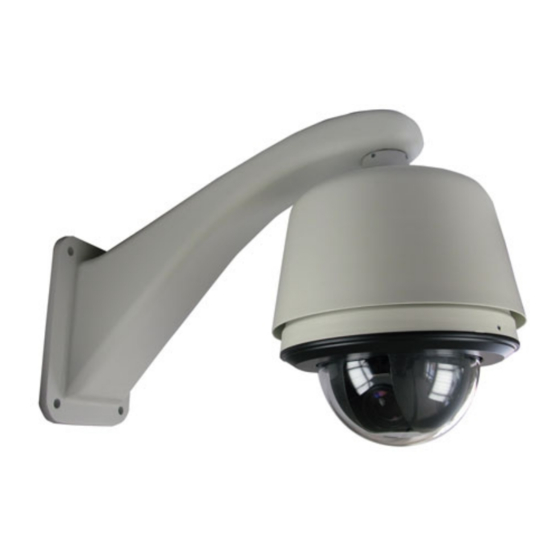
- Page 1 SDOMEOAT2-SD310 --------------------------------------------------------------------- High Speed Dome Series --------------------------------------------------------------------- User Manual...
-
Page 2: Table Of Contents
CONTENTS Before Installing ………………………………….………….………… II Key Features ……………………………………………………. …… Environmental requirement ………………………………………… Dome setting Instruction …………………………………………… Camera ID Setting…………………………………………………………………. Camera Module Setting…………………………………………………………. . V Basic High Speed Dome Operation ………………………………… OSD Operation………………………………………………………………. …… Enter OSD …………………………………………………………………………. . 7 Menu function instructions……………………………………………………… Camera Exposure…………………………………………………………………. -
Page 3: I Before Installing
Before Installing Installation should be carried out only by qualified personnel and in accordance with any wiring regulations in force at the time. Please read this instruction and warnings before installing. Do not attempt to service or repair the speed domes as opening or removing covers may expose dangerous voltages or other hazards. - Page 4 Setting Attention: Adequate protection against high speed dome falling and damage when installing. The dome should be hang setting, and please avoid up side down. Please install the dome at the low humidity condition and keep it sealing for avoiding any damage to dome.
-
Page 5: Camera Id Setting
1、 Power supply communication cable: AC24V AC24V RS485 2、Video output: Alarm signal Alarm Relay Output “AUX1” Alarm Relay Output “AUX2 Alarm Input GND Alarm input signal: l -7 AL1、AL2、AL3、AL4…AL7:Alarm input. The switch setting ON=1 OFF=0 Protocol setting Baud rate setting Alarm Alarm mode... -
Page 6: Camera Module Setting
CAM ID ∶ ∶ ∶ ∶ ∶ ∶ Note : The address of the some protocol are from 0, and the others are from 1, please setting the address(±1) as your protocol. Alarm 7 alarm input. The dome will alarm when alarm input port connect the GND. The AUX will be closed when has alarm, and open when no alarm in. -
Page 7: Basic High Speed Dome Operation
Camera Switch 1 Switch 2 Switch 3 Switch 4 DIP-1 DIP-2 DIP-3 DIP-4 SONY HITACHI CNB-200L CNB-M1560 SAMSUNG(SDM300/SDM330 Note: Please make sure the camera parameters are correct or the camera cannot work or cannot work well. If this, please enter the camera menu and restore factory settings first, then setting the parameters as request. -
Page 8: Osd Operation
Function Control Camera mode 1 Call 100 preset Camera mode 2 Call 101 preset Camera mode 3 Call 102 preset 4 Privacy mask, only fit to SONY480, SONY980 and SONY1000 camera. Level area increase: FAR Privacy Mask Level area reduce: NEAR Vertical area increase: TELE Vertical area reduce: WIDE OSD Operation... -
Page 9: White Balance
2, Confirm Exposure. Exp Mode press OPEN key, select effect, the menu change to Exp Mode 3, Cancel Exposure Exp Mode press CLOSE to cancel the Exposure mode change, the menu change to Mode Back the main camera menu Exp Mode press CLOSE key to cancel the last menu. Other operation of Exposure Menu Exp Mode, control the joystick up or down to let the up and down, press OPEN key to... -
Page 10: Privacy Mask
Privacy Mask Exposure ► White Balance ► Exposure ► operate the joystick to let the cursor Privacy ► come to Privacy press OPEN to enter the submenu, then Other ► Camera Model ► set the parameter. Zoom Speed Focus Speed There are 4 privacy masks, which have the same operation 1. -
Page 11: Zoom Speed
102 preset Zoom Speed At the submenu of Exposal, move the cursor to Zoom Speed, press OPEN, the cursor will change to , then the parameter can be changed. Press OPEN to confirm and back or CLOSE cancel and back. Focus Speed Move the cursor to Focus Speed, press OPEN, the cursor will change to , then the parameter can be changed. -
Page 12: Leisure Time
Nothing P Scan 1 Preset scan 1 P Scan 2 Preset scan 2 P Scan 3 Preset scan 3 P Scan 4 Preset scan 4 A Scan Auto scan (left and right limit scan Home Home place Operation: Press OPEN the cursor will change to , and the parameter can be change. -
Page 13: High Speed Dome Camera Menu
VI High speed dome camera menu Control OPEN Confirm (SET) JOYSTICK Cursor Up/ Down NEAR Control the cursor Up/Right Control the cursor Down/ Left to change the parameter to change the parameter ► Currently menu(You can change the parameter only when at the currently menu)... - Page 14 Enter the Camera menu: MAIN SETUP ►CAM TITLE WHITE BAL BACKLIGHT MOTION DET FOCUS EXPOSURE SPECIAL RESET EXIT 1. CAM TITLE CAM TITLE ABCDEFGHIJKLMNO PQRSTUVWXYZabcd e f g h i j k l m n o p q r s t u v w x y z 0 1 2 3 4 5 6 7 8 9 ( ) <...
- Page 15 5. EXPOSURE EXPOSURE SETUP ►BRIGHTNESS IRIS AUTO SHUTTER MIDD L SSNR MIDD SENS-UP O END SET SHUTTER ►SHUTTER 1/60 Press SET to Return SHUTTER: Attention: When setting the BACKLIGHT as OFF, the A.FLK will show the best effect. If camera setting as ESC, the image will not steadily when face to the high light.
-
Page 16: Auto-Tracking
VII Auto-Tracking Parameters Setting Protocol :PELCO-D / PELCO-P Baud Rate:2400 / 4800 / 9600 How to use auto-tracking function? This function is closed as default setting, and the setting table as below: Default Preset Number Function Setting Start-up Auto Tracking Stop Auto Tracking when the state of untrackable objects happen the PTZ will move to Preset 1... -
Page 17: Analysis On Common Malfunctions And Maintenance
VIII Analysis on Common Malfunctions and Maintenance If there is any problem at your operation, please work through the logical steps below to determine and rectify the problem. Symptom How to solve the problems? 1 .Check the power supply and make sure if fuse is blow out or not 2.