
Related Manuals for Kenwood DDX4038BT


Summary of Contents for Kenwood DDX4038BT
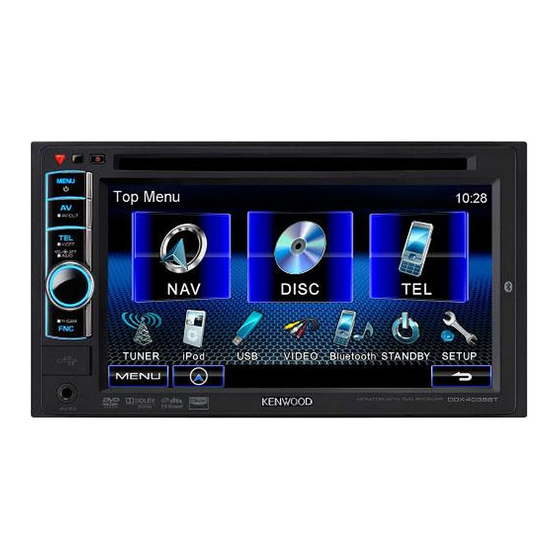
- Page 1 DDX4038BT DDX4038BTM DDX4038 DDX4038M MONITOR WITH DVD RECEIVER INSTALLATION MANUAL © 2010 Kenwood Corporation All Rights Reserved. LVT2201-006A (MN/M2N/XN)
-
Page 2: Accessories/ Installation Procedure
After the installation, perform the Initial Setup by referring to the instruction manual...1 (3m)..1 ¤ DDX4038BT/ DDX4038 of sale in Australia only. • Mounting and wiring this product requires DDX4038BT/ DDX4038 skills and experience. For best safety, leave the of sale in Australia, mounting and wiring work to professionals. - Page 3 • If the fuse blows, first make sure the wires aren’t DDX4038BT/ DDX4038BTM only touching to cause a short circuit, then replace the • Install the Bluetooth adaptor (KS-UBT1) besides old fuse with one with the same rating. the place enclosed by the metal.
-
Page 4: Connecting Wires To Terminals
(Power control wire) To the terminal that is grounded when either the Brown telephone rings or during conversation. (To connect the Kenwood navigation system, consult your navigation (Mute control wire) manual.) Light blue/Yellow To use the steering wheel remote control feature, you need... -
Page 5: Connecting Other Products
Navigation units that can be connected to this unit. (Optional Accessory) (As of December, 2010): • KNA-G630 • KNA-G630CN For latest information, access the www.kenwood.com/cs/ce/. Audio/Visual Output • Visual output (Yellow) • Audio output (3.5φ mini plug) Resistance-free stereo type mini plug Rear View Camera Input •... -
Page 6: Installation/Removing The Unit
Accessory 5 For General Motors Cut out accessory 4 to meet the shape of the opening of the center console. Attach accessory 4 to the unit. Cut out to meet the shape of the opening in the vehicle. Accessory 4 DDX4038BT/DDX4038BTM/DDX4038/DDX4038M... -
Page 7: Installing The Microphone Unit
Installation on Toyota, Nissan or Installing the Microphone Unit Mitsubishi Car using Brackets (DDX4038BT/DDX4038BTM only) Check the installation position of the Accessory 6 (M5x6mm) microphone (accessory 8). or Accessory 7 (M5x7mm) Remove oil and other dirt from the Car Bracket installation surface.