
Related Manuals for Kenwood DDX4028BT


Summary of Contents for Kenwood DDX4028BT
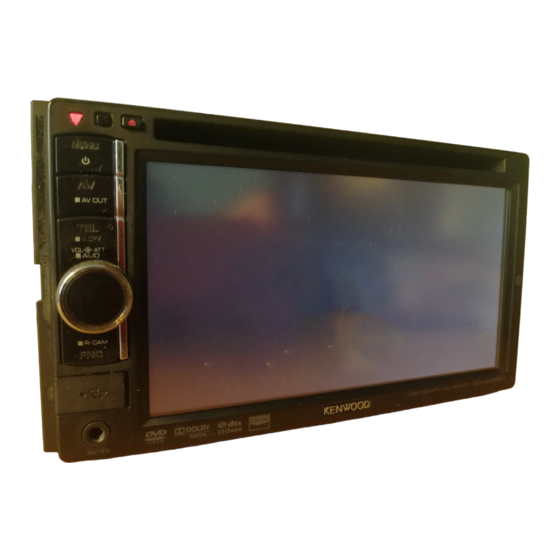
- Page 1 DDX4028BT DDX4058BT DDX3028 DDX3058 MONITOR WITH DVD RECEIVER INSTALLATION MANUAL © 2010 Kenwood Corporation All Rights Reserved. LVT2200-010A (EN/QN)
-
Page 2: Accessories/ Installation Procedure
After the Installation After the installation, perform the Initial Setup (2m)..1 (3m)..1 by referring to the instruction manual. DDX4028BT/ DDX4058BT only. ¤ • Mounting and wiring this product requires skills and experience. For best safety, leave the ..1 mounting and wiring work to professionals. - Page 3 • Insulate unconnected wires with vinyl tape or DDX4028BT/ DDX4058BT only other similar material. To prevent a short circuit, • Install the Bluetooth adaptor (KS-UBT1) besides do not remove the caps on the ends of the the place enclosed by the metal.
-
Page 4: Connecting Wires To Terminals
To the terminal that is grounded when either the Brown telephone rings or during conversation. (To connect the Kenwood navigation system, consult your navigation (Mute control wire) manual.) Connecting the ISO connectors on some VW/Audi or Opel Yellow (Battery wire) -
Page 5: Connecting Other Products
Navigation units that can be connected to this unit. (Optional Accessory) (As of December, 2010): • KNA-G620T • KNA-G630 For latest information, access the www.kenwood.com/cs/ce/. Audio/Visual Output • Visual output (Yellow) • Audio output (3.5φ mini plug) Resistance-free stereo type mini plug Rear View Camera Input •... -
Page 6: Installation/Removing The Unit
Bend the tabs of the mounting sleeve with a screwdriver or similar utensil and attach it in place. ⁄ • Make sure that the unit is installed securely in place. If the unit is unstable, it may malfunction (eg, the sound may skip). DDX4028BT/DDX4058BT/DDX3028/DDX3058... -
Page 7: Removing The Unit
Removing the Unit Installing the Microphone Unit (DDX4028BT/DDX4058BT only) Remove the escutcheon by referring to the removal procedure in the section Check the installation position of the <Removing the Escutcheon>. microphone (accessory 5). Insert the two removal tools 4 deeply into Remove oil and other dirt from the the slots on each side, as shown.