Table of Contents
Advertisement
Quick Links
Tudor
Single point open outlet (vented) water heaters
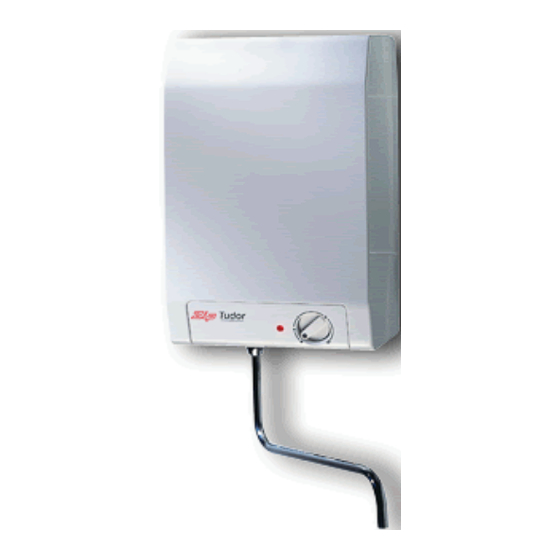
21051NZ
Tudor 5 Litre over-sink water heater
21052NZ
Tudor 5 Litre under-sink water heater
21101NZ
Tudor 10 Litre over-sink water heater
21102NZ
Tudor 10 Litre under-sink water heater
99006NZ
Telescopic swivel arm only
99032NZ
Telescopic Spout accessory for 21051NZ / 21052NZ
99079NZ
Mono vented mixer tap for 21101NZ / 21102NZ
99080NZ
Solo vented mixer tap for 21101NZ / 21102NZ
99081NZ
Hero vented mixer tap for 21101NZ / 21102NZ
Page 1
Installation & Operating Instructions
Tudor - Installation & Operating Instructions - 85807 - June 2012 v1.00
Mono
Solo
Hero
Advertisement
Table of Contents

Related Manuals for Zenith Tudor series


Summary of Contents for Zenith Tudor series
- Page 1 Installation & Operating Instructions Tudor Single point open outlet (vented) water heaters Mono Solo Hero 21051NZ Tudor 5 Litre over-sink water heater 21052NZ Tudor 5 Litre under-sink water heater 21101NZ Tudor 10 Litre over-sink water heater 21102NZ Tudor 10 Litre under-sink water heater 99006NZ Telescopic swivel arm only 99032NZ...
-
Page 2: Read These Warnings First
Read These Warnings First Please read all installation requirements, installation procedures and precautions before installing any Tudor water heater. Never attempt to install any Tudor water heater without reading all of the applicable instructions. Tudor water heaters are open outlet (vented) water heaters and must not be installed in the same way as mains pressure type water heaters. -
Page 3: Installation Procedure
Installation Procedure NOTE: Failure to correctly fit the Restrictaflow valve (provided) will void the warranty Step One - Tapware Note: Instructions for correct assembly and installation of Tudor tapware is included in the tapware box. Pay close attention to these instructions. Over-sink models must be installed with an inlet valve to control the flow from the water supply to the heater. - Page 4 Installation Procedure continued Step Four - Connecting On over-sink models, the inlet and outlet are located on the base of the heater. Model Weight(kg) Empty Full On under-sink models, the inlet and outlet are located on the top of the heater. Five Litre over-sink 3.5 All Tudor water connections are via 15 mm compression fittings and must be...
- Page 5 Installation Procedure Continued WIDTH DEPTH 255 (5L) 215 (5L) 310 (10L) 265 (10L) 125 (5L) 100 (10L) HEIGHT 390 (5L) 455 (10L) FIXING HOLES 265 (5L) 355 (10L) Wall fixing details Tudor udor Open Outlet COLD HOT OUT Wall Anchor Bolt FRONT VIEW SIDE VIEW...
-
Page 6: Operating Procedures
Operating Procedures Water Temperature Tudor water heaters are fully automatic, and may be left switched ON under the control of the variable thermostat. Nominal operating temperature can be varied from about 30°C to about 80°C. Temperature should not be set to less than 60°C without due regard to regulations governing the storage temperature of hot water. -
Page 7: Service Procedures
Service Procedures This appliance may only be serviced by a suitably qualified technician. Disconnect from power and turn water supply OFF before attempting any kind of service work. Removing the case 1. Remove temperature control knob by gripping it and pulling towards you. 2. -
Page 8: Problem Solving
Full warranty details may be found on the website. Registering Your Purchase Registering your Zenith installation on the website may help to establish date of installation should it become necessary to service the appliance under terms of the Zenith warranty. To register your installation go to www.zenithheaters.