Table of Contents

Related Manuals for Zenith 11652 Autoboil


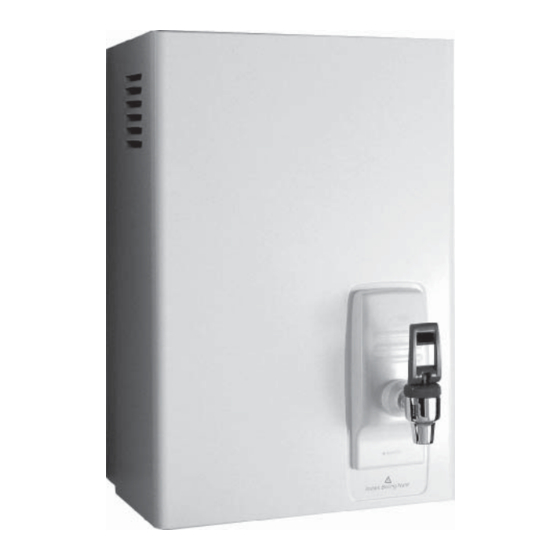
Summary of Contents for Zenith 11652 Autoboil
- Page 1 Installation and Operating Instructions Autoboil Instant boiling water 11652 Autoboil 15 Litre White 12652 Autoboil 25 Litre White 04652 Autoboil 40 Litre White Autoboil - Installation & Operating Instructions - 81355 - May 2012 v1.01 Page 1 of 12...
-
Page 2: Table Of Contents
Contents Read These Warnings First ......3 Installation Requirements ......3 Installation Procedures ........4 Step 1 – Positioning ....4 Step 2 – Fastening ....4 Step 3 – Connecting ....5 a) Plumbing ....5 b) Venting ....5 c) Electrical ....6 Step 4 – Assembling ....6 Step 5 –... -
Page 3: Read These Warnings First
If the installation site is located more than 1000 meters above sea level, the installer should contact The Zenith Heaters Limited service dept. to obtain alternate PCB settings. If the power supply cable is damaged it must be replaced by a Authorised Service Provider or a qualified electrician. -
Page 4: Installation Procedures
Installation Requirements continued c) Cold water supply with a minimum working pressure of 100 kPa and a maximum working pressure of 700 kPa connected via an isolation valve. d) Outlet drainage to a sink draining board or to a drip tray. e) Access to drainage from a vent situated at the base of the heater. -
Page 5: Step 3 - Connecting
Installation Procedures Continued Step 3 – Connecting Front View Plumbing: VENT COLD Note: OUTLET INLET Small capacity Autoboils have concealed plumbing connections and Large capacity Autoboils have exposed plumbing connections. For exposed plumbing connection, connect the cold water inlet pipe from the base of the heater directly to the 1/2”... -
Page 6: C) Electrical
Installation Procedures continued Electrical For concealed electrical connection, connect a power cable from the rear of the heater to the terminal block within the heater as shown. Do not turn the power ON until the heater is filled with water. Blue Green continued... -
Page 7: Problem Solving
Solution Water isolating valve turned off. Check water supply valve. Blocked filter, blocked meter tube, Fails to dispense water. Contact The Zenith Heaters Limited blocked strainer, jammed ball valve service dept. assembly, airlock in transfer tube. No power. Check power supply. -
Page 8: Wiring Diagram
Operating procedures continued Turn power on. After a short time, boiling water will be available and will be maintained close to boiling point thereafter. Initial heating periods are: power on indicator Reading the Display Screen Power On When the ‘Power On’ lamp is illuminated this indicates that the power is connected and turned on and that the heater is operating normally. -
Page 9: Mounting Template
Mounting Template 374 (15L, 25L) 499 (40L) 295 (15L, 25L) 420 (40L) 591 (15L, 25L) 771 (25L) 831 (40L) 188 (15L, 25L) 313 (40L) Wall template for 15 litre, 25 litre & 40 litre models. (NOT TO SCALE) Autoboil - Installation & Operating Instructions - 81355 - May 2012 v1.01 Page 9 of 12... -
Page 10: Thermostat Settings
Spare Parts List Part Description 90096NZ Cistern Lid Clamp Kit 90140NZ Overload Kit 90120NZ Disc, Capsule, Lid, Gasket Kit 90490NZ Gasket Kit 90121NZ Cistern Lid Gasket Kit 90083NZ Float Valve Kit 90069NZ Jumper Valve kit 90496NZ O-ring Kit 90102NZ Cistern Float S/Nut Kit 90495NZ Banjo Screw Kit 90110NZ... -
Page 11: Exploded View
Exploded View Autoboil - Installation & Operating Instructions - 81355 - May 2012 v1.01 Page 11 of 12... -
Page 12: Contact Information
Parts & Labour Registering your product: Registering your Zenith installation on the Zenith Heaters Limited website may help to establish date of installation, should it become necessary to service the appliance, under the terms of Zenith Heaters Limited warranty. To register your installation go to www.zenithheaters.co.nz and look under the heading “Warranty”.