Table of Contents
Advertisement
English
Thank you for purchasing a Panasonic product. Please read this installation
guide before using the unit and save it for future reference.
By installing this unit, you can extend the range of your phone system to include
areas where reception was previously not available.
The unit extends the range in all directions, allowing several floors to be covered.
Important
L This unit is an accessory unit for use with the following series of Panasonic SIP
Cordless Phone:
KX-TGP500/KX-TGP550
L You must register this unit with your base unit before it can be used.
L The unit is compatible only with base units/handsets whose suffix are ones in the
following table or later.
Suffix table
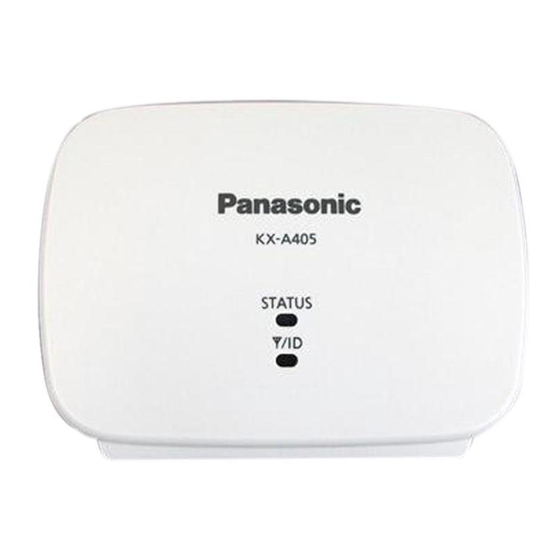
KX-A405
DECT repeater
KX-A405CE: B
KX-A405UK: B
KX-A405AL: B
See page 5 for further information about the suffix.
4
Installation Guide
KX-TGP500/KX-TGP550 base unit
KX-TGP500 B01: I
KX-TGP550 T01: J
KX-TGP500 B02: G
KX-TGP550 T02: G
KX-TGP500 B08: J
KX-TGP550 T08: K
KX-TGP500 B09: C
KX-TGP500 B61: C
For Panasonic SIP Cordless Phone
DECT Repeater
KX-A405
Model No.
KX-TPA50 handset
KX-TPA50 B01: F
KX-TPA50 B02: C
KX-TPA50 B08: F
KX-TPA50 B09: C
KX-TPA50 B61: C
Advertisement
Table of Contents

Summary of Contents for Panasonic KX-A405
-
Page 1: Installation Guide
The unit extends the range in all directions, allowing several floors to be covered. Important L This unit is an accessory unit for use with the following series of Panasonic SIP Cordless Phone: KX-TGP500/KX-TGP550 L You must register this unit with your base unit before it can be used. - Page 2 The suffix is the 5th digit of the serial number on each unit. It starts from A to B, C, D…. Example: XXXXXXXXXXX 5th digit: suffix (by alphabet) KX-A405 DECT repeater (back) KX-TGP500 base unit (back) Serial number (S/N) Serial number (S/N)
-
Page 3: For Your Safety
For your safety To prevent severe injury and loss of life/property, read this section carefully before using the product to ensure proper and safe operation of your product. The notices are classified as follows, according to the severity of injury or damage: WARNING This notice means that misuse could result in death or serious injury. -
Page 4: Important Safety Instructions
4. Use only the power cord indicated in this manual. SAVE THESE INSTRUCTIONS For best performance Range extender location/avoiding noise The range extender and other compatible Panasonic units use radio waves to communicate with each other. L For maximum coverage and noise-free communications, place your range extender: –... -
Page 5: Other Information
L If the reception for a range extender location is not satisfactory, move the range extender to another location for better reception. Environment L Keep the product away from electrical noise generating devices, such as fluorescent lamps and motors. L The product should be kept free from excessive smoke, dust, high temperature, and vibration. - Page 6 For best performance Placement L Install the unit within base unit range in an indoor environment. We recommend installing the unit in a raised position (such as on a wall). L Avoid positioning the unit close to objects that will interfere with reception, such as thick walls, radiators, metal shelving, etc.
-
Page 7: Controls
Controls A & indicator B w indicator ID indicator C {PROGRAM} Understanding the & indicator and w indicator Indicator Light status Meaning & L Within base unit range. The unit is ready for Green indicator use. L 1 handset is communicating with the base Flashing unit through this unit. -
Page 8: Registering To The Base Unit
L If the DECT repeater is already registered before, deregister the unit at first, then re-register (page 14). DECT repeater: Connect the AC adaptor. L Use only the supplied Panasonic AC adaptor PQLV219. Hook Press plug firmly. Base unit: Press and hold {x} or {ALL} for about 4 seconds until the 4 indicator or STATUS indicator flashes red. -
Page 9: Wall Mounting
Note: L The AC adaptor must remain connected at all times. (It is normal for the adaptor to feel warm during use.) L The AC adaptor should be connected to a vertically oriented or floor-mounted AC outlet. Do not connect the AC adaptor to a ceiling-mounted AC outlet, as the weight of the adaptor may cause it to become disconnected. -
Page 10: Reference For Wall Mounting
Reference for Wall Mounting Print this page and use as a reference for wall mounting. Install a screw here. 37 mm Install a screw here. Note: L Make sure to set the print size to correspond with the size of this page. If the dimension of the paper output still deviates slightly from the measurement indicated here, use the measurement indicated here. -
Page 11: Troubleshooting
Troubleshooting Problem Cause/solution The unit does not work. L When the indicators do not light, the AC adaptor is not connected properly. Check the connections. L When the indicators do not light green, move the unit closer to the base unit. L Registration may have been cancelled. -
Page 12: Specifications
Problem Cause/solution L The ID of the DECT repeater is the same as the ID of The DECT repeater’s & indicator and ID another DECT repeater that is registered to the same indicator flash green base unit. Deregister both of the units, then re-register and red alternately them near the base unit. - Page 13 Panasonic System Networks Co., Ltd. declares that this equipment is in compliance with the essential requirements and other relevant provisions of Radio & Telecommunications Terminal Equipment (R&TTE) Directive 1999/5/EC. Declarations of Conformity for the relevant Panasonic products described in this manual are available for download by visiting: http://www.doc.panasonic.de...


