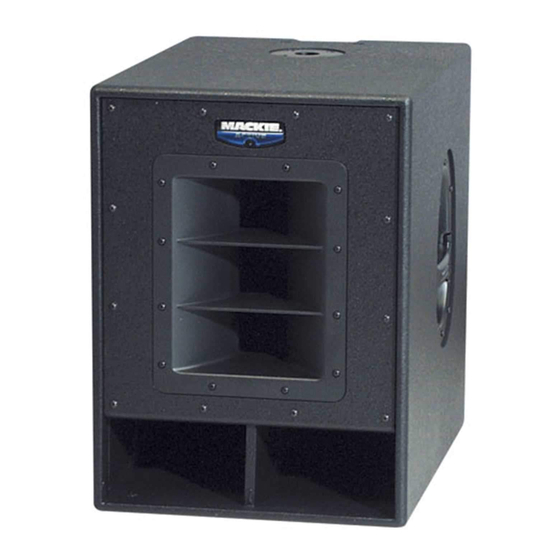
Mackie SWA1501 Repair Manual
Loudspeaker
Hide thumbs
Also See for SWA1501:
- User manual (12 pages) ,
- Specifications (4 pages) ,
- Brochure & specs (4 pages)
Table of Contents
Advertisement
Quick Links
Advertisement
Table of Contents

Related Manuals for Mackie SWA1501


Summary of Contents for Mackie SWA1501
- Page 1 SWA1501 REPAIR MANUAL ACTIVE...
-
Page 2: Tools Needed
These instructions are intended to help restore any ailing SWA1501 Active Subwoofer back to factory working conditions. They show how to remove and replace the woofer and amp assembly. Please contact Mackie Tech Support (1-800-898-3211) to receive a Service Request Number and Order Number for parts needed for this restoration. They will also help you determine the nature of the problem and what parts will repair the unit. - Page 3 Led PCB replacement: Carefully begin to remove the front panel. The wave guide is a great place to grip for stability and support. Do not fully remove front panel as the cable is Twelve screws need to be removed from still attached to the led PCB assembly.
- Page 4 Place new led PCB assembly (part #0007334) where the old one was. Follow the same steps as above, but backwards 6 to 1. Power up the SWA1501 and led should light up. Congratulations, you just replaced an led PCB assembly...now go...
-
Page 5: Woofer Replacement
Woofer replacement: Follow steps 1-4 of led PCB replacement, as the front panel will need to be removed in order to access the woofer. Carefully begin to remove the woofer. Caution: woofer is approximately 15 pounds with weight unevenly distributed. Eight screws need to be removed from the woofer using the 5mm allen wrench. - Page 6 6 to 1, making sure to keep the led PCB assembly cable in front of woofer. Power up the SWA1501 and the new woofer should now be pumping out glorious lows. Awesome, you just replaced a 15”...
-
Page 7: Amp Assembly Replacement
5mm allen wrench. The screws are located at Keep the four screws in a safe place. the top and bottom of the SWA1501 (see following pictures and further instructions). Two screws located on the top of the... - Page 8 Follow the same steps as above, but backwards 6 to 1. Power up the SWA1501 and relish in the fact that you just replaced an amp assembly. Hats off to you for a job well done! Important: The faulty amplifi...