Advertisement
Quick Links
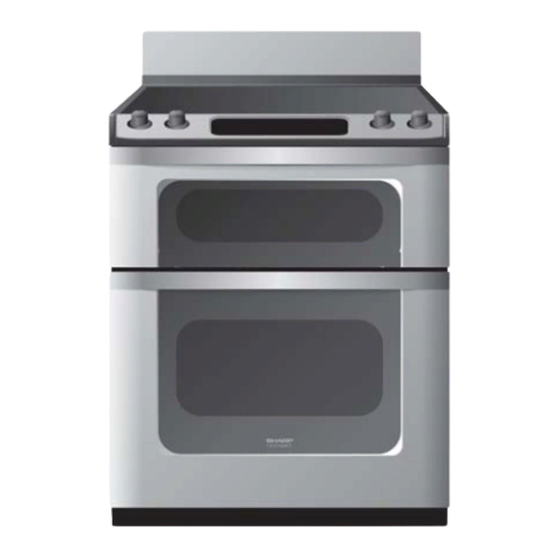
3[}" Freestanding Range
iNSTALLATiON ANDSERVICE MUSTBEPERFORMED B YA QUALiFiED iNSTALLER.
iMPORTANT:SAVETHiS iNSTALLATiON MANUAL FOR LOCALELECTRICAL
iNSPECTOR'S USE.
READ ANDSAYE THESE JNSTROCTJON$
FORFOTORE REFERENCE.
iil!
HHHHH_
For SAFETY CONSIDERATIONS
do not install a range in any combustihle
cahinetry
which
is not in
accord with the stated clearances
and dimensions
on page 2. See Figures 1 and 2,
_
Insight
"
Advertisement

Summary of Contents for Sharp KB-3425JW
- Page 1 3[}" Freestanding Range iNSTALLATiON ANDSERVICE MUSTBEPERFORMED B YA QUALiFiED iNSTALLER. iMPORTANT:SAVETHiS iNSTALLATiON MANUAL FOR LOCALELECTRICAL iNSPECTOR'S USE. READ ANDSAYE THESE JNSTROCTJON$ FORFOTORE REFERENCE. iil! HHHHH_ For SAFETY CONSIDERATIONS do not install a range in any combustihle cahinetry which is not in accord with the stated clearances and dimensions on page 2.
- Page 2 mNSTALLATmON MANUAL (((( ......................29 7/8'_ djustable backsplash width eh 18" ..42-48" with adjustaNe backsplash 6 l/e,, 36 '_ countertop height Maximum depth of cord, 7 3/8" i electrical "_ Preferred outlet area interference 4" with lower \'-\ sg"...
-
Page 3: Installation
* Do not use the oven as a storage space. This creates is any damage, do not operate the Microwave Drawer and contact potentially hazardous situation. your dealer or a SHARP AUTHORIZED SERVICER. * Never use the range for warming or heating the room. - Page 4 iNSTALLATiON MANUAL (((( ......................Risk of fire or electrical shock exists if an incorrect size range cord kit is used or the Installation Manua! or strain relief clamp are disregarded, Do not loosen the nuts which secure the factory- installed range wiring to the terminal...
- Page 5 mNSTALLATmON MANUAL 3oWINg CONNNCTION INSTNUCTmONS Befbre wiring the range, re_ ie_ the suggested power source location drawings in Figure 2. If connecting to a 4-wire electrical system: For existing installations ONLY, refer to Figure 9. Follow the manufacturer's Installation Instructions supplied Follow the power...
- Page 6 mNSTALLATmON MANUAL (((( ......................This backsplash must be installed be%re the range is moved The range backsplash is adjustable so that you can customize it into place. for your particular kitchen situation. The height can be adjusted from the low position (6-inches high) to the highest position (12-inches higN in one inch increments.
- Page 7 iNSTALLATiON MANUAL 2 DNmLLP|LOT HOLES AND FASTEN BNACN:NT Drill a l/s-inch pilot hole where screws are to be located. If bracket is to be mounted to the wall, drill pilot hole at an _pproximate NORMAL mNSTALLATmON STEPS degree downward angle. If bracket is to be mounted to masonry ANTB-TmP BRACKET mNSTALLAT|ON |NSTNUCTmON$ ceramic floors, drill a 5/32-inch pilot hole 1 3/4 inches deep.
- Page 8 Reinstall in reverse order making sure to level the range and check electrical connections. See pages 2 and 3 for proper anchoring instructions. SHARP ELECT_ONIC$ CO_PO_ATION _ECY_LED PAPER ® Sharp Plaza, Mahwah, New Jersey...


