Electrolux CH 1200 User Manual
Electrolux user manual
Hide thumbs
Also See for CH 1200:
- User manual (12 pages) ,
- User manual (14 pages) ,
- User manual (80 pages)

Related Manuals for Electrolux CH 1200


Summary of Contents for Electrolux CH 1200
- Page 1 Gebrauchsanweisung , Notice d'utilisation et d'installation EFC 6410-6405-9410-9405-650-950 CH 1200-900-600 Istruzioni per l'uso , User manual...
-
Page 2: Table Of Contents
Contents Safety warnings ... 30 For the installer ... 30 For the user ... 30 Description of the appliance ... 31 Extractor version ... 31 Filter Version ... 31 Control Panel ... 32 Correct ventilation ... 32 Maintenance and care ... 33 Cleaning the hood ... -
Page 3: Safety Warnings
Safety warnings For the installer • When used as an extractor unit, the hood must be fitted with a 120mm diameter hose. • When installing the hood, make sure you respect the following minimum distance from the top edge of the cooking hob/ring surfaces: electric cookers gas cookers... -
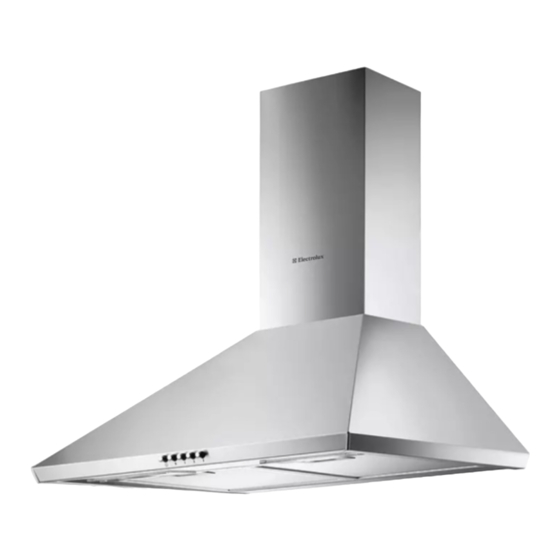
Page 4: Description Of The Appliance
• The hood is supplied as an extractor unit and can also be used with a filtering function by fitting one charcoal filter. • You will need an original ELECTROLUX charcoal filter for this function (Available from your local ELECTROLUX Service Force Centre). -
Page 5: Control Panel
Control Panel • Best results are obtained by using a low speed for normal conditions and a high speed when odours are more concentrated. Turn the hood on a few minutes before you start cooking, you will then get an under pressure in the kitchen. -
Page 6: Maintenance And Care
Maintenance and care • The hood must always be disconnected from the electricity supply before beginning any maintenance work. Cleaning the hood • Clean the outside of the hood using a damp cloth and a mild detergent. • Never use corrosive, abrasive or flammable cleaning products. -
Page 7: Charcoal Filter
• To do this you will need an original ELECTROLUX charcoal filter (available from your local Service Force Centre). • This filter cannot be cleaned or reused. • As a general rule, the activated carbon filter should be changed once every four months. -
Page 8: What To Do If
What to do if If your appliance fails to work properly please carry out the following checks. Symptom The cooker hood will not start... The cooker hood is not working The cooker hood has switched off during operation... If after all these checks, the problem persists, contact your local Service Force Centre, quoting the model and serial number. -
Page 9: Technical Assistance Service
* This information can be found on the rating plate, which can be seen when the grease filters are removed. CUSTOMER CARE DEPARTMENT For general enquiries concerning your Electrolux appliance or for further information on Electrolux products, please contact our Customer Care Department by letter or telephone at the address below or visit our website at www.electrolux.co.uk... -
Page 10: Guarantee Conditions
Standard guarantee conditions We, Electrolux, undertake that if within 12 months of the date of the purchase this Electrolux appliance or any part thereof is proved to be defective by reason only of faulty workmanship or materials, we will, at our option repair or replace the same FREE OF CHARGE for labour, materials or carriage on condition that: The appliance has been correctly installed and used only on the electricity supply stated on the rating plate. -
Page 11: Installation
Installation Unpacking Check that the cooker hood has no damages. Transportation damages should immediately be reported to the one responsible for the transport Damages, faults and eventually missing details should immediately be reported to the seller. Take care of the packing material so that small children cannot play with it. -
Page 12: Wall Unit Mounting
Installation Wall unit mounting - Fig. 8 • Put the template onto the wall (1) and drill two Ø12mm holes (2). • Fit two hooks (3) on the drilled holes. • Remove the metal filters (4) and hang the hood on the hooks and adjust the position of the hood using the two screws on the bottom of the hooks (5). - Page 13 LI1AQB Ed. 12/02...