Table of Contents
Advertisement
EN_KDC-X397[KWK0]f.indd 1
KDC-X397
KDC-355U
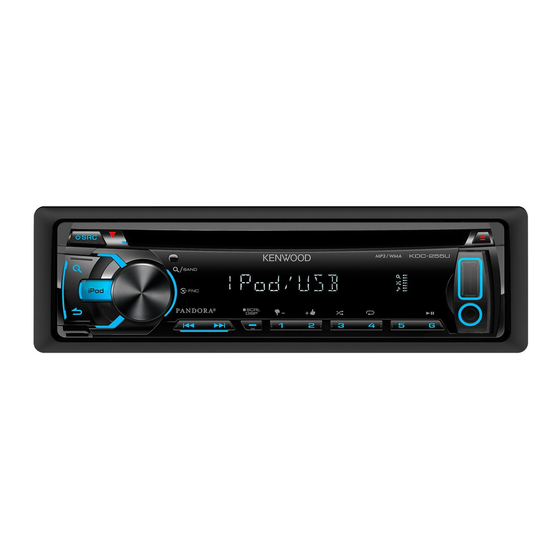
KDC-255U
KDC-155U
CD-RECEIVER
INSTRUCTION MANUAL
AMPLI-TUNER LECTEUR DE CD
MODE D'EMPLOI
REPRODUCTOR DE DISCOS COMPACTOS RECEPTOR DE FM/AM
MANUAL DE INSTRUCCIONES
Take the time to read through this instruction manual.
Familiarity with installation and operation procedures will help you obtain the best performance from your new CD-receiver.
For your records
Record the serial number, found on the back of the unit, in the spaces designated on the warranty card, and in the space provided below. Refer to the model and serial
numbers whenever you call upon your Kenwood dealer for information or service on the product.
Model KDC-X397/ KDC-355U/ KDC-255U/ KDC-155U/ KDC-MP255U/ KDC-MP155U/ KMR-355U Serial number
Register your Kenwood product at www.Kenwoodusa.com
© 2012 JVC KENWOOD Corporation
KDC-MP255U
KDC-MP155U
KMR-355U
GET0847-001A (KW/K0)
7/24/12 5:04:30 PM
Advertisement
Table of Contents

Related Manuals for Kenwood KDC-255U


Summary of Contents for Kenwood KDC-255U
-
Page 1: Manual De Instrucciones
Record the serial number, found on the back of the unit, in the spaces designated on the warranty card, and in the space provided below. Refer to the model and serial numbers whenever you call upon your Kenwood dealer for information or service on the product. -
Page 2: Table Of Contents
CONTENTS BEFORE USE BEFORE USE Warning Do not operate any function that takes your attention away from safe driving. BASICS GETTING STARTED Caution Volume setting: RADIO • Adjust the volume so that you can hear sounds outside the car to prevent accident. •... -
Page 3: Faceplate Overview
BASICS Faceplate Remote control (RC-406) KMR - 355U (not supplied for KDC - X397 Display window Attach Remote sensor (Do not expose to bright sunlight.) Volume knob (turn/press) Loading slot Detach Pull out the insulation sheet * Not used. when using for the first time. -
Page 4: Cancel Demonstration
F/W UP xx.xx YES: Starts upgrading the firmware. ; NO: Cancels (upgrading is not activated). directly while in clock display screen. For details on how to update the firmware, see: www.kenwood.com/cs/ce/ Then, perform steps above to set the clock. EN_KDC-X397[KWK0]f.indd 4... -
Page 5: Search For Station
RADIO Default: XX Selects the tuning method for the 4 / ¢ buttons. SEEK MODE AUTO1: Automatically searches for a station. ; AUTO2: Searches for a preset station. ; MANUAL: Manually search for a station. AUTO YES: Automatically starts memorizing 6 stations with good reception. ; NO: Cancels. MEMORY (Selectable only if [NORMAL] / [NORM] is selected for [PRESET TYPE].) ( Search for a station... -
Page 6: Cd / Usb / Ipod
Turn the volume knob to make a selection, then press the knob. • MP3/WMA file: Select the desired folder, then a file. The source changes to USB and playback • iPod or KENWOOD Music Editor Light (KME Light)/ KENWOOD Music starts. Control (KMC) file *... -
Page 7: Aux
CD / USB / iPod Preparation: Direct Music Search (using RC-406) Set the skip ratio Select [ON] for [BUILT-IN AUX] / [BUILTIN AUX]. ( KMR - 355U (except for KDC - MP155U While listening to iPod (except for ) or Press KME Light/ KMC file... -
Page 8: Pandora
KDC - X397 (for PANDORA® SiriusXM™ KDC - 355U KDC - X397 KDC - 355U KDC - 155U KMR - 355U KDC - 255U KMR - 355U (for Preparation: Preparation: Do this Install the latest version of the Pandora® application Connect the optional SiriusXM Connect Vehicle Press 38 (or press Pause or resume... - Page 9 SiriusXM™ If a locked channel or a mature channel ([MATURE CH] is set to [ON]) Default: XX is selected, a pass code input screen appears. Enter the pass code to Selects the tuning method for the 4 / ¢ buttons. SEEK MODE receive the channel.
-
Page 10: Audio Settings
AUDIO SETTINGS While listening to any source... LOUDNESS LOUDNESS LV1/ LOUD LV1/ LOUDNESS LV2/ LOUD LV2: Selects your Press the volume knob to enter [FUNCTION]. preferred low and high frequencies boost to produce a well-balanced sound at Turn the volume knob to select [AUDIO CONTROL]/ [AUDIO CTRL], then press the a low volume level. -
Page 11: Display Settings
[USER]. • You cannot operate iPod if “KENWOOD” or impossible depending on the types or conditions 1 Press and hold the volume knob to enter the detailed color adjustment. -
Page 12: Troubleshooting
TROUBLESHOOTING Symptom Remedy Symptom Remedy • Adjust the volume to the optimum level. • Reconnect the iPod. • Check the cords and connections. • Reset the iPod. Check to be sure the terminals of the speaker wires are Skip to another track or change the disc. insulated properly, then reset the unit. -
Page 13: Specifications
SPECIFICATIONS KDC - X397 KDC - 355U KDC - 255U USB 1.1, USB 2.0 (Full speed) KDC - 155U KMR - 355U DC 5 V 87.9 MHz to 107.9 MHz (200 kHz space) FAT16/ 32 KDC - MP255U KDC - MP155U Compliant with MPEG-1/2 Audio Layer-3 87.5 MHz to 108.0 MHz (50 kHz space) Compliant with Windows Media Audio... -
Page 14: Installation / Connection
Installating the unit (in-dash mounting) Warning • The unit can only be used with a 12 V DC power supply, negative ground. Do the required • Disconnect the battery’s negative terminal before wiring and wiring. ( mounting. • Do not connect Battery wire (yellow) and Ignition wire (red) to the car chassis or Ground wire (black) to prevent a short circuit. -
Page 15: Wiring Connection
To the steering wheel remote control adapter wire) Gray ( ×1 ) KMR - 355U To front speaker (right) Gray/Black To Kenwood Wired Marine Remote Control unit D Wiring harness Light blue/yellow (optional accessory) Green (Marine remote control For the latest information on marine accessories... - Page 16 Please note that the use of this accessory with iPod or iPhone may affect wireless performance. JVC KENWOOD Corporation • iPhone, iPod, iPod classic, iPod nano, and iPod touch are trademarks of Apple 2967-3, ISHIKAWA-MACHI, Inc., registered in the U.S.