Advertisement
Quick Links
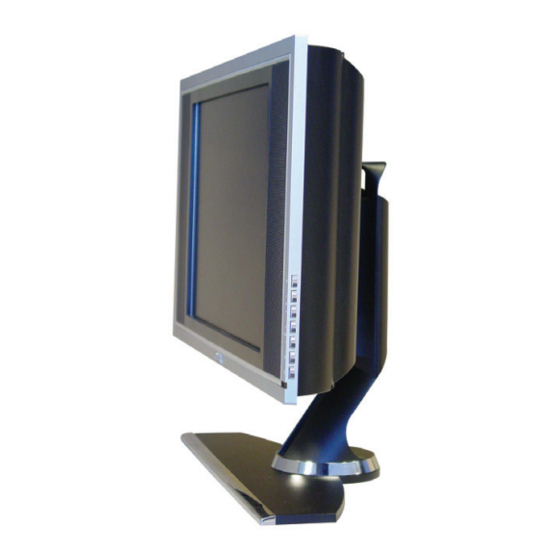
1
Attach the stand to the
TV display.
a
2
DVI
DVD
VCR
Connect your computer
using the DVI and audio
cables.
Use the connectors
and cables to connect
devices such as DVD
players, VCR or a cable
TV box. For more infor-
mation about the
connectors, see your
Own
w w er's Manual. l l
(1) / AAA
(2) /
(1) /
Package Contents: remote control (1) / AAA batteries (2) / composite cable (1) / audio cables (2) / VGA cable (1) / DVI cable (1) / computer audio cable (1) / S-Video cable (1) / documentation
Dell W1900 19
TM
Setting up Your Dell W1900 19" LCD TV Display
TM
CAUTION:
Before you set up and use your LCD TV
display, see the safety instructions in the
Product Info f f rm r r ati t t on Guide. Also, see your
w w er's Manual for a complete list of
Own
features and additional information about
setting up and using your LCD TV display.
b
DVD
Connect devices such as
a DVD player, or cable TV
box using the component
and audio cables.
(2) / VGA
(1) / DVI
(1) /
w w w . d e l l . c o m
|
s u p p o r t . d e l l . c o m
a
c
b
d
c
d
VGA
Connect cable TV box
Connect your computer
using the coaxial cable.
using the VGA and
audio cables.
(1) / S-Video
(1) /
e
f
e
f
S-Video
DVD
VCR
VCR
Connect devices such
Connect devices such as
as a DVD player, VCR
a DVD player, VCR or cable
TV box using the S-Video
or cable TV box using
and audio cables.
the composite and
audio cables.
DVD
ı
Advertisement

Related Manuals for Dell W1900 19


Summary of Contents for Dell W1900 19
- Page 1 Dell W1900 19 Setting up Your Dell W1900 19" LCD TV Display Attach the stand to the TV display. Connect your computer using the DVI and audio cables. Use the connectors and cables to connect devices such as DVD players, VCR or a cable TV box.
- Page 2 Setting up Your Dell W1900 19" LCD TV Display Install batteries in your remote control Dell W1900 19 Additional tips for setting up and using your Dell W1900 19" LCD TV Display (OSD) Menu VGA - DVI - To access the on-screen-display (OSD) andadjust the settings...