Black & Decker Workmate 425 TYPE 5 - Workbench Manual
- Instruction manual (2 pages) ,
- Manual (2 pages)
Advertisement
ASSEMBLY

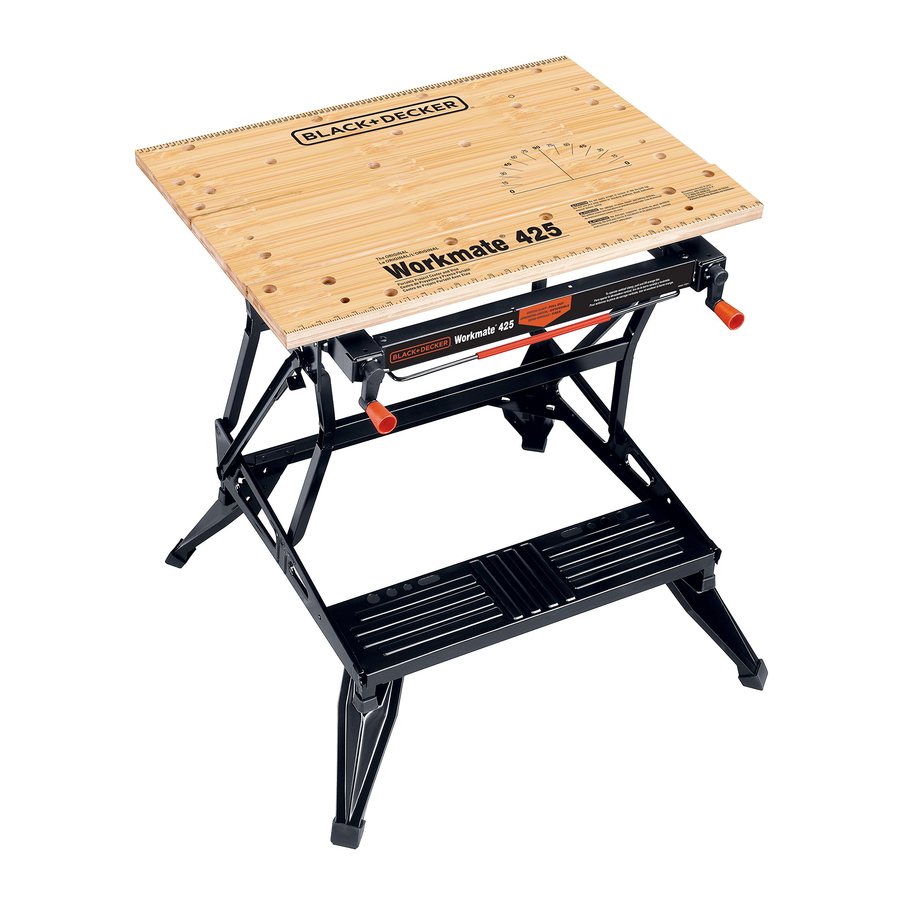
- The Workmate®425 work center comes partially assembled. Empty the carton completely onto the floor and identify all the components. (Fig. 1)

- Assemble two top blocks to the underside of the rear jaw by fitting the raised posts on the top blocks into the smaller holes of the rear jaw. Insert bolts through the rear jaw and into top blocks and tighten with supplied wrench. (Fig. 2)

- Assemble top blocks to middle jaw the same as rear jaw. (Fig. 3)

- Remove the white clip from the end of each vise screw and discard. (Clip is for protection of part only.)
- Aligning the hole in the vise crank with the hole in the vise screw, push the vise crank onto the vise screw end (protruding from the front of the vise jaw bracket). Using a hammer, drive the supplied pin into the aligned holes. Repeat this procedure for the installation of the other vise crank. (Fig. 4)

- Complete the assembly by pushing the snap-in knobs into the holes in the vise cranks.(Fig. 5)

- Install the front vise jaw on top of the top blocks so that the small holes at each end of the vise jaw fit down over the posts on the top side of the blocks. With the jaw positioned as described above insert into the frame as shown in figure 6. Insert a bolt into the holes in the jaw and tighten them securely into the holes in the pivot nut. Use the socket wrench provided.

- Tip the front of the Workmate® up and rest it against your knee as shown in Fig. 7. Pull upwards on both left and right release levers to unlock Workmate® (Fig. 7a). Using both hands, push the top of the Workmate® up and away from you while holding the footrest with your other hand until the frame locks in place. (Fig.7b) Note: New Workmate® are stiff and require more effort to raise into the locked working position. To close the Workmate® for storage, pull upward on the two release levers to unlock the Workmate®. While holding the levers up pull back and down to close the Workmate®. (Fig.7c)


FEATURES & APPLICATIONS
VERTICAL CLAMPING
- Pull vertical locking bar toward yourself and lift front vise jaw until it is in vertical, locked position Note: Rear jaw must be in middle "keyhole" position. (Fig. 8)


CHANGING THE INDEXED POSITION OF THE REAR JAW
- Install rear jaw in one of three possible indexed "keyhole" positions by inserting the indexing lug into a keyhole in the vise jaw bracket. Secure the rear jaw by moving rear jaw to the back of the key hole. (Fig. 9)


INSTALLING THE MIDDLE JAW
- With front jaw cranked to the front of the work center, insert the indexing lugs of the middle jaw into the front keyholes. Rear jaw is then installed in the back keyholes. Turn crank handle clockwise to tighten. (Fig 10)
![]()

SWIVEL PEGS
- The four supplied swivel pegs can be used in any of the holes in the front and rear jaws. The pegs are used to extend the size of your Workmate's holding capacity. (Fig 11)
![]()

SERVICE INFORMATION
All Black & Decker Service Centers are staffed with trained personnel to provide customers with efficient and reliable power tool service. Whether you need technical advice, repair, or genuine factory replacement parts, contact the Black & Decker location nearest you. To find your local service location, refer to the yellow page directory under "Tools—Electric" or call: 1-800-54-HOW TO. (544-6986)

To assure product SAFETY and RELIABILITY, repairs, maintenance and adjustment should be performed by Black & Decker Service Centers or other qualified service organizations, always using identical replacement parts.

Documents / ResourcesDownload manual
Here you can download full pdf version of manual, it may contain additional safety instructions, warranty information, FCC rules, etc.
Download Black & Decker Workmate 425 TYPE 5 - Workbench Manual
Advertisement
Thank you! Your question has been received!


Need Assistance?
Do you have a question about the Workmate 425 TYPE 5 that isn't answered in the manual? Leave your question here.