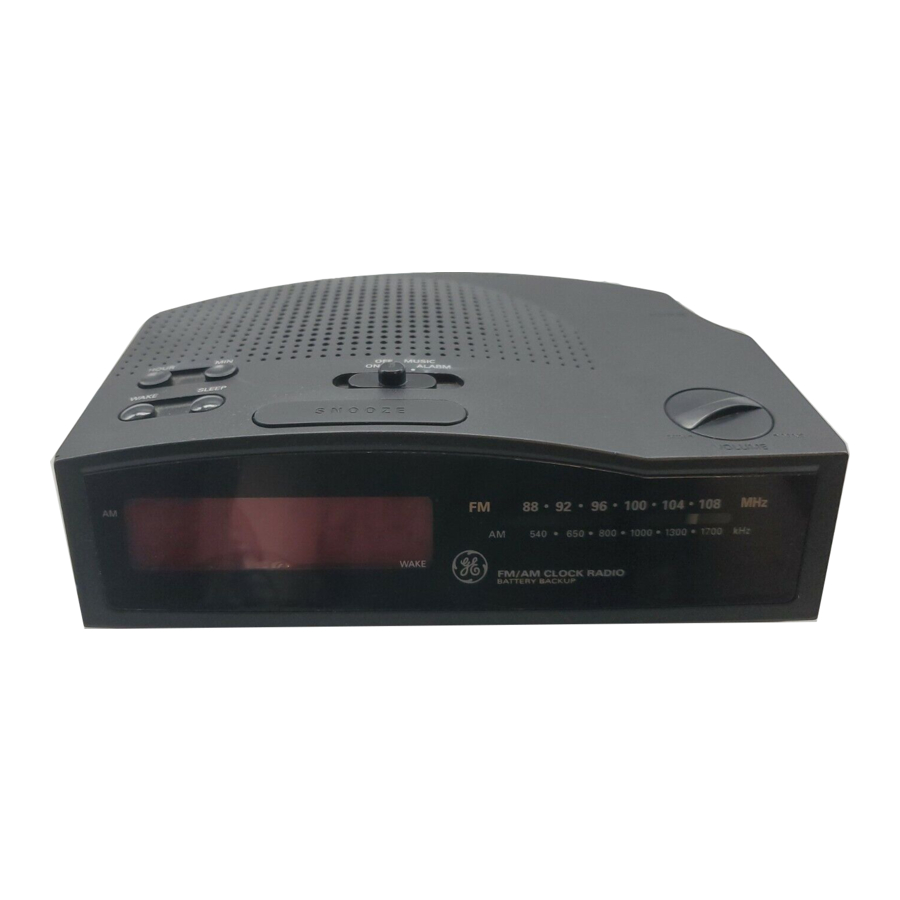
GE 7-4812, 7-4813 - Spacesaver Digital Clock Radio Manual
- User manual (2 pages) ,
- User manual (9 pages)
Advertisement
"NO WORRY " BATTERY BACKUP
This clock radio is equipped with a memory holding system that can be powered with a customer-installed 9-volt alkaline battery (not included). The power failure protection circuit will not operate unless battery is installed.
When normal household power is interrupted, or AC line cord is unplugged, the battery will power the clock radio to keep track of time and alarm settings programmed into memory. When on battery power, the digital display will not light; however, should WAKE TIME occur during the power interruption, the radio will operate or the alarm will sound if remaining battery power is adequate. Normal operation will resume after AC power is restored so you will not have to reset time or alarm. Install battery as follows:
- Remove battery compartment door (located on the back of the radio) by applying thumb pressure to area indicated on battery door and then lift the door out and off the cabinet.
- Connect a 9-volt battery to battery connector plug.
- Insert battery in compartment and replace compartment door.
NOTE: Alkaline (NEDA 1604A) batteries are recommended. Carbon-zinc (NEDA 1604) batteries may be used but memory holding time will be substantially reduced. Memory holding time for a fresh alkaline battery is approximately 8 hours (if radio or alarm are not operated), which should take care of short, nuisance-type AC power failures. To preserve battery life, the radio should remain plugged into an AC outlet. As batteries get older, their voltage drops and memory may be lost. Be sure to replace the battery periodically. Battery should be removed if the radio will be stored for more than one day. Leaky batteries can badly damage the clock radio.
POWER FAILURE INDICATOR
When AC power is interrupted (disconnected) for a short period both time and alarm settings will change (unless optional battery is installed). After AC power is restored (reconnected) the Digital Display will blink to indicate that power was interrupted and you must readjust the TIME and ALARM settings. To stop display from blinking, press the HOUR or MIN button.
OPERATE THE RADIO

- Plug the power cord into any 120-V AC household outlet.
- Turn the FUNCTION SELECTOR to ON.
- Slide the AM/FM BAND switch (located on the back of the unit) to the desired broadcast band.
- Turn TUNING knob to select a station.
- Adjust the VOLUME control to your preferred listening level.
- To turn the radio off, slide the FUNCTION SELECTOR to OFF.
BUILT-IN AFC
The Built-In Automatic Frequency Control (AFC) works only on FM. It helps to reduce drift on FM reception and to keep the radio locked in on the FM station to which it is tuned.
When tuning in FM stations, you may notice that often the station you desire can be heard on two or three nearby points on the dial. Always tune carefully to the loudest and clearest point.
ANTENNAS
AM Antenna - A built-in ferrite rod antenna eliminates the need for an outside antenna for AM reception. Rotating the unit slightly may improve reception of distant AM stations.
FM Antenna - The power cord acts as your FM antenna. The power cord picks up moderate to strong stations and eliminates the need for an external antenna in most strong signal areas. Be sure the power cord is stretched out to its full length. Do not coil or bunch the cord together. Changing position of the power cord may improve reception.
SET THE TIME
Your digital clock timer operates on a 12-hour cycle. The AM indicator on the left of the display will light up to let you know if the display is reading AM time.
- Press the HOUR button to get the correct AM or PM hour.
- Press the MIN button to get to the exact minute time.

SET THE WAKE TIME
- Press and hold WAKE button.
- While holding the WAKE button, use the HOUR and MIN buttons to change the display to desired AM or PM wake-up time.
- Release WAKE button and the current time is displayed again. Wake time is set.
WAKE TO MUSIC
- Select an AM or FM station
- Set wake time (See SET THE WAKE TIME directions).
- Set FUNCTION SELECTOR to MUSIC position. (The WAKE INDICATOR in the display will light.)
The radio will turn on at the wake time you set and will turn itself off after approximately 2 hours. To turn the radio off sooner, set FUNCTION SELECTOR to OFF.
WAKE TO ALARM
- Set the wake time.
- Place the FUNCTION SELECTOR in the ALARM position. The WAKE INDICATOR in the display will light.
The tone alarm will sound at the wake time you set and turn itself off after approximately 2 hours. To turn the alarm off sooner, set FUNCTION SELECTOR to OFF. Your clock radio has a 24-hour timer. When FUNCTION SELECTOR is left in MUSIC or ALARM wake mode, it will turn itself on, sound for approximately 2 hours, turn itself off, and turn on again at the same time the following day. The WAKE INDICATOR in the display lights when the clock radio is in a WAKE mode.
SLEEP TO MUSIC
You can drift off to sleep to music knowing that the radio will turn itself off automatically. Simply:
- Set the FUNCTION SELECTOR to the OFF position.
- Press and hold the SLEEP button. The time display will exhibit 0:59. The radio will turn on automatically.
- While holding SLEEP button, press the MIN button and time will start to count down. Select any sleep time between 59 minutes and 1 minute. For sleep time of more than 59 minutes, up to 1 hour and 59 minutes, momentarily press the HOUR button (while holding down the SLEEP button). The display will exhibit 1:59. Then, press MIN button to select the desired amount of sleep time in excess of 1 hour.
- Release SLEEP button and the current time is once again displayed. The radio is now on and you can select your station in the usual way. Play will be for the chosen length of time (up to 1 hour 59 minutes), and then the radio will turn itself off. If you decide to turn the radio off sooner, press the SNOOZE button.
SLEEP TO MUSIC AND WAKE TO MUSIC OR ALARM
You can set your digital clock radio to lull you to sleep, turn itself off, than awaken you at a preset time - all automatically.
- Set the wake time.
- Follow the steps under WAKE TO MUSIC or WAKE TO ALARM.
- Then, proceed with Steps 2 through 4 under SLEEP TO MUSIC.
NOTE: Be sure the FUNCTION SELECTOR is in either MUSIC or ALARM WAKE position.
SNOOZE ALARM OPERATION
The Snooze-Alarm control has three functions:
- It allows extra sleep time after the radio comes on in the WAKE TO MUSIC mode. Press SNOOZE bar to silence the radio. About 9 minutes later, the radio will play again.
- It allows extra sleep time in the WAKE TO ALARM mode. When the alarm sounds, touch the SNOOZE bar to silence the alarm. About 9 minutes later, the alarm will sound again. You can use the SNOOZE feature repeatedly for up to two hours, after which the radio or alarm will turn off until the next day.
- It shuts off the sleep cycle. (See SLEEP TO MUSIC.)
MINUTES AND SECONDS TIME DISPLAY
For a display of time in minutes and seconds:
- Press and hold the WAKE button.
- While holding down WAKE button, momentarily press the SLEEP button. The hour digits will display minutes; the minute digits will display seconds and start to increment. Release WAKE button to return to the hour and minute display.

Documents / ResourcesDownload manual
Here you can download full pdf version of manual, it may contain additional safety instructions, warranty information, FCC rules, etc.
Download GE 7-4812, 7-4813 - Spacesaver Digital Clock Radio Manual
Advertisement


Need help?
Do you have a question about the 7-4812 and is the answer not in the manual?
Questions and answers