Advertisement
CAUTION
- Do not expose the batteries to excessive heat such as sunshine, fire or the like.
- Replace the battery with the specified type only. Otherwise, burst, fire or injury may result.
- Dispose of used batteries according to the instructions.
Notes on use
This flash unit can be used in combination with Sony Interchangeable Lens Digital Cameras or Sony Digital Still Cameras that has a conventional Multi Interface Shoe.
Update the software of your camera to the latest version before use.
- For camera models compatible with this unit, visit the website at: https://www.sony.net/dics/f60rm2/
![]()
- See the operating instructions of this unit and refer to the operating instructions of your camera.
- To avoid the risk of a fire or an electric shock, observe the following:
- Do not disassemble or alter this unit.
- Do not use this unit with wet hands.
- Do not allow ingress of water or foreign matters (metal, flammable substances, etc.) to this unit.
- Do not use this unit in a place subject to water splashes, high humidity, dust, oil fumes, and steam.
- Using this unit with products from other manufacturers may affect its performance, leading to accidents or malfunction.
- To avoid the risk of damage or a malfunction, observe the following:
- This unit is precision equipment. Do not drop the unit, hit it, or subject it to a strong physical impact.
- Do not touch the electrical contacts on this unit with bare hands.
- Do not use or store this unit in a place subject to high temperatures and humidity.
- When using this unit outdoors, keep the unit from exposure to rain or seawater.
- For interior inspection and repair of this unit, contact your Sony dealer or local authorized Sony service facility.
- Handle this unit with care to avoid the risk of dropping it or letting it exposed to liquid.
- To avoid a malfunction, do not use this flash unit in combination with any commercially available flash units with:
- over 250 V
- reversed polarity
- This unit is designed to be dust and moisture-resistant, but is not waterproof or splash-proof. When you use the unit in rainy conditions, do not let the unit get wet.
- Keep the flashlamp clean. The soiled flashlamp surface may cause heat buildup, resulting in smoke or scorches. To clean the flashlamp, wipe it with a soft cloth, etc.
- This product (including accessories) has magnet(s) which may interfere with pacemakers, programmable shunt valves for hydrocephalus treatment, or other medical devices. Do not place this product close to persons who use such medical devices. Consult your doctor before using this product if you use any such medical device.

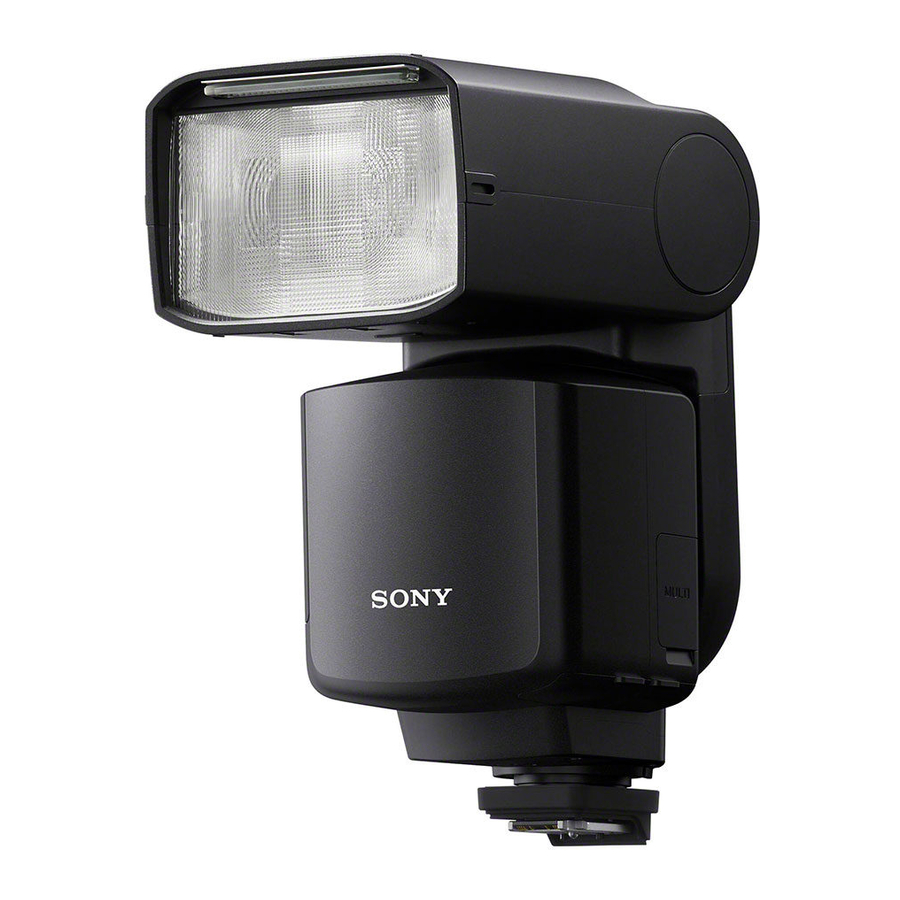
Identifying the parts

- Bounce sheet
- Built-in wide panel
- Flashlamp
- Multi/Micro USB terminal
- Sync terminal
- DC IN terminal Connect the External Battery Adaptor (not supplied) to this terminal.
- Multi Interface foot
- Mini-stand
- Tripod attachment hole
- Bounce indicator (upper/ lower angle)
- LINK lamp
- LCD panel
- Battery chamber door
- Release button
- Lock lever
- Dust and moisture resistant cover
- Fn button
- MENU button
- Power switch By selecting "LOCK," you can disable the control wheel and the buttons on the flash unit to prevent unintentional operations.
- Control wheel
- Center button
- LEVEL -/+ button
- TEST button
- Direction buttons
Inserting batteries

The flash unit can accommodate either set of the following:
- Four AA-size alkaline batteries
- Four AA-size rechargeable nickel-metal hydride (Ni-MH) batteries
- Insert the batteries into the battery chamber as illustrated (
![]() ). (
). (![]() indicate the direction of the batteries.)
indicate the direction of the batteries.)
 ). (
). ( Note
Note
- Before you use the rechargeable nickel-metal hydride batteries, be sure to fully charge the batteries with the specified battery charger.
- Do not use lithium-ion batteries in this flash unit as they may prevent the flash unit from delivering full performance.
Attaching the flash unit to a camera

- Turn the power switch on the flash unit to "OFF."
- Press and hold the release button and rotate the lock lever away from "LOCK." (
![]() )
) - Remove the connector protect cap from the flash unit; and the shoe cap from the camera.
- If the built-in flash on the camera is popped up, put it down.
- Insert the Multi Interface foot of the flash unit into the Multi Interface shoe on the camera. (
![]() )
) - Be sure to push in the foot in the direction of the arrow until the foot is secured.
- Rotate the lock lever toward "LOCK" until it stops at the right end (
![]() ) to secure the flash unit on the camera.
) to secure the flash unit on the camera.
 )
) )
)  ) to secure the flash unit on the camera.
To remove the flash unit from the camera
Turn off the power of the flash unit first. Press and hold the release button, rotate the lock lever away from "LOCK," and then slide the unit out of the Multi Interface shoe.
Note
Once you removed the flash unit from the camera, be sure to attach the connector protect cap to the Multi Interface foot to protect its terminal.
TTL flash photography

For details about the functions and settings of the flash unit, refer to the Help Guide.
- Turn the power switch on the flash unit to "ON." (
![]() )
) - When you turn on the power to this flash unit, the flash unit starts charging up itself. When the flash unit is fully charged up, the TEST button (
![]() ) lights in orange.
) lights in orange.
- When you turn on the power to this flash unit, the flash unit starts charging up itself. When the flash unit is fully charged up, the TEST button (
- Press the MODE button (
![]() ) and rotate the control wheel to select [TTL].
) and rotate the control wheel to select [TTL]. - Press the shutter button on the camera to take a photo.
- You can press the LEVEL -/+ button to change the flash compensation value (adjust the flash power level).
 )
)  ) and rotate the control wheel to select [TTL].
Wireless flash photography (with radio wireless communications)
To perform radio wireless flash photography with the flash unit, you need another flash unit that supports radio wireless communications in addition to this flash unit and must pair them both together. For details, refer to the Help Guide.
Specifications
| Dimensions (Approx.) | 78.1 mm × 143.1 mm × 104.6 mm (3 1/8 in. × 5 3/4 in. × 4 1/8 in.) (W/H/D) |
| Mass (Approx.) | 439 g (15.5 oz) (excluding the batteries) |
| Power requirements | DC 6 V |
| Recommended batteries | Four LR6 (AA-size) alkaline batteries Four AA-size rechargeable nickel-metal hydride batteries |
| Included items | Flash unit (1), Connector protect cap (attached) (1), Dust and moisture resistant cover (attached) (1), Mini-stand (1), Case (1), Bounce adaptor (1), Color filter (amber) (1), Color filter (green) (1), Pouch (1), Set of printed documentation |
Design and specifications are subject to change without notice.
"Multi Interface Shoe" is a trademark of Sony Group Corporation.
For Customers in the U.S.A.
For question regarding your product or for the Sony Service Center nearest you, call 1-800-222-SONY (7669).
Supplier's Declaration of Conformity
Trade Name: SONY
Model: HVL-F60RM2
Responsible Party: Sony Electronics Inc.
Address: 16535 Via Esprillo, San Diego, CA 92127 U.S.A.
Telephone Number: 858-942-2230
This device complies with part 15 of the FCC rules. Operation is subject to the following two conditions:
- This device may not cause harmful interference, and
- This device must accept any interference received, including interference that may cause undesired operation.

Documents / Resources
References
Download manual
Here you can download full pdf version of manual, it may contain additional safety instructions, warranty information, FCC rules, etc.
Advertisement
Thank you! Your question has been received!


Need Assistance?
Do you have a question about the HVL-F60RM2 that isn't answered in the manual? Leave your question here.