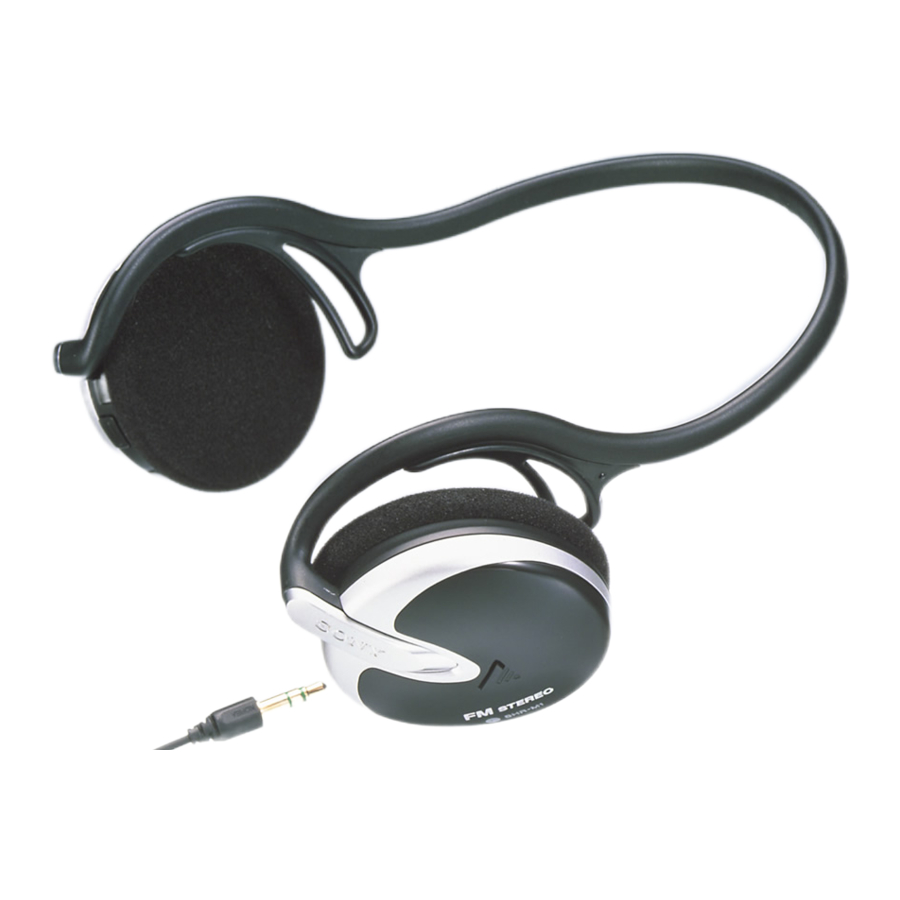
Sony SHR-M1 - PLL Synthesized FM Stereo Headphone Radio Operating Instructions
- Service manual (18 pages) ,
- Operating instructions (2 pages)
Advertisement


To prevent fire or shock hazard, do not expose the unit to rain or moisture.
To avoid electrical shock, do not open the cabinet.
Refer servicing to qualified personnel only.
Overview

Features
- A PLL (Phase Locked Loop) synthesized "handsfree" head set style FM stereo head p hone rad io
- Use as a stereo headphone set by simply connecting to an MD WALKMAN *1, CD WALKMAN, etc.
- Presets for up to 15 FM stations.
- The display shows the frequency only while tu ning.
*1 "MD WALKMAN " is a trademark of Sony Corporation.
Getting Started
Installing the battery
Open the battery compartment lid on the left earpad (marked  on the outside) and insert one R03 (size AAA) battery.
Be sure to position the battery according to the polarity indicated in the compartment and insert the battery from the  side first.

Battery life
Using Sony alkaline LR03 (size AAA) battery:
Approx. 27 hours
Using Sony R03 (size AAA) battery:
Approx. 11 hours
Replacing the battery
When the sound becomes weak or distorted, replace the battery with new one.
Alarm the Battery Exhaustion
When the battery becomes weak, an alarm w ill beep, and "batt" will flash in the display. Then, the power will be turned off. When you turn on the power, you can listen to the radio for a while, however, the alarm will beep again. Make sure to replace the battery with a new one.
Notes on batteries
- Align the battery correctly.
- The dry battery cannot be charged.
- To avoid damage from possible battery leakage, rem ove the battery w hen the unit will not be u sed for a long time.
If the battery compartment lid is detached
If the compartment lid is opened forcibly, the lid may become detached. If this happens, reattach the lid as shown in the figure.

Wearing the Radio

- While positioning the left earpad (marked
![]() on the outside) on your left side and the right earpad (marked
on the outside) on your left side and the right earpad (marked ![]() on the outside) on your right side, wear the neckband around the back of your head.
on the outside) on your right side, wear the neckband around the back of your head. - Put your left ear between the earpad (marked
![]() on the outside) and the neckband, and your right ear between the earpad (marked
on the outside) and the neckband, and your right ear between the earpad (marked ![]() on the outside) and the neckband.
on the outside) and the neckband. - Adjust the angle of the neckband to fit the headphones on your ears.
 on the outside) on your right side, wear the neckband around the back of your head.
Operating the Radio - Manual Tuning
The display turns on only when the radio is operated, so you can tune in a station while seeing the display.
- Set RADIO ON/OFF•
![]() to ON.
to ON. - Press TUNE +/– to tune in a station.
When + is pressed, the frequency is raised.
When – is pressed, the frequency is lowered.
Each time + or – is pressed, the frequency is changed in 0.1 MHz units.
To rapidly change the frequency, keep pressing + or –. - Adjust VOL (volume).
Although the antenna is built in the neckband, you can obtain a better reception by connecting the connecting cord.
To turn off the radio
Set RADIO ON/OFF•  to OFF• .
If noise is heard due to too strong reception signal
Set SENS to LOCAL. Normally, set SENS to DX.
Presetting Your Favorite Stations - Preset Tuning
You can preset up to 15 of your favorite FM stations.
To access the stations, simply select the corresponding PRESET numbers (M1 to M15).
Presetting a Station
- Tune in a station to be preset manually.
- Keep pressing PRESET (M1-M15) until "M2" flashes and three beeps sound.
Example: When the 90.0 MHz station is preset to "M2". @ @

- Press TUNE +/– to select the PRESET (M1-M15) number.
- Press PRESET (M1-M15).
You will hear beeps and presetting is complete.

Changing the Preset Station
Follow from step 2 above to preset a new station.
The station previously stored to the same preset number will be canceled.
Tuning in a Preset Station
- Set RADIO ON/OFF•
![]() to ON.
to ON. - Press PRESET (M1-M15) so that the desired preset number appears in the display.
- Adjust VOL (volume).
Listening to the sound of MD WALKMAN / CD WALKMAN
This unit can be used as a headphones.
Connecting the connecting cord (supplied) to an portable audio equipment such as an MD WALKMAN or CD WALKMAN allows you to enjoy various sources via this unit.
- Set RADIO ON/OFF•
![]() to OFF•
to OFF• ![]() .
. - Connect the connecting cord (supplied) to the AUDIO IN jack of this unit and to the
![]() (headphones) jack of an MD WALKMAN, etc.
(headphones) jack of an MD WALKMAN, etc.

- Operate the MD WALKMAN, etc.
To adjust the volume, use the volume control on the connected equipment, such as an MD WALKMAN, etc.

The length and the shape of the connecting cord are different depending on where you purchased this product.
Notes
- To operate the radio while an audio equipment is connected, turn off the equipment and set RADIO ON/OFF•
![]() on this unit to ON.
on this unit to ON. - Refer to the operating instructions supplied with the equipment to be connected.
Precautions
- Operate the unit only on 1.5V DC with one R03 (size AAA) battery.
- Avoid exposure to temperature extremes, direct sunlight, moisture, sand, dust or mechanical shock. Never leave in a car parked in the sun.
- Should anything fall into the unit, remove the battery, and have the unit checked by qualified personnel before operating it any further.
- To clean the casing, use a soft cloth dampened with a mild detergent solution.
- In vehicles or in buildings, radio reception may be difficult or noisy. Try listening near a window.
- This product is not designed to be splashresistant, so you should take care to use the unit when raining, snowing or in a water-splash place.
Notes on Headphones
Road safety
Do not use headphones while driving, cycling, or operating any motorized vehicle. It may create a traffic hazard and is illegal in many areas. It can also be potentially dangerous to play your headphones at high volume while walking, especially at pedestrian crossings. You should exercise extreme caution or discontinue use in potentially hazardous situations.
Preventing hearing damage
Avoid using headphones at high volume.
Hearing experts advise against continuous, loud and extended play. If you experience a ringing in your ears, reduce volume or discontinue use.
Caring for others
Keep the volume at a moderate level. This will allow you to hear outside sounds and to be considerate to people around you.

If there is lightning when you are using the unit, take off the headphones radio immediately.
If you have any questions or problems concerning your unit, please consult your nearest Sony dealer.
Specifications
Radio segment
Frequency range
| Frequency range | Channel step |
| FM 87.5-108 MHz | 0.1 MHz 0.05 MHz*2 |
*2 The frequency is displayed in 0.1 MHz units.
(Example: Frequency 88.00 and 88.05 MHz is displayed as "88.0 MHz".)
Power output: 3.5 mW + 3.5 mW
Headphone Segment
Headphone type: Open-air Dynamic
Driver unit: ø 30 mm Dome type
Input: ø 3.5 mm stereo mini-jack
Maximum input: 100 mW
Impedance: 24 ohms (at 1kHz)
Frequency characteristic: 14 to 24,000 Hz
Others
Power requirements
1.5 V DC, one R03 (size AAA) battery
Mass
Approx. 99.5 g (3.5 oz) incl. a battery, not incl.cord
Accessories supplied
Connecting cord (1)
Design and specifications are subjected to change without notice.

Documents / ResourcesDownload manual
Here you can download full pdf version of manual, it may contain additional safety instructions, warranty information, FCC rules, etc.
Download Sony SHR-M1 - PLL Synthesized FM Stereo Headphone Radio Operating Instructions
Advertisement
Thank you! Your question has been received!


Need Assistance?
Do you have a question about the SHR-M1 that isn't answered in the manual? Leave your question here.