Advertisement
Quick Links
Dimensional Drawings:
146mm
Installation:
1
4
5
1 2 3 4
1 2 3 4
1h
3h
(default position)
Step 1: Unfasten the two retaining screws to dismantle the luminaire.
Step 2: Install the bracket to the bottom part of the luminaire, with the supplied screw (long one) and nut.
Step 3: Make a hole in the center of the rubber gasket by using a small screwdriver. Pass the mains cable
through the rubber gasket. Always use in any case round mains cable, with a diameter of 5-10mm.
ATTENTION!! The cable must not be deformed in any way (This requirement is important to ensure the
IP rating).
Step 4: The user can select one of the 3 available minimum autonomy durations: 1 hour, 3 hours and 8
hours. The selection must be done while the luminaire is disconnected from AC and battery supplies. The
selection is achieved through Switches 2 & 3 of DS1. Switch 1 is not used. Two additional labels are included
in the package one for 3 hours duration (180) and one for 8 hours duration (480). The installer must cover
the default 1 hour (60). printing. Please take notice of the orientation of the label.
Step 5: Connect the mains cable to the therminal blocks: L for live wire, N for neutral and PE for the
ground wire. For pernament maintained operation switch number 4 must be in ON position. For non-
maintained operation, switch number 4 must be in OFF position. For controlled maintained operation of the
lamp, connect L1 to an external switch and switch number 4 of the DS1 must be in OFF position. Power
supply cables cross section should be 0.8 – 3 mm . Install the supplied plastic tie anchor with the screws, to
fasten securely the power cable, in order to anchor it.
Honeywell Life Safety AS, Postboks 236, 1372 Asker
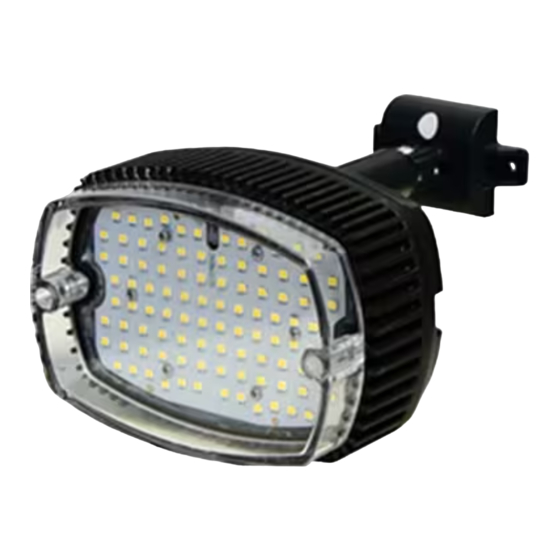
FloodLED IP66
2
Pernament Maintained Operation
5
Non-Maintained Operation
N
L
DS1
PE
1 2 3 4
8h
Maintained operation
(default position)
102mm
L1
L
N PE
1 2 3 4
1 2 3 4
Non-maintained operation
2
147mm
3
Plastic Ties
Cable Holes
Controlled Maintained
Operation of the Lamp
N
L
PE
L1
External
Switch
1 2 3 4
Controlled Maintained
Operation of the Lamp
http://www.hls-nordic.com
GB
L1
L
N
PE
L
N PE
Advertisement

Related Manuals for Honeywell 138560.10


Summary of Contents for Honeywell 138560.10
- Page 1 0.8 – 3 mm . Install the supplied plastic tie anchor with the screws, to fasten securely the power cable, in order to anchor it. Honeywell Life Safety AS, Postboks 236, 1372 Asker http://www.hls-nordic.com...
- Page 2 Important notice when installing luminaires within the same area!!! To avoid that luminaires perform their battery test at the same day, connect the battery packs with more than 1,5 minutes inbetween. Honeywell Life Safety AS, Postboks 236, 1372 Asker http://www.hls-nordic.com...
- Page 3 At the end of their useful life the packaging, product & batteries should be disposed of via a suitable recycling centre. Do not dispose of with your normal household waste. Do not burn. Honeywell Life Safety AS, Postboks 236, 1372 Asker http://www.hls-nordic.com...