Table of Contents
Advertisement
Quick Links
Advertisement
Table of Contents

Related Manuals for Zanussi ZDSN151X1


Summary of Contents for Zanussi ZDSN151X1
- Page 1 User Manual GETTING STARTED? EASY. ZDSN151X1 EN User Manual Dishwasher...
-
Page 2: Safety Information
VISIT OUR WEBSITE TO: Get usage advice, brochures, trouble shooter, service and repair information: www.zanussi.com/support SAFETY INFORMATION Before the installation and use of the appliance, carefully read the supplied instructions. The manufacturer is not responsible for any injuries or damage that are the result of incorrect installation or usage. -
Page 3: Safety Instructions
Do not change the specification of this appliance. • The operating water pressure (minimum and maximum) must be • between 0.5 (0.05) / 8 (0.8) bar (MPa) Follow the maximum number of 13 place settings. • If the supply cord is damaged, it must be replaced by the •... -
Page 4: Internal Lighting
• This appliance is fitted with a 13 A mains plug. If INTERNAL LIGHTING it is necessary to change the mains plug fuse, WARNING! Risk of injury. use only a 13 A ASTA (BS 1362) fuse (UK and Ireland only). WATER CONNECTION •... -
Page 5: Product Description
PRODUCT DESCRIPTION The graphics below is just a general product overview. For more detailed information, refer to other chapters and/or documents provided with the appliance. Upper spray arm Rinse aid dispenser Lower spray arm Detergent dispenser Filters Cutlery basket Rating plate Lower basket Salt container Upper basket... -
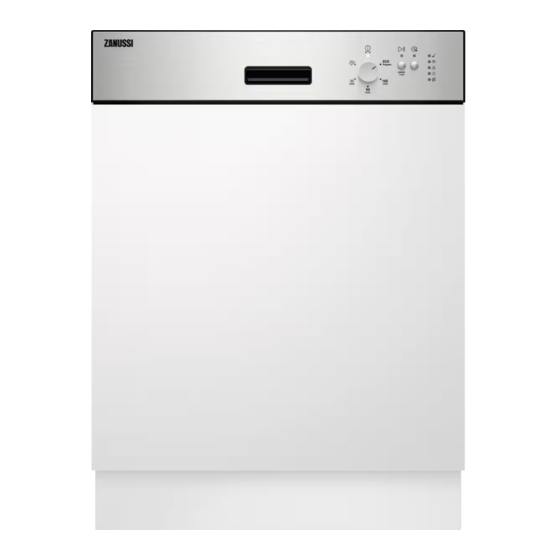
Page 6: Control Panel
CONTROL PANEL On/off indicator Start button Programme marker Programme knob Indicators Delay button INDICATORS Indicator Description Drying phase indicator. It is on when you select a programme with the drying phase. It flashes when the drying phase operates. Salt indicator. It is on when the salt container needs refilling. It is always off while the programme operates. -
Page 7: Consumption Values
Programme Type of load Degree of soil Programme phases • Crockery • Normal • Prewash • Cutlery • Lightly dried-on • Wash 50 °C • Pots • Intermediate rinse • Pans • Final rinse 60 °C • Drying • AirDry •... -
Page 8: Information For Test Institutes
Water Energy Duration 1) 2) Programme (kWh) (min) 3.4 - 4.2 0.012 - 0.015 1) The pressure and the temperature of the water, the variations of the mains supply, the options, the quan- tity of dishes and the degree of soil can change the values. 2) The values for programmes other than ECO are indicative only. - Page 9 German degrees French degrees Clarke de- mmol/l Water softener level (°dH) (°fH) grees 29 - 36 51 - 64 5.1 - 6.4 36 - 45 23 - 28 40 - 50 4.0 - 5.0 28 - 35 19 - 22 33 - 39 3.3 - 3.9 23 - 27...
-
Page 10: The Rinse Aid Empty Notification
Make sure that the programme marker on the knob All the consumption values mentioned is set to the on/off position. in this section are determined in 1. To enter the user mode, press and hold . At accordance with the currently the same time turn the knob counterclockwise applicable standard in laboratory until the programme marker indicates the first... -
Page 11: Before First Use
programme. Release when the indicators CAUTION! If children have access to the appliance, we advise to deactivate and on/off start flashing. AirDry. The automatic opening of the 2. Turn the knob counterclockwise until the door may pose a danger. programme marker indicates the third programme. -
Page 12: Daily Use
HOW TO FILL THE RINSE AID DISPENSER CAUTION! Only use rinse aid designed specifically for dishwashers. 1. Press the release button (D) to open the lid (C). 2. Fill the dispenser (A) until the rinse aid reaches the marking ''MAX''. 3. -
Page 13: Hints And Tips
Starting a programme with delay start consumption and the programme duration. After 1. Set a programme. closing the door, the appliance continues from the point of interruption. 2. Press to delay the start of the programme by 3 hours. If the door is opened for more than 30 The light related to the button is on. -
Page 14: Before Starting A Programme
USING SALT, RINSE AID AND DETERGENT LOADING THE BASKETS • Only use salt, rinse aid and detergent designed • Always use the whole space of the baskets. for dishwasher. Other products can cause • Use the appliance to wash dishwasher-safe damage to the appliance. - Page 15 5. Make sure that there are no residues of food or 1. Turn the filter (B) counterclockwise and remove soil in or around the edge of the sump. 6. Put back in place the flat filter (A). Make sure that it is correctly positioned under the 2 guides.
-
Page 16: Cleaning The Lower Spray Arm
CLEANING THE LOWER SPRAY ARM EXTERNAL CLEANING We recommend to clean the lower spray arm • Clean the appliance with a moist soft cloth. regularly to prevent soil from clogging the holes. • Only use neutral detergents. • Do not use abrasive products, abrasive cleaning Clogged holes can cause unsatisfactory washing pads or solvents. -
Page 17: Troubleshooting
TROUBLESHOOTING Refer to the below table for information on possible WARNING! Improper repair of the problems. appliance may pose a danger to the With some problems, the dedicated indicator safety of the user. Any repairs must be flashes intermittently to indicate a malfunction and performed by qualified personnel. - Page 18 Problem and alarm code Possible cause and solution Malfunction of the wash pump or the drain • Switch the appliance off and on. pump. • The indicator flashes 5 times in- termittently. • The light related to the start button flashes continuously.
- Page 19 Problem and alarm code Possible cause and solution The appliance trips the circuit-beaker. • The amperage is insufficient to supply simultaneous- ly all the appliances in use. Check the socket am- perage and the capacity of the meter or turn off one of the appliances in use.
- Page 20 Problem Possible cause and solution The dishes are wet. • For the best drying performance activate the function AirDry. • The programme does not have a drying phase or has a drying phase with low temperature. • The rinse aid dispenser is empty. •...
-
Page 21: Technical Information
TECHNICAL INFORMATION Dimensions Width / height / depth (mm) 596 / 818 - 898 / 575 Voltage (V) 220 - 240 Electrical connection Frequency (Hz) Water supply pressure Min. / max. bar (MPa) 0.5 (0.05) / 8 (0.8) Water supply max 60 °C Cold water or hot water Capacity... - Page 24 WWW.ZANUSSI.COM/SHOP...