Table of Contents
Advertisement
Quick Links
Advertisement
Table of Contents

Related Manuals for AEG HG694840


Summary of Contents for AEG HG694840
- Page 1 HG694840 User Manual USER MANUAL...
-
Page 2: Table Of Contents
10. ENERGY EFFICIENCY..................... 18 FOR PERFECT RESULTS Thank you for choosing this AEG product. We have created it to give you impeccable performance for many years, with innovative technologies that help make life simpler features you might not find on ordinary appliances. Please spend a few minutes reading to get the very best from it. - Page 3 ENGLISH usage. Always keep the instructions in a safe and accessible location for future reference. 1.1 Children and vulnerable people safety This appliance can be used by children aged from 8 • years and above and persons with reduced physical, sensory or mental capabilities or lack of experience and knowledge if they have been given supervision or instruction concerning the use of the appliance in a...
- Page 4 CAUTION: The cooking process has to be supervised. • A short term cooking process has to be supervised continuously. WARNING: Danger of fire: Do not store items on the • cooking surfaces. Metallic objects such as knives, forks, spoons and lids •...
-
Page 5: Safety Instructions
ENGLISH 2. SAFETY INSTRUCTIONS • Plywood or kitchen carcass material is This appliance is suitable for the acceptable for the panel. following markets: GB • The panel must be removable for servicing. Screws used to fix the panel 2.1 Installation must be accessible after installation. - Page 6 • Do not let the appliance stay installation. unattended during operation. • If the mains socket is loose, do not • Set the cooking zone to “off” after connect the mains plug.
- Page 7 ENGLISH • Make sure cookware is centrally • Clean regularly the appliance to positioned on the burners. prevent the deterioration of the • Make sure the flame does not go out surface material. when you quickly turn the knob from •...
-
Page 8: Product Description
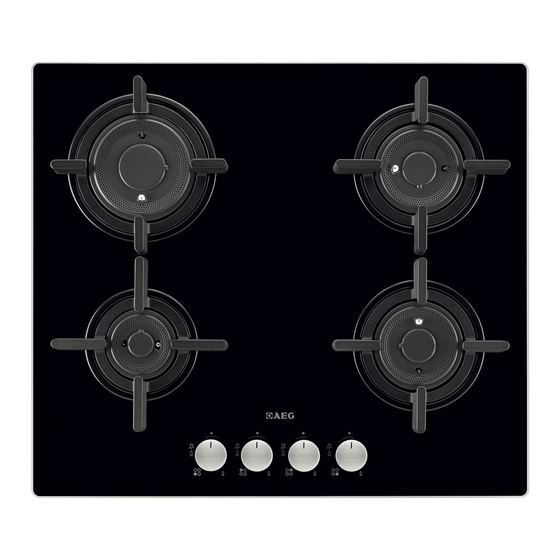
3. PRODUCT DESCRIPTION 3.1 Cooking surface layout Rapid burner Auxiliary burner Semi-rapid burner Control knobs 3.2 Control knob Symbol Description Symbol Description ignition position / maxi- mum gas supply no gas supply / off posi- tion minimum gas supply 4. -
Page 9: Hints And Tips
ENGLISH 2. Keep the control knob pushed for If the burner accidentally equal or less than 10 seconds. This goes out, turn the control lets the thermocouple warm up. If knob to the off position and not, the gas supply is interrupted. try to light the burner again 3. -
Page 10: Care And Cleaning
5.2 Diameters of cookware CAUTION! Make sure that pot handles Use cookware with are not above the front edge diameters applicable to the of the cooktop. size of burners. CAUTION! Burner Diameter of Make sure that the pots are... -
Page 11: Troubleshooting
ENGLISH 6.5 Cleaning the flame spreader You can wash the flame spreaders in a dishwasher. WARNING! Let the flame spreaders cool down before you clean them. Light stains: Wash the flame spreader with warm water and soap and dry it with a soft cloth. - Page 12 7.1 What to do if... Problem Possible cause Remedy There is no spark when you The hob is not connected to Check if the hob is correctly try to activate the spark gen- an electrical supply or it is connected to the electrical erator.
-
Page 13: Installation
ENGLISH 7.3 Labels supplied with the accessories bag Stick the adhesive labels as indicated below: MOD. MOD. MOD. TYPE PROD.NO. IP20 PROD.NO. PROD.NO. SER.NO. 0049 SER.NO SER.NO 03 IT DATA DATA MADE IN ITALY A. Stick it on Guarantee Card and send C. - Page 14 However, if the room has a door which opens directly to the outside no air vent is required even if the volume is between 5 m³ and 11 m³. If there are other fuel burning appliances in the same room, B.S. 5440 Part 2...
- Page 15 ENGLISH 8.4 Electrical connection The appliance is supplied with a 3 core flexible power cable with a 3 amp plug. If • Do not pull the mains cable to it is necessary to change the fuse, use a 3 disconnect the appliance. Always pull amp ASTA-approved (BS 1362) fuse.
- Page 16 8.6 Assembly To replace the connection cable use only H05SS-F T180 or equivalent type. Make sure that the cable section is applicable to the voltage load and the working temperature. The yellow/ green earth wire (B) must be approximately 2 cm longer than the live and neutral wire (A).
- Page 17 ENGLISH The burner flame may be extinguished by an air flow, if the removable panel is not installed. The air flow may occur when you open or close the cabinet door or drawer. Kitchen unit with door or drawer 30 mm min 20 mm (max 150 mm) 60 mm...
-
Page 18: Technical Data
9. TECHNICAL DATA 9.1 Hob dimensions Width 590 mm Depth 520 mm 9.2 Bypass diameters BURNER Ø BYPASS 1/100 mm Rapid Semi-rapid Auxiliary 9.3 Other technical data TOTAL POWER: Gas original: G20 (2H) 20 mbar = 7,9 kW Electric supply:... - Page 19 ENGLISH Left rear - Rapid 60.0% Right rear - Semi-rapid 58.0% Energy efficiency per gas burner (EE gas burner) Left front - Auxiliary not applicable Right front - Semi-rapid 60.3% Energy efficiency for the gas hob 59.4% (EE gas hob) EN 30-2-1: Domestic cooking appliances burning gas - Part 2-1 : Rational use of energy - General 10.2 Energy saving...
- Page 20 www.aeg.com/shop...