Table of Contents
Advertisement
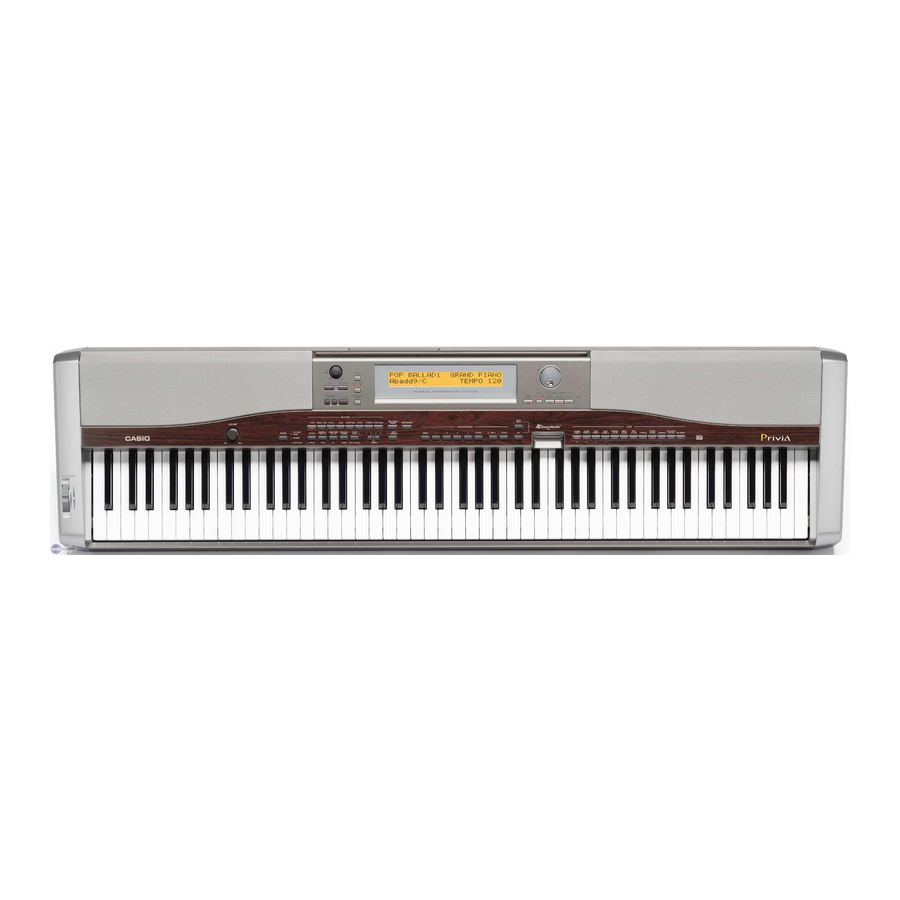
USER'S GUIDE
GUÍA DEL USUARIO
Please keep all information for future reference.
Guarde toda información para tener como referencia futura.
PX400R-ES-1
PX400R_es_cover.p65
1
Safety Precautions
Before trying to use the digital piano, be
sure to read the separate "Safety
Precautions".
Precauciones de seguridad
Antes de intentar usar el piano digital,
asegúrese de leer las "Precauciones de
seguridad" separadas.
04.8.24, 4:33 PM
ES
Advertisement
Table of Contents

Related Manuals for Casio Privia PX-400R


Summary of Contents for Casio Privia PX-400R
- Page 1 USER’S GUIDE GUÍA DEL USUARIO Please keep all information for future reference. Guarde toda información para tener como referencia futura. PX400R-ES-1 PX400R_es_cover.p65 Safety Precautions Before trying to use the digital piano, be sure to read the separate “Safety Precautions”. Precauciones de seguridad Antes de intentar usar el piano digital, asegúrese de leer las “Precauciones de seguridad”...
-
Page 2: Important Safety Instructions
• The product is not intended for children under 3 years. • Use only CASIO AD-12 adaptor. • The AC adaptor is not a toy. • Be sure to disconnect the AC adaptor before cleaning the product. -
Page 3: Table Of Contents
Using the AC Adaptor ... E-4 Connections ... E-5 Connecting Headphones ... E-5 Connecting to a PEDAL Jack ... E-5 Connecting an audio or musical instrument amplifier ... E-5 Selecting and Using Built-in Tones ... E-6 Tone Type ... E-6 Selecting a Tone ... E-6 Using Tone Effects ... -
Page 4: General Guide
General Guide Back Panel Left Side Panel *Attachment of the Score Stand Insert the score stand into the slot at the top of the digital piano as shown in the illustration. 419A-E-004A PX400R_e_01-16.p65 04.8.24, 4:34 PM... - Page 5 ECHO button MIC VOLUME knob SING ALONG button TRANSPOSE/KEY CONTROL buttons <PLAY/STOP> button SETTING button REVERB CHORUS button ACCOMP/SONG VOLUME button Display screen PITCH BEND wheel CHORD root name Percussion instrument list MAIN VOLUME knob Dial SONG MEMORY button TRACK 1/L 2/R button G MUSIC LIBRARY PIANO button SONG/USER button...
-
Page 6: Power Supply
Power Supply You can power this digital piano by plugging it into a standard household power outlet. Be sure you turn off power and unplug the power cord from the electrical outlet whenever the digital piano is not in use. Using the AC Adaptor Make sure that you use only the AC adaptor specified for this digital piano. -
Page 7: Connections
419A-E-007B PX400R_e_01-16.p65 Connecting an audio or musical instrument amplifier Connecting to an audio or musical instrument amplifier provides even clearer, more powerful sound through external speakers. IMPORTANT! • The digital piano automatically adjusts sound output to optimize for headphone output (when headphones are connected) or built- in speaker output (when headphones are not connected). -
Page 8: Selecting And Using Built-In Tones
Selecting and Using Built-in Tones Tone Type Your digital piano has the following types of tones built in. Panel Tones GM Tones Drum Sets • See the Tone List on page A-1 for more information. Selecting a Tone Panel tones are divided into 12 groups. You can select a group by pressing its TONE button on the digital piano control panel. -
Page 9: Using Tone Effects
Using Tone Effects Reverb: Makes your notes resonate Chorus: Adds more breadth to your notes Press the REVERB CHORUS button to cycle through the effect settings as shown below. • You can find out the current effect setting by looking at the REVERB and CHORUS indicator lamps. -
Page 10: Splitting The Keyboard Between Two Tones
Selecting and Using Built-in Tones Splitting the Keyboard between Two Tones You can assign different tones to keys on the left side and the right side of the keyboard. Split Point Strings Use the procedure under “Selecting a Tone” to select the tone you want to assign to the right side of the keyboard. -
Page 11: Using The Piano's Pedals
Using the Digital Piano’s Pedals The digital piano is equipped with two pedal jacks, one for a damper pedal and one for a soft/sostenuto pedal. You can use the procedure below to specify the type of operation that should be performed by the pedal connected to the PEDAL SOFT/ SOSTENUTO jack. -
Page 12: Playing A Rhythm
• FOR PIANO group rhythms 10 through 19 consist of chord accompaniments only, without any drums or other percussion instruments. These rhythms do not sound unless CASIO CHORD, FINGERED, or FULL RANGE CHORD is selected as the accompaniment mode. With such rhythms, make sure that CASIO CHORD, FINGERED, or FULL RANGE CHORD is selected before you try playing chords. -
Page 13: Using Auto Accompaniment
CASIO CHORD Mode Keyboard Accompaniment Area IMPORTANT! • In the CASIO CHORD mode, the keys in the accompaniment area of the keyboard operate as “chord switches” only. You cannot use the keys in this area to play notes. 04.8.24, 4:34 PM... - Page 14 Playing a Rhythm Chord Type Major Chords Pressing a single accompaniment area key in the CASIO CHORD mode will play the major chord whose name is marked above the key. All of the accompaniment area keys that are marked with the same chord name play exactly the same chord.
-
Page 15: Adjusting The Volume Of Accompaniment, Tune, And Memory Card Playback
• Using Auto Harmonize • • • • When you turn on Auto Harmonize in the FINGERED or CASIO add9 • • • CHORD accompaniment mode, the keyboard automatically adds one of the notes that make up the current chord to each melody note you play. -
Page 16: Using One-Touch Preset
Playing a Rhythm NOTE • Auto Harmonize is available in the FINGERED and CASIO CHORD accompaniment modes only. • Auto Harmonize is disabled and cannot be used while playing back a tune from the Music Library or a memory card. -
Page 17: Using Registration Memory
Using Registration Memory What is registration memory? Registration memory lets you save up to 16 (4 areas × 4 banks) digital piano setups (tone, rhythm, tempo, etc.) for instant recall whenever you need them. Registration Memory Setup Data The following are the settings that can be saved for each registration memory setup. - Page 18 Using Registration Memory To store a setup in registration memory On the digital piano, configure the tone, rhythm, and other settings you want to save as your setup. • See “Registration Memory Setup Data” (page E-15) for more information. Use the BANK button to select the registration memory bank where you want to save the setup.
-
Page 19: Playing Back Built-In Tunes
Playing Back Built-in Tunes Your digital piano comes with a total of 80 tunes built in. You can play back built-in tunes for your own listening pleasure, or you can use them for practice and even sing-along. Built-in tunes are divided between the two groups described below. •... -
Page 20: Pausing Playback
Playing Back Built-in Tunes NOTE • You can also use the dial to change the tempo setting while the current setting is indicated by a value in brackets ([ ]) on the display. Example: [T:120] • The value indicates the number of beats per minutes. •... -
Page 21: Playing All Of The Built-In Tunes
Playing All of the Built-in Tunes You can use the following procedure to play through all of the digital piano’s 80 built-in tunes in tune number sequence. Press the PIANO button and SONG/USER button at the same time. • This starts playback of the built-in tunes in tune number sequence, starting from Piano Group tune number 00. -
Page 22: Using A Microphone For Sing Along
Using a Microphone for Sing Along You can connect a microphone to the digital piano to sing along with built-in tunes, or with playback of SMF data from a memory card. Using the Microphone Jack You can connect a commercially available microphone to the digital piano’s microphone jack. -
Page 23: Using Transpose
Press the <PLAY/STOP> button to start playback. • If the song you selected includes lyric data, the lyrics appear on the digital piano’s display. • Use the microphone to sing along with the playback. • When you pressing the SING ALONG button and enter the Sing Along mode, the digital piano will automatically reduce the volume of the melody part of the tune. -
Page 24: Recording Your Keyboard Play
Recording Your Keyboard Play You can record your practice sessions while playing along with a Song Memory tune (Song Recording), or you can record your keyboard play along with the Auto Accompaniment you are using (Free Recording). Recordable Data, Parts, and Tracks The type of data that is recorded into Song Memory depends on whether you are performing song recording or free recording. -
Page 25: Recording Your Practice (Song Recording
Recording Your Practice (Song Recording) You can use the procedure below to record your play during practice with one of the digital piano’s built-in tunes. You can specify which parts you want to practice, and the keyboard plays the remaining parts as accompaniment. Getting Ready •... -
Page 26: Playing Back A Free Recording
Recording Your Keyboard Play Free Recording Track 1 Data In addition to notes played on the keyboard and chord accompaniments, the following data is also stored in Track 1 during performance recording. • Tone number • Rhythm number • Rhythm controller operations •... -
Page 27: Overdubbing A Free Recording
Overdubbing a Free Recording You can use the following procedure to record a melody in Track 2 that combines something else that you previously recorded in Track 1. Getting Ready • Press the RHYTHM button to enter the rhythm mode. •... -
Page 28: Other Settings
Other Settings Use the procedure provided below to change the following settings. Keyboard Touch This setting changes the relative touch of the keyboard keys. : Off Light : Weak (Strong sound is produced even when relatively light pressure is applied.) Normal : Normal Heavy : Strong (Normal sound is produced even when relatively strong pressure is applied.) -
Page 29: Using Midi
Using MIDI What is MIDI? MIDI is a standard for digital signals and connectors that allows musical instruments, computers, and other devices, regardless of manufacturer, to exchange data with each other. MIDI Connections Connecting your computer or other external MIDI device to the digital piano’s MIDI IN/OUT terminals makes it possible for them to exchange MIDI messages and record and playback keyboard notes on the connected device. -
Page 30: Usb Mode And Midi Mode
Song Group tunes number 30 through 39. You can obtain a copy of the special CASIO conversion software by downloading it at the Web page shown below. After downloading, install the software on your computer. -
Page 31: Using A Memory Card
When this happens, you need to purchase a new card. Note that CASIO COMPUTER CO., LTD. shall not be held liable for any loss of data stored on a memory card. -
Page 32: Saving Files To A Memory Card
Using a Memory Card Loading a Memory Card into the Card Slot With the label side of the memory card facing downwards, carefully insert it into the card slot. Carefully slide the memory card straight into the slot, as far as it will go. NOTE •... -
Page 33: Loading A File From A Memory
Loading a File from a Memory Use the procedure below to load data from a memory card into the digital piano memory. IMPORTANT! • Before you can use a SmartMedia card with this digital piano, you need to perform the procedure below to format it. After formatting the card, transfer SMF data from your computer to the card. -
Page 34: Renaming A Memory Card File
Using a Memory Card Renaming a Memory Card File You can use the procedure below to change the name of a file that you previously saved to a memory card. Getting Ready • Insert the memory card that contains the file you want to rename into the card slot. -
Page 35: Formatting A Memory Card
Formatting a Memory Card Use the procedure below to format a memory card. IMPORTANT! • Note that formatting a memory card that already contains data causes all of that data to be deleted. Data deleted by the format operation cannot be recovered. Before performing the procedure below, check to make sure that the memory card does not contain any data you might need. -
Page 36: Memory Card Error Messages
Using a Memory Card Memory Card Error Messages Display Message Err Card R/W There is something wrong with the memory card. Err CardFull The memory card is full. Err No Card 1. The memory card is not set correctly in the card slot. 2. -
Page 37: Troubleshooting
4. Change the accompaniment mode mode setting. Normally, the setting to NORMAL. accompaniment keyboard will not produce any note while CASIO CHORD or FINGERED is selected as the accompaniment mode. 1. The digital piano’s key setting is 1. Change the key setting to “C”, or something other than “C”. - Page 38 Troubleshooting Problem I can’t store data on a memory card. I can’t load data from a memory card. E-36 PX400R_e_29-37.p65 Cause 1. The card is write-protected. 1. Remove the write protect sticker from the card. 2. The card is not inserted correctly 2.
-
Page 39: Specifications
• Tempo Range: 20 to 255 • Number of Rhythms: 120 • Tempo Range: 20 to 255 • Modes: Normal; CASIO CHORD; FINGERED; FULL RANGE CHORD • Accompaniment Volume: Adjustable • One Touch Presets: Optimal tone, tempo, layer/auto harmonize on/off settings to match rhythm •... -
Page 40: Appendix
Appendix/Apéndice Tone List/Lista de sonidos Tone Group Name/Nombre de grupo de sonido No./Nº Panel Tones/Sonidos de panel PIANO 000 STEREO PIANO 001 GRAND PIANO 002 MELLOW PIANO 003 ROCK PIANO 004 DANCE PIANO 005 HONKY-TONK 006 OCTAVE PIANO 007 PIANO PAD 008 HARPSICHORD 009 COUPLED HARPSICHOR E.PIANO/CHROMATIC 000 ELEC.PIANO 1... - Page 41 Appendix/Apéndice Tone Group Name/Nombre de grupo de sonido No./Nº GM Tones/Drum Sets Sonidos GM/Ajustes de batería GM TONES 006 GM HARPSICHORD 007 GM CLAVI 008 GM CELESTA 009 GM GLOCKENSPIEL 010 GM MUSIC BOX 011 GM VIBRAPHONE 012 GM MARIMBA 013 GM XYLOPHONE 014 GM TUBULAR BELL 015 GM DULCIMER...
-
Page 42: Rhythm List
These rhythms do not sound unless CASIO CHORD, FINGERED, or FULL RANGE CHORD is selected as the accompaniment mode. With such rhythms, make sure that CASIO CHORD, FINGERED, or FULL RANGE CHORD is selected before you try playing chords. NOTA •... -
Page 43: Song List
Appendix/Apéndice Song List/Lista de canciones Piano Group List/Lista del grupo de piano No./Nº Song name/Nombre de canciones Winter Games Someday My Prince Will Come Hills Frosted Glass Hot Feel Let It Be Over The Rainbow The Entertainer Maple Leaf Rag Fantaisie-Impromptu Op.66 Nocturne Op.9-2 Etude Op.10-3 “Chanson de l’adieu”... - Page 44 Appendix/Apéndice 419A-E-083A PX400R_es_Appendix.p65 04.8.24, 4:34 PM...
- Page 45 Appendix/Apéndice 419A-E-084A PX400R_es_Appendix.p65 04.8.24, 4:34 PM...
-
Page 46: Operational Precautions
419A-E-085B PX400R_es_Appendix.p65 • Note that CASIO COMPUTER CO., LTD. shall not be held liable for any damages or losses or any claims by third parties arising from corruption or loss of data caused by malfunction or repair of the unit, or from battery replacement. - Page 47 419A-E-086A PX400R_es_Appendix.p65 04.8.24, 4:34 PM...
-
Page 48: Midi Implementation Chart
Model PX-400R Function ... Basic Default Channel Changed Default Mode Messages Altered Note Number True voice Velocity Note ON Note OFF After Key’s Touch Ch’s Pitch Bender 0, 32 6, 38 Control Change 100, 101 Program Change :True # System Exclusive... - Page 49 This recycle mark indicates that the packaging conforms to the environmental protection legislation in Germany. Esta marca de reciclaje indica que el empaquetado se ajusta a la legislación de protección ambiental en Alemania. CASIO COMPUTER CO.,LTD. 6-2, Hon-machi 1-chome MA0408-B Printed in China Shibuya-ku, Tokyo 151-8543, Japan PX400R-ES-1 PX400R_es_cover.p65...