Table of Contents
Advertisement
Quick Links
Advertisement
Table of Contents

Related Manuals for AEG RDB428E1AU


Summary of Contents for AEG RDB428E1AU
- Page 1 RDB428E1AU User Manual Fridge Freezer RDB428E1AW USER MANUAL...
-
Page 2: Table Of Contents
12. ENVIRONMENTAL CONCERNS..............21 FOR PERFECT RESULTS Thank you for choosing this AEG product. We have created it to give you impeccable performance for many years, with innovative technologies that help make life simpler – features you might not find on ordinary appliances. Please spend a few minutes reading to get the very best from it. - Page 3 ENGLISH of incorrect installation or usage. Always keep the instructions in a safe and accessible location for future reference. 1.1 Children and vulnerable people safety This appliance can be used by children aged from 8 • years and above and persons with reduced physical, sensory or mental capabilities or lack of experience and knowledge if they have been given supervision or instruction concerning the use of the appliance in a...
-
Page 4: Safety Instructions
– with food and accessible drainage systems; store raw meat and fish in suitable containers in the – refrigerator, so that it is not in contact with or drip onto other food. - Page 5 ENGLISH supply. This is to allow the oil to flow • Do not pull the mains cable to back in the compressor. disconnect the appliance. Always pull • Before carrying out any operations on the mains plug. the appliance (e.g. reversing the 2.3 Use door), remove the plug from the power socket.
-
Page 6: Installation
• This product contains a light source of consequences and might void the energy efficiency class G. guarantee. • Concerning the lamp(s) inside this • The following spare parts will be product and spare part lamps sold available for 7 years after the model... - Page 7 ENGLISH 3.1 Dimensions Overall dimensions ¹ Overall space required in use ³ 1610 1710 1123 ¹ the height, width and depth of the ³ the height, width and depth of the appliance without the handle appliance including the handle, plus the space necessary for free circulation of the cooling air, plus the space necessary Space required in use ²...
- Page 8 If you have any doubts function correctly but energy regarding where to install the consumption might increase slightly. appliance, please turn to the To ensure appliance's best functionality, vendor, to our customer you should not install the appliance in the...
- Page 9 ENGLISH 5. Carefully lift the upper door from the 3.5 Door reversibility middle hinge to remove it. Place the upper door on the soft surface. Be WARNING! careful not to lose washers that may Before carrying out any stick to the door. operations, remove the plug 6.
- Page 10 10. Remove the hole covers of the middle hinge and put them in the 15. Install the middle hinge to the left holes on the opposite side. side of the appliance by reversing its original position. 11. Tilt the appliance carefully on a soft...
-
Page 11: Operation
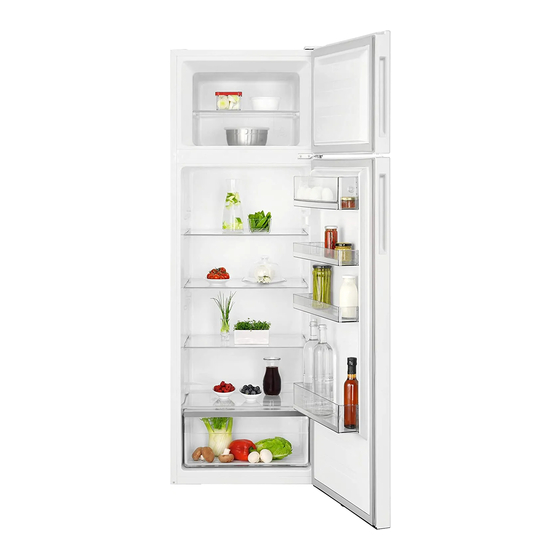
ENGLISH Install the door equipment. Wait at least 4 hours before connecting the appliance to the power supply. 4. OPERATION 4.1 Control panel °C 3sec 1. Temperature indicator 3. Control button 2. Super Freeze indicator 4.2 Switching on • room temperature, •... -
Page 12: Daily Use
This function stops automatically after 40 To freeze fresh food activate hours. the Super Freeze function at You can deactivate the Super Freeze least 15 hours before placing function before its automatic end by the food to complete pre- pressing and holding the Control button freezing. -
Page 13: Hints And Tips
ENGLISH CAUTION! In the event of accidental defrosting, for example due to a power failure, if the power has been off for longer than the value shown on rating plate under "rising time", the defrosted food must be consumed quickly 5.5 Freezing fresh food or cooked immediately then cooled and then re-frozen. - Page 14 6.2 Hints for freezing • Higher temperature setting inside the appliance may lead to shorter shelf • Activate Super Freeze function at life. least 15 hours before placing the food • The whole freezer compartment is inside the freezer compartment.
- Page 15 ENGLISH Type of food Shelf life (months) Vegetables 8 - 10 Leftovers without meat 1 - 2 Dairy food: Butter 6 - 9 Soft cheese (e.g. mozzarella) 3 - 4 Hard cheese (e.g. parmesan, cheddar) Seafood: Fatty fish (e.g. salmon, mackerel) 2 - 3 Lean fish (e.g.
-
Page 16: Care And Cleaning
• Bottles: close them with a cap and • Always refer to the expiry date of the place them on the door bottle shelf, or products to know how long to keep (if available) on the bottle rack. them. -
Page 17: Troubleshooting
ENGLISH 6. When defrosting is complete, dry the 1. Disconnect the appliance from interior thoroughly. electricity supply. 7. Switch on the appliance and close 2. Remove all food. the door. 3. Defrost the appliance. 8. Set the temperature regulator to 4. - Page 18 Problem Possible cause Solution The door is not closed cor‐ Refer to "Closing the door" rectly. section. The Super Freeze function is Refer to "Super Freeze func‐ switched on. tion" section. The compressor does not The compressor starts after...
- Page 19 ENGLISH Problem Possible cause Solution Door was not closed com‐ Make sure the door is closed pletely. completely. Stored food was not wrap‐ Wrap food in suitable pack‐ ped. aging before storing it in the appliance. Water flows inside the refrig‐ Food products prevent the Make sure that food prod‐...
-
Page 20: Noises
8.3 Closing the door 3. If necessary, replace the defective door gaskets. Contact the Authorised 1. Clean the door gaskets. Service Centre. 2. If necessary, adjust the door. Refer to "Installation" chapter. 9. NOISES SSSRRR! BRRR! CLICK! HISSS! BLUBB! 10. -
Page 21: Information For Test Institutes
ENGLISH 11. INFORMATION FOR TEST INSTITUTES Installation and preparation of the clearances shall be as stated in this User appliance for any EcoDesign verification Manual at Chapter 3. Please contact the shall be compliant with EN 62552. manufacturer for any other further Ventilation requirements, recess information, including loading plans. - Page 24 www.aeg.com/shop...