Table of Contents
Advertisement
Quick Links
Advertisement
Table of Contents

Related Manuals for Hardt Blaze


Summary of Contents for Hardt Blaze
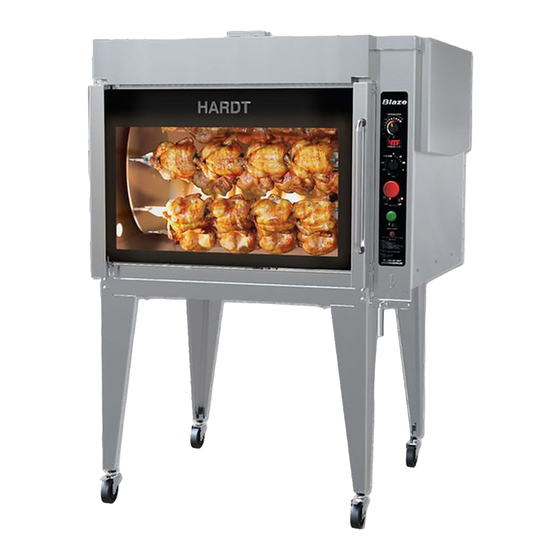
- Page 1 HARDT Blaze GAS-FIRED ROTISSERIE Responsive, Reliable Solutions Operation Manual Hardt Equipment Manufacturing © 1756 50 Avenue Lachine (Montreal) Quebec Canada H8T 2V5 Technical Support Tel: (800) 387-6847 (514) 631-7271 Fax: (514) 631-5443 Sales Tel: (888) 848-4408 www.hardtequipment.com...
-
Page 2: Responsive, Reliable Solutions
HARDT 1. Important Information Responsive, Reliable Solutions WARNING Do not store or use gasoline or other flammable vapors or liquids in the vicinity of this or any other appliance. Keep the area surrounding the rotisserie free of any combustible material. -
Page 3: Table Of Contents
HARDT 2. Table of Contents Responsive, Reliable Solutions 1. Important Information........................2 2. Table of Contents..........................3 3. Safety ............................... 4 3.1 About this Manual ................................ 4 3.2 Equipment Safety ................................ 4 3.3 What to do if a Service Issue Occurs........................... 4 3.4 Food Safety.................................. -
Page 4: Safety
3.1 About this Manual This manual contains information necessary for the installation of the HARDT Blaze rotisserie. Retain this manual for future reference. To help the reader in the utilization of this manual certain information has been highlighted using the... -
Page 5: Food Safety
FOOD-SPECIFIC TESTS. ALWAYS MEASURE THE INTERNAL TEMPERATURE OF PRODUCT BEFORE ENDING COOKING. ACCEPTED INTERNAL TEMPERATURES SHOULD NOT BE LOWER THAN THOSE PUBLISHED FOR ESTABLISHED FOOD SAFETY STANDARDS. Consult Hardt if you need help setting up a food safety program. Page 5 of 19... -
Page 6: Equipment Diagrams
HARDT 4. Equipment Diagrams Responsive, Reliable Solutions 4.1 Single Swing Door Rotisserie Front View Rear View Figure 4-1: Single Swing Door Unit Page 6 of 19... -
Page 7: Single French Door Rotisserie
4.2 Single French Door Rotisserie Front View Rear View Figure 4-2: Single French Door Unit Page 7 of 19... -
Page 8: Double Deck Swing Door Rotisserie
4.3 Double Deck Swing Door Rotisserie Front View Rear View Figure 4-3: Double Deck Swing Door Unit Page 8 of 19... -
Page 9: Double Deck French Door Rotisserie
4.4 Double Deck French Door Rotisserie Front View Rear View Figure 4-4: Double Deck French Door Unit Page 9 of 19... -
Page 10: Control Panel Layout
4.5 Control Panel Layout Figure 4-5: Control Console The main on/off switch and the manual advance switch for the single and double deck French door rotisseries can be located on the front of each rotisserie as shown in Figure 4-2 and Figure 4-4. Page 10 of 19... -
Page 11: Operation
277˚ C 299˚ C 5. With power connected to the rotisserie, turn on the Blaze by pulling out the red main on/off switch shown in Figure 4-2, Figure 4-4 and Figure 4-5. 6. Open the water inlet valve (see Figure 5-1) and fill the water pan to the top of the overflow drain. Close the water inlet valve. -
Page 12: Cooking Procedure
ROTISSERIE. Refer to the table on page 5 for a list of safe cooking temperatures and times. The procedures described here are basic. Hardt provides additional cooking and food program support and training. Your organization may have specific instructions that should be followed instead of the ones listed here. -
Page 13: Loading & Unloading The Rotisserie
5.3 Loading & Unloading the Rotisserie CROSS CONTAMINATION OF RAW AND COOKED PRODUCT IS VERY DANGEROUS AND CAN LEAD TO FOOD POISONING. DO NOT LOAD UNCOOKED PRODUCT INTO THE ROTISSERIE UNTIL THE COOKING CYCLE IS COMPLETE AND ALL COOKED PRODUCT IS REMOVED FROM THE ROTISSERIE. -
Page 14: Maintenance
4. Use the water inlet valve to float away remaining residues in water pan. Figure 6-1: Drain Valve 5. Spray a Hardt-approved oven cleaner on all major surfaces (Drive plate, spit support, shaft, water pan, side walls). Do not spray directly on sensor or igniter! 6. -
Page 15: Cleaning Effectiveness Evaluation
6.2 Weekly Inspection Thoroughly inspect the venting components supplied with the rotisserie for signs of damage (dents, perforations, etc). Replace with certified Hardt components if required. Ensure that the electrical cord, water and gas lines are free from damage and kinks. -
Page 16: Troubleshooting
Try starting the rotisserie again. Pull out the main ON / OFF switch. If the rotisserie goes into safety lockout again turn the rotisserie OFF and contact your local authorized Hardt service provider. Figure 7-2: Wipe Sensor & Burner Page 16 of 19... -
Page 17: Replacing The Halogen Lamp
7.3 Replacing the Halogen Lamp Remove Screws 1. Turn the rotisserie OFF (push the main ON/OFF switch in) and disconnect the power cord from the wall receptacle. 2. Allow the rotisserie to sufficiently cool down. 3. Remove the light access panel located on the left side of the rotisserie by loosening the thumb screws by hand (Figure 7-3). -
Page 18: Options
HARDT 8. Options Responsive, Reliable Solutions 8.1 Smoker Kit 8.1.1 Operating Instructions 1. Insert the smoker box: align it to the front lip of the rotisserie and then slide it to the right of the oven, where the box can be fixed in place by hooking it onto the bracket (See Figure 8-1). -
Page 19: Available Accessories
HARDT 9. Available Accessories Responsive, Reliable Solutions Please refer to the following table when ordering accessories from Hardt. Part Name Description Illustration This is the ‘V’ skewer but with a modified end tip so the skewer can ‘V’ Skewers only be loaded one way, ensuring correct positioning of the product while cooking.