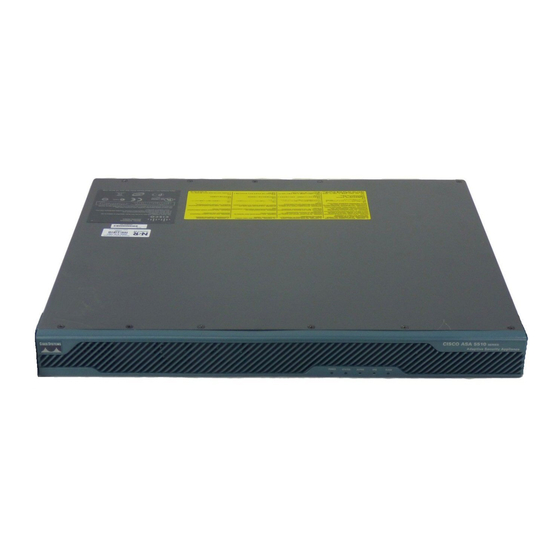
Cisco ASA Series Mount And Connect
Hide thumbs
Also See for ASA Series:
- Cli configuration manual (2164 pages) ,
- Configuration manual (429 pages) ,
- Getting started (31 pages)
Advertisement
Quick Links
Mount and Connect
This chapter describes how to rack-mount the ASA, and how to connect the cords and cables. It contains the
following sections
•
•
•
Rack-mount the ASA
The ASA ships with rack-mount brackets or "ears," which you can install on the front or the rear of the chassis.
Follow these steps to install your ASA in a rack.
Step 1
Attach both brackets to the sides of the ASA chassis, either to the front or rear.
After the brackets are secured to the chassis, you can mount it in the rack.
Step 2
Attach the chassis to the rack.
We recommend that you install the chassis with the rear panel facing the cold aisle. (See the following illustration for an
example of air flow from back to front.)
Rack-mount the ASA , on page 1
Connect Cables, Turn on Power, and Verify Connectivity, on page 2
Connect to a Console Terminal or PC, on page 4
Mount and Connect
1
Advertisement

Summary of Contents for Cisco ASA Series
- Page 1 Mount and Connect This chapter describes how to rack-mount the ASA, and how to connect the cords and cables. It contains the following sections • Rack-mount the ASA , on page 1 • Connect Cables, Turn on Power, and Verify Connectivity, on page 2 •...
-
Page 2: Connect Cables, Turn On Power, And Verify Connectivity
Mount and Connect Connect Cables, Turn on Power, and Verify Connectivity Figure 1: Chassis Installed in the Rack What to do next You can now install the cables and power cord, as described in Connect Cables, Turn on Power, and Verify Connectivity, on page Connect Cables, Turn on Power, and Verify Connectivity After positioning or mounting the ASA, follow these steps to connect cables, turn on power, and verify... - Page 3 Check the Status LED on the ASA chassis. When it is solid green, the ASA has passed power-on diagnostics. Step 5 See the Cisco ASA 5508-X and ASA 5516-X Quick Start Guide to continue setting up your ASA. Mount and Connect...
-
Page 4: Connect To A Console Terminal Or Pc
Connect to a Console Terminal or PC Your ASA ships with either ASA or Firepower Threat Defense software preinstalled. To reimage your device, Note Reimage the Cisco ASA or Firepower Threat Defense Device. Connect to a Console Terminal or PC The serial ports provide administrative access to the ASA either with a console terminal or a PC. -
Page 5: Connect To The Console Port With Mac Os
Mount and Connect Connect to the Console Port with Mac OS X Figure 3: ASA 5508-X and ASA 5516-X Console Port Connection Mini USB Type B console port Mini USB Type B to USB Type A console cable USB Type A Step 4 Connect the end of the cable with the DB-9 connector (or USB Type A) to the terminal or PC. -
Page 6: Connect To The Console Port With Linux
Mount and Connect Connect to the Console Port with Linux Step 1 Use the Finder to go to Applications > Utilities > Terminal. Step 2 Connect the OS X USB port to the ASA. Step 3 Enter the following commands to find the OS X USB port number: Example: macbook:user$ cd /dev macbook:user$ ls -ltr /dev/*usb*...


