Table of Contents
Advertisement
Quick Links
Home
PBXware
SERVERware
TELCOware
SIPmon
SIPProt
Desktop & Mobile
BRM
UADs
Appliances
EOL
From Bicom Systems Wiki
Contents
1 Introduction
Introduction
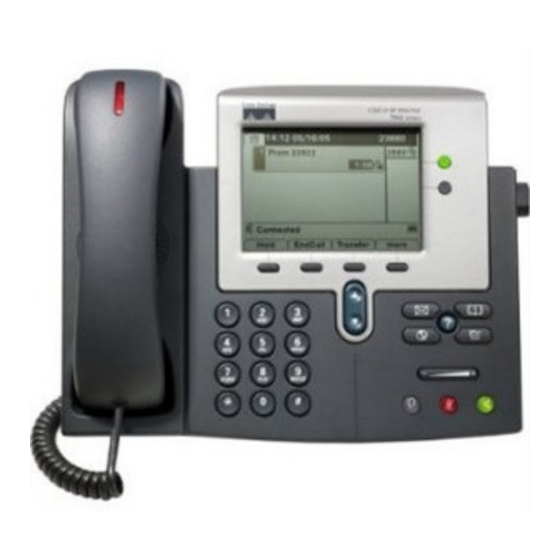
This "How to" is written as general guide on how to use Cisco 7941 with PBXware using SIP 7.1
Cisco 7941 firmware. It covers the most common tasks that are required to have your Cisco
7941 working efficiently.
Advertisement
Table of Contents

Related Manuals for Cisco 7941


Summary of Contents for Cisco 7941
-
Page 1: Table Of Contents
4.2 Auto Provisioning Configuration Introduction This "How to" is written as general guide on how to use Cisco 7941 with PBXware using SIP 7.1 Cisco 7941 firmware. It covers the most common tasks that are required to have your Cisco... -
Page 2: Requirements
To start and successfully complete registration of your Cisco phone you need to know which phone model you will setup. On the front of each Cisco phone there are exact model information that you should check. Although different phone models can have exactly the same requirements and installation... -
Page 3: Installation
Installation This chapter describes how to install and connect the phone to the electrical power and data network as well as how to apply factory settings. The following topics are covered: Power adapter Factory settings Power adapter Connect the Network and Power Connect the DC plug on the power adapter to the DC port on the phone and connect the other end of the power adapter into an electrical power outlet. -
Page 4: Registering Phone
1. Make sure the UAD is enabled. To check the UAD status navigate to "Settings:UAD", and click on the "edit" icon corresponding to "Cisco 7941". 2. Make sure the "Status" is set to "active", "Auto provisioning" is set to "No" and "DHCP" is set to "Yes". - Page 5 1. Navigate to "Extensions". Click on "Add Extension". 2. The standard options window will be shown below. Creating Extension/Extensions Add 3. Select Cisco 7941 from "UAD" select box. 4. Select Location: "Local" or "Remote". Note: -"Local" is for all extensions registered on LAN.
- Page 6 - Plug the power adapter into a power jack then connect it to the electricity network. - Connect ethernet port to a hub, router or switch as to access LAN. After successfully connecting the Cisco 7941 to the electricity and data networks, it is time to register it to PBXware.
- Page 7 Example: John Smith, Reception, Entrance Main, Agent One etc. Proxy Port By default 5060 5. Press accept button and reboot Cisco 7941. - Conclusion: If everything is done as above described you should have successfully registered *123 your Cisco 7941 to PBXware. Dial to verify registration.
-
Page 8: Auto Provisioning Configuration
1. Make sure the UAD is enabled. To check the UAD status navigate to "Settings:UAD", and click on the "edit" icon corresponding to "Cisco 7941". 2. Make sure "Status" is set to "active", "Auto provisioning" is set to "Yes" and "DHCP" is set to "Yes". - Page 9 1. Navigate to "Extensions". Click on "Add Extension". 2. The standard options window will be shown below. Creating Extension/Extensions Add 3. Select Cisco 7941 from "UAD" select box. 4. Select Location: "Local" or "Remote". Note: -"Local" is for all extensions registered on LAN.
- Page 10 - Plug the power adapter into a power jack then connect it to the electricity network. - Connect the ethernet port to a hub, router or switch as to access LAN. "TFTP Server" must be set with TFTP server value. STEP TWO: Cisco 7941 TFTP configuration.
- Page 11 4. Press the "Select" button to edit TFTP value. 5. Enter details into TFTP value field. 6. Press accept button and reboot the Cisco 7941. - Conclusion: If everything is done as above described you should have successfully registered your Cisco 7941 to PBXware. Dial *123 to verify registration.