
Related Manuals for EAST COAST Henley


Summary of Contents for EAST COAST Henley
- Page 1 Henley Dresser Instructions IMPORTANT! RETAIN FOR FUTURE REFERENCE. READ CAREFULLY...
-
Page 2: Safety Notes
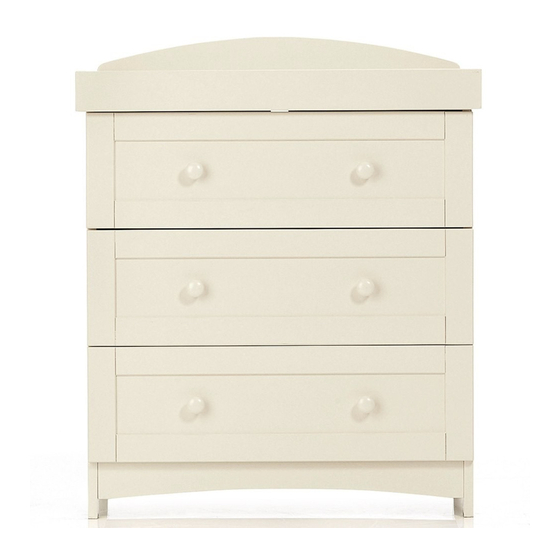
Welcome The dresser & changer is carefully designed for baby's safety and features three drawers for storage of baby's essentials and a removable top frame for use as a changing unit. The changing surface is suitable for children up to 12 months old or 11 kg in weight and should be used with a changing mat of up to 75 cm x 45 cm. - Page 3 Parts list (not to scale) Please retain all packaging until you are certain no parts are missing. In the case of assembly difficulties, missing parts or other queries, please contact the customer care hotline for this product on 01692 408802. After assembly, please dispose of all packaging carefully.
- Page 4 Page 3...
- Page 5 Dresser assembly (continued) Join the front and rear crossbars to the right side panel and secure by rotating the Note that the holes for the large camlock nuts in the faces of the crossbars should be inward facing as indicated in the diagram. equired, refer to page 3 for details.
- Page 6 Dresser assembly (continued) Push six camlock nuts into the holes on the inside faces of the side panels. Fit the top panel to the assembled frame ensuring that the wide cut-out is at the rear, and matches up with the cut-outs on the frame. Secure the top panel by rotating the large camlock nuts half a turn.
-
Page 7: Drawer Assembly
Dresser assembly (continued) Fit the upper and lower back panels to the dresser, ensuring that they fit into the groove in the back brace and that the slot in the upper back panel is at the top. Secure using twenty short woodscrews. Drawer assembly Screw four camlock pins into the threaded holes in the back face of each drawer front. - Page 8 Drawer assembly (continued) Push two small camlock nuts in the faces of each of the drawer sides. Slot the drawer base into the groove of the drawer front, then fit the drawer sides to the drawer front, making sure that there is a left and right side, and that the metal drawer runners are on the outsides of the drawer.
- Page 9 Drawer assembly (continued) Attach two drawer knobs to each drawer, using one short bolt for each knob. To fit the drawers: Tilt the drawer up slightly at the front, place the plastic wheels on the drawer into the metal channels on the Dresser sides and push the drawer into place.
- Page 10 Changer top assembly (continued) Assemble the four parts of the changer top and secure using four large cam lock nuts as indicated. If any adjustment of the fit is required, refer to page 3 for details. Place the changer onto the drawer unit and secure using three long bolts at the rear of the changer and two long bolts on the sides of the changer.
-
Page 11: Safety Strap
Safety strap The dresser is supplied with a fixing kit for securing to a wall to help guard against accidental tipping. WARNING : Installation only to be carried out by a competent person. Check the suitability of the wall before fitting. Washer x 2 Screw (12mm) Screw (25mm) - Page 12 East Coast Nursery Ltd. Robertson House, North Walsham, Norfolk, NR28 0BX eastcoastnursery.co.uk 2018-1...