D-Link Air DWL-900AP Quick Install Manual
D-link dwl-900ap : users manual
Hide thumbs
Also See for Air DWL-900AP:
- User manual (61 pages) ,
- Quick installation manual (8 pages) ,
- Brochure (7 pages)
Advertisement
Quick Links
Package Contents
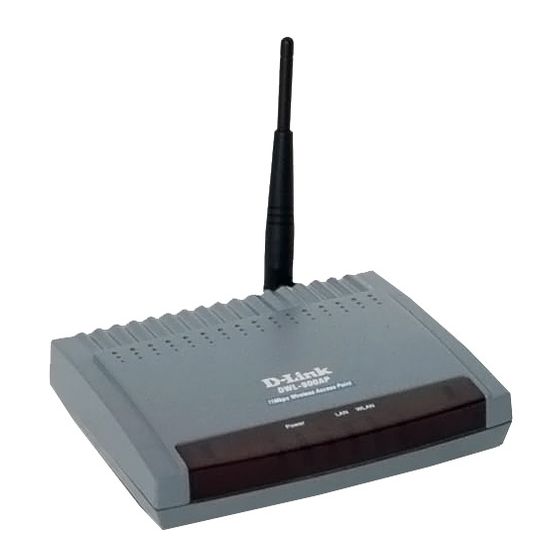
• DWL-900AP
• AC Power Adapter
• USB Cable
• Installation CD
• User's Manual
• Quick Installation Guide
If any of the above items are missing,
please contact your reseller.
Requirements
The computer you are using must have the following:
•
A functional USB port. (Note: Please see Appendix A for more
information on the USB Configuration Utility and the SNMP
Configuration Utility. SNMP stands for Simple Network
Management Protocol.)
•
The operating system must be Microsoft Windows XP, 2000, ME,
98SE, or 98
When you are networking your DWL-900AP with other D-Link Air Wireless
products, no configuration is needed! Your DWL-900AP has default settings that
will work with other D-Link Air products, right out of the box.
If there is a need to change the configuration, you may use the USB Configuration
Utility or the SNMP Utility. In order to use the SNMP Utility, the DWL-900AP
must first be assigned an IP address. Please complete the steps below to install and
configure the DWL-900AP with the USB Configuration Utility.
Advertisement

Related Manuals for D-Link Air DWL-900AP


Summary of Contents for D-Link Air DWL-900AP
-
Page 1: Package Contents
If there is a need to change the configuration, you may use the USB Configuration Utility or the SNMP Utility. In order to use the SNMP Utility, the DWL-900AP must first be assigned an IP address. Please complete the steps below to install and... -
Page 2: Installing The Usb Drivers
(power strip or electric outlet). Use a Cat 5 Ethernet straight-through cable to connect the RJ-45 LAN port on the DWL-900AP to a hub, switch, or residential gateway. Connect the DWL-900AP’s USB port to the USB port on your computer using the USB cable provided. - Page 3 A window will inform you that the device driver is ready for installation. Click “Next” to install the USB driver. After the driver has been installed, you will be presented with a window informing of its completion. Click “Finish.” Installing the Configuration Utilities Note: Before installing the Configuration Utilities, close all other windows that are open and...
- Page 4 The “Welcome” screen informs you that the Wireless AP Setup program is ready to begin. Click “Next.” In the “Customer Information” screen, enter a “User Name” and “Company Name.” Click “Next.” In the “Choose Destination Location” screen you are asked to confirm the “Destination Folder”...
-
Page 5: Usb Configuration Utility
Click “Next.” When the files have been copied, the “Install Shield Wizard Complete” screen will appear. Click “Finish.” Configuring the DWL-900AP with the USB Configuration Utility To launch the USB Configuration Utility, go to Start> Programs> D-Link Wireless Access Point>... - Page 6 “Wireless ESSID” and the “Wireless Channel” numbers are set to “default” and “Channel 6” respectively. This is the default configuration for interoperability with D-Link Air Wireless products. Note: If you already have a wireless network running, you may change the “...
- Page 7 Once you have made your selection, click on “Apply” for the settings to take effect. You have now assigned an IP address to the DWL-900AP. You may continue to configure the wireless settings through the USB Configuration Utility, or you may now access the device with the SNMP Utility.
- Page 8 For ease of wireless use, we suggest using the USB Configuration Utility to obtain an IP Address for the DWL-900AP. Follow the instructions in this Quick Install Guide to obtain an IP address with the USB Configuration Utility. We suggest that, once you have obtained the IP Address, you then use the SNMP Utility to manage your network.