D-Link Airspot DSA-3100 Quick Installation Manual
Public/ private gateway
Hide thumbs
Also See for Airspot DSA-3100:
- User manual (87 pages) ,
- Manual (79 pages) ,
- Owner's manual (70 pages)
Advertisement
Quick Links
This product can be set up using
any current Web browser, i.e.,
Internet Explorer 6 or Netscape
Navigator 6 or above.
Before You Begin
You will need the following:
• Computer with an Ethernet adapter and a Windows, Mac, or Unix based operating system.
• Internet Explorer or Netscape Navigator, version 6.0 or above, with JavaScript enabled.
Check Your Package Contents
These are the items included with your DSA-3100 purchase:
If any of the above items are missing, please contact your reseller.
©2006 D-Link Systems, Inc. All rights reserved. Trademarks or registered trademarks are the property of their respective holders. Software and
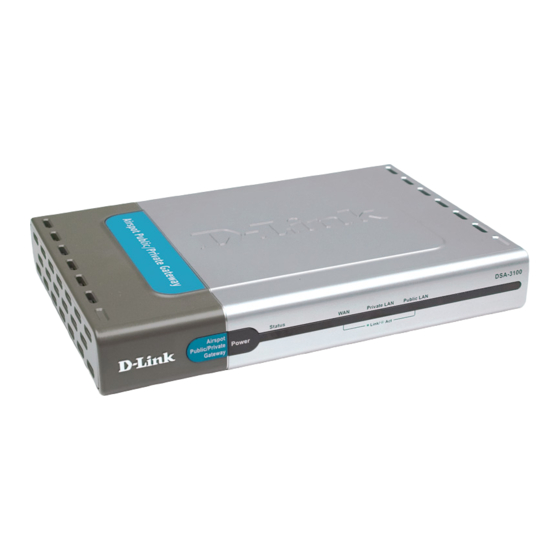
DSA-3100 Airspot
CD-ROM (containing Manual and Warranty)
2x Ethernet (CAT5 UTP/Straight-Through) Cables
1x Ethernet (CAT5 UTP/Crossover) Cable
Console Cable (RS-232)
5V DC Power Adapter
specifications subject to change without notice. DSA-3100. 03062006
™
Public/Private Gateway
Using a power supply
with a different voltage
rating will damage this product
and void its warranty.
DSA-3100
Airspot
Public/
™
Private Gateway
Advertisement

Related Manuals for D-Link Airspot DSA-3100


Summary of Contents for D-Link Airspot DSA-3100
-
Page 1: Before You Begin
These are the items included with your DSA-3100 purchase: If any of the above items are missing, please contact your reseller. ©2006 D-Link Systems, Inc. All rights reserved. Trademarks or registered trademarks are the property of their respective holders. Software and DSA-3100 Airspot ™... - Page 2 Connecting The DSA-3100 To Your Network STATUS LED: A solid LED indicates the DSA-3100 is working properly. The LED will flash during reboot. POWER LED: A solid light indicates a proper connection to the power supply. Public LAN Port: to your public network .
- Page 3 (Note: For configuration purposes a computer can be connected directly to this port using a standard Ethernet cable) Attach an Ethernet cable to the WAN port on the back panel of the DSA-3100. Connect the other end to a router or directly to a broadband modem. The WAN LED light will illuminate to indicate proper connection.
-
Page 4: Using The Setup Wizard
Connect the computer you will be using for configuration to the Private Network or directly to the Private LAN Port. To obtain a new IP address from the DSA-3100 you may need to restart your computer or release and renew your IP address. Make sure that the network adapter in your computer is configured properly. - Page 5 Using The Setup Wizard (continued) Once you have logged in, the home screen will appear. Click Run Wizard You have the option to establish a new password for the admin account. Enter a new admin password and retype it for verification Click Next Select the appropriate time zone for...
- Page 6 Option Click Next Configure the Public LAN Port: • IP Address: The IP address used for the DSA-3100 on the Public LAN. • Subnet Mask: The Subnet Mask of the DSA-3100 on the Public LAN. • DHCP Server Enabled/Disabled: With DHCP Server enabled, IP addresses are provided automatically to clients on the Public LAN.
- Page 7 Using The Setup Wizard (continued) Specify the DHCP Server Settings. Specify a range of IP addresses to assign the DHCP clients. The range is entered in the format “Start IP – End IP” i.e. 192.168.0.101 – 192.168.0.200. Enter the Domain Name and Primary DNS Server settings for the clients.
- Page 8 Using The Setup Wizard (continued) Setup Wizard Complete Click Restart to complete your configuration. Click Restart...
- Page 9 Here’s how to configure the network adapter to obtain an IP address automatically from the DSA-3100 Airspot Microsoft Windows XP: Go to Start > right click on My Network Places Right-click on the Network Connection of the Ethernet adapter connecting to the DSA-3100 and select Properties. Click Internet Protocol (TCP/IP) Click Properties...
- Page 10 Select Built-in Ethernet the show pull down menu Select Using DHCP Configure pull down menu The IP address information, the Subnet Mask, the DSA-3100 IP address and the Ethernet adapter address will appear. Click on Apply Now System in the...
- Page 11 Notes...
-
Page 12: Technical Support
You can find software updates and user documentation on the D-Link website. D-Link provides free technical support for customers within the United States and within Canada for the duration of the warranty period on this product. U.S. and Canadian customers can contact D-Link technical support through our website, or by phone.