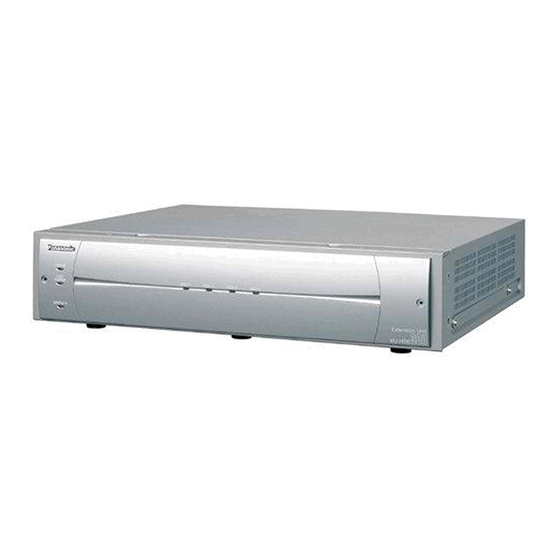
Panasonic WJ-HDE300 Conversion Manual
Digital disk recorder extension unit
Hide thumbs
Also See for WJ-HDE300:
- Service manual (44 pages) ,
- Instruction manual (28 pages) ,
- Instructions manual (20 pages)
Summary of Contents for Panasonic WJ-HDE300
- Page 1 Digital Disk Recorder Extension Unit WJ-HDE300 S-ATA conversion guide E xt e n si o n U n it 3 0 0 W J- H D E 1. Sept. 2008 Panasonic System Solutions...
- Page 2 WJ-HDE300 S-ATA conversion guide Maintenance guide 1. Outline This guide describes how to convert the hard disk drive installed in the WJ-HDE300 from the P-ATA type to the S-ATA type. 2. Preparation (1) Screwdriver (2) Wrench for hexagonal nut (5.5m/m)
-
Page 3: Replacement Procedure
Maintenance guide WJ-HDE300 S-ATA conversion guide 3. Replacement Procedure Important +++++++++++++++++++++++++++++++++++++++++++++++++++++++++++++++++++++++++++++++++++++++++ • Before touching the HDD, eliminate static electricity accumulating in your body. • Ensure that the HDD is protected against static charge by placing disks on a antistatic mat or a conductive bag during the conversion work. - Page 4 Maintenance guide WJ-HDE300 S-ATA conversion guide Important ++++++++++++++++++++++++++++++++++++++++++++++++++++++++++++++++++++++++++++++++++++++++++ The HDDs should be installed in the correct positions in the Inside the front cover order as shown right. Do not skip a drive position or reverse the order of the HDD positions. Incorrectly placed drives will...
- Page 5 Maintenance guide WJ-HDE300 S-ATA conversion guide (8) Remove the screws (four pieces each) fixing the HDDs, the sleeves and dampers and then remove the HDDs. Damper Sleeve (9) Remove 11 screws that fix the top cover to the main unit, and then remove the top cover.
- Page 6 Maintenance guide WJ-HDE300 S-ATA conversion guide (12) Remove three screws fixing the power distribution board, and remove the power distribution board. Disconnect five connectors from the power distribution board. (13) Remove one hexagonal spacer (30 mm) from the main board.
- Page 7 Maintenance guide WJ-HDE300 S-ATA conversion guide (17) Remove five screws fixing the main board, and then fix Two screws that fixed the main board the main board with six hexagonal spacers (7 mm). Hexagonal spacers (22mm) (18) Fix the S-ATA board mounting angle to the hexagonal SATA spacers with five additional screws.
- Page 8 Maintenance guide WJ-HDE300 S-ATA conversion guide (22) Connect four power cables to the power distribution board. CN105 CN102 for Power Cable for Power Cable (White : Orange) (Red : Blue) CN103 CN104 for Power Cable for Power Cable (Red : Yellow) (White : Purple) (23) Connect the S-ATA cables and power cables to the S-ATA board as shown below.
- Page 9 Maintenance guide WJ-HDE300 S-ATA conversion guide (25) Secure the S-ATA cables to the cord clamps as shown below. Leave the red circled areas empty to install the HDD mounting chassis. (26) Adjust the length of S-ATA cables and secure them as shown below.
- Page 10 Maintenance guide WJ-HDE300 S-ATA conversion guide (28) Fix two HDD fan assemblies with one screw each, and HDD Fan Ass'y connect each HDD fan connector to the main board. Main board HDD Fan Connector (29) Attach the cord clamp to the HDD3, 4 fan assembly and secure the HDD3, 4 S-ATA cables, as shown right.
- Page 11 Maintenance guide WJ-HDE300 S-ATA conversion guide (32) Connect the S-ATA cables to the HDDs as shown right. Make sure that the connectors have been inserted com- for HDD4 for HDD2 pletely. S-ATA cable S-ATA cable (Gray) (Gray) for HDD1 for HDD3...
- Page 12 Maintenance guide WJ-HDE300 S-ATA conversion guide (36) Connect the connector to the front panel and fix the front panel with two screws in the reverse order of the removal. (37) Attach the S-ATA label, large (for top) to the top panel.


