D-Link DAP-3712 User Manual
20 km long range 802.11ac wireless bridge
Hide thumbs
Also See for DAP-3712:
- Quick installation manual (9 pages) ,
- Quick installation manual (8 pages)

Related Manuals for D-Link DAP-3712


Summary of Contents for D-Link DAP-3712
- Page 1 Version 1.00 | 12/11/2020 User Manual 20 km Long Range 802.11ac Wireless Bridge DAP-3712...
-
Page 2: Table Of Contents
Powering the Access Point ..........12 Configuring the First DAP-3712 in Access Point Technical Specifications ..........49 Mode ..................12 Configuring the Second DAP-3712 in Client Mode 14 Mounting the Device ............15 Mounting on a Pole ............15 Configuration ..............17 Factory Default Setting ............17 Web-based Configuration ............18... -
Page 3: Product Overview
Section 1 - Product Overview Package Contents DAP-3712 20 km Long Range 802.11ac Wireless Bridge Power Injector Power cord Mounting tie Quick Start Guide D-Link DAP-3712 User Manual... -
Page 4: System Requirements
Section 1 - Product Overview System Requirements Computer with the following: • Microsoft Windows®, Apple Mac OS, or a Linux-based operating system Web-based Configuration Requirements Browser Requirements: • Microsoft Edge, Firefox 60.0, Safari ,or Chrome 68.0.3440.106 D-Link DAP-3712 User Manual... -
Page 5: Introduction
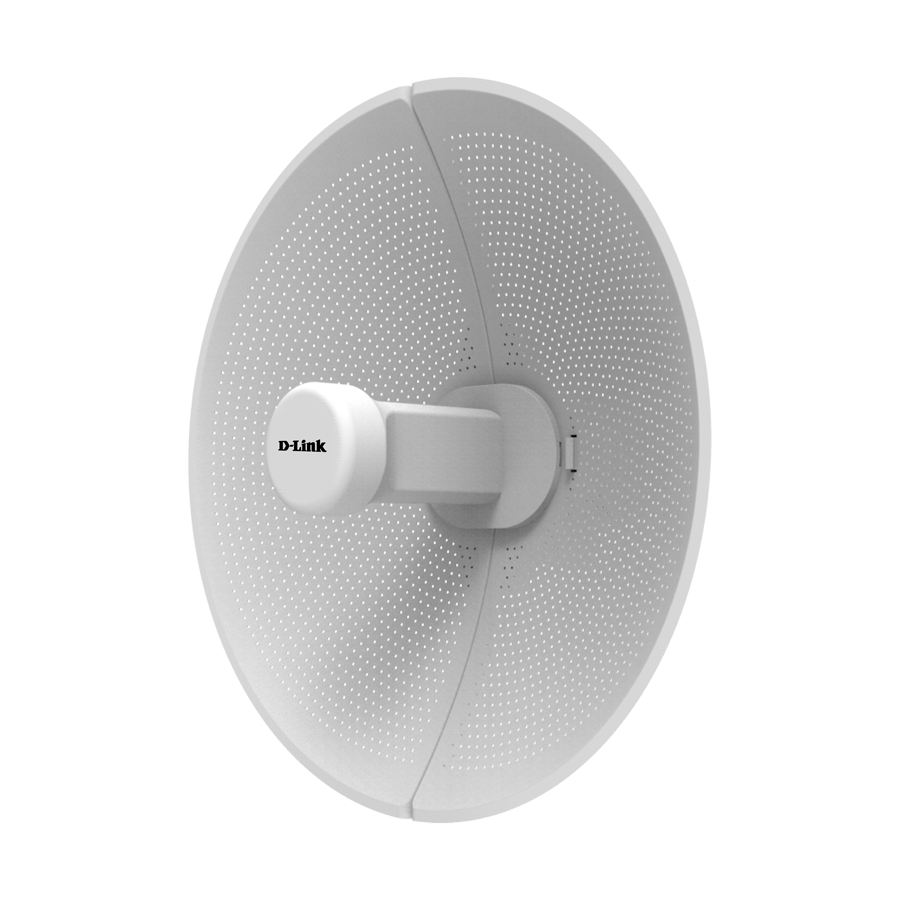
Introduction The DAP-3712 is a high-performance 802.11ac 2T2R outdoor-deployable wireless bridge that provides wireless connectivity to multiple network locations. The DAP-3712 has a built-in 23 dBi dish antenna that can deliver connectivity at a distance of up to 20 km. -
Page 6: Features
• Unique RF and antenna design enable long-range transmission • Wireless multimedia optimization technology guarantees video/audio transmission QoS • User-friendly web-based UI makes the installation and setup processes much easier • Reliable PoE+ 802.3at standard power input • Waterproof housing and protection from weather D-Link DAP-3712 User Manual... -
Page 7: Hardware Overview
Hardware Overview Connection Uses a standard Ethernet cable to connect the device to a PoE power source such as a PoE PoE Port switch or PoE injector. Reset Button Resets the device to its factory settings. D-Link DAP-3712 User Manual... -
Page 8: Led Indicators
Section 1 - Product Overview Hardware Overview LED Indicators Signal strength indicators. One light indicates a weak signal. Two lights indicate a medium Signal Strength signal. Three lights indicate a strong signal. D-Link DAP-3712 User Manual... -
Page 9: Installation
Section 2 - Installation Installation Assembling the Access Point 1. Assemble the dish of the DAP-3712 by sliding the two halves together until they lock in place. 2. Connect the antenna and base through the hole in the center of the dish. - Page 10 Section 2 - Installation 3. Thread a standard RJ-45 Ethernet cable through the cover for the PoE port on the underside of the DAP-3712. Insert the cable into the PoE port, then attach the cover to the device. 4. Connect the adjustment kit to the base of the DAP-3712 by pressing it in until it clicks and locks in place.
-
Page 11: Preparation Before Installation
It may be helpful to use a Graphic Information System (GIS) program such as Google Earth to check for obstructions between the two sites. If there is an obstruction, it may help to install the DAP-3712 as high as possible to prevent the signal from being blocked. -
Page 12: Powering The Access Point
Cable Requirements Use a CAT 5 cable with an even sheath. The Ethernet ports on the DAP-3712 access point cannot accept a CAT 5 cable that has an uneven sheath; the RJ-45 connector on the cable will not fit properly into the receptacle on the access point. - Page 13 Section 2 - Installation 4. Log in to the administration user interface. The default login information is: Username: admin Password: admin 5. Follow the Setup Wizard’s instructions to configure the device in Access Point Mode. D-Link DAP-3712 User Manual...
-
Page 14: Configuring The Second Dap-3712 In Client Mode
Launch the Setup Wizard to configure the device in Client Mode. 2. To avoid an IP address conflict, change the IPv4 address so that it is different from the first DAP-3712’s IP address (for instance, by changing it to 192.168.0.51, as in the following screenshot). -
Page 15: Mounting The Device
Section 2 - Installation Mounting the Device If you plan to install the DAP-3712 on a pole, orient the front of the device (the dish and antenna) toward the intended coverage area. The antenna only transmits data in the direction it is pointed. Be sure to install the device at a height that ensures that the alignment between the devices is visible and there are no obstructions in the middle. - Page 16 Section 2 - Installation Once completed, your network will resemble the following Client mode AP mode diagram. DAP-3712 DAP-3712 PoE injector PoE injector Switch Switch D-Link DAP-3712 User Manual...
-
Page 17: Configuration
Section 3 - Configuration Configuration This section will show you how to configure your New D-Link DAP-3712 using the web-based configuration utility. Factory Default Setting The following table shows the DAP-3712’s default settings. Features Factory Default Setting Username admin Password... -
Page 18: Web-Based Configuration
Section 3 - Configuration Web-based Configuration To log in the DAP-3712 web interface, you will need to configure your computer’s TCP/IP settings: 1. Right-click the Local Area Connection icon on your computer and click Properties, then click Continue. The Local Area Connection Properties dialog box will appear, as seen below. - Page 19 3. In the above figure, the IP address should be set to 192.168.0.*. Here, * can be any number between 1-255 (but not 50, since the DAP-3712’s default IP address is 192.168.0.50). D-Link DAP-3712 User Manual...
-
Page 20: Wizard
Wizard When you log into the DAP-3712 for the first time, the Wizard page will automatic pop-up. You can also click Wizard in the top right corner. To configure the device, follow these steps:... - Page 21 The default password is admin. 2. Country On the next screen, select your country. 3. Network You can change the IP address of the DAP-3712. The default IP is 192.168.0.50. Click Next to advance to the next page. D-Link DAP-3712 User Manual...
- Page 22 There are four wireless modes: Access Point, Client, Access Point (WDS), and Client (WDS). To use a point-to-point or point-to-multipoint connection, you need to configure the primary DAP-3712 in Access Point or Access Point (WDS) mode and the other DAP-3712s in Client mode or Client (WDS) mode.
-
Page 23: Basic Settings
This section will introduce how to navigate the Basic Settings page. On this page, there are Five tabs: Wireless, Network, QoS, Service, and System. After making changes, click Save to apply them. Wireless In the Wireless tab, you can configure the DAP-3712’s Wi-Fi and radio settings. Wireless Toggle the button to enable or disable Wi-Fi. Settings:... - Page 24 In this section, users can set up basic and advanced Wi-Fi and radio settings. Basic Settings Country Code: Use this to select the country where the DAP-3712 is installed. Channel Width: Use this to change the AP’s channel width. The default is 80 MHz.
- Page 25 TDMA+: To use TDMA, you will need to enable TDMA mode in both DAP-3712 units. TDMA can prevent 802.11 hidden node issues. When setting up PTMP, enabling TDMA+ is recommended. The TDMA+ function can only work between two DAP-3712 units.
- Page 26 Section 3 - Configuration Wireless Interface Settings In this section, you can change the settings for the DAP-3712’s Wi-Fi operation mode, SSID, encryption, and site survey. Scan Signal: When you click Scan Signal, the device will conduct a site survey to find the SSIDs that the DAP-3712 can detect.
- Page 27 Section 3 - Configuration Edit Click this to change the DAP-3712’s operation mode, encryption and key. The following page will pop up: SSID: To set the SSID which the DAP-3712 will broadcast when it operates in Access Point or Access Point...
- Page 28 Section 3 - Configuration Client When you enable this function, the clients which Isolation: are connected to the DAP-3712 will not be able to communicate with each other. Speed Limit: When you enable this function, you will be able to set up a maximum upload/download speed for each client.
-
Page 29: Network
Section 3 - Configuration Network In the Network tab, you can set up the DAP-3712’s network mode and IP address. Network Mode: Select either Bridge Mode or Router Mode. Bridge Mode: In this mode, the DAP-3712’s LAN Port and Wi-Fi will bridge together. - Page 30 In this section, you can configure settings such Settings: as static routes. In general, users will not need to configure anything in this section. Bridge This displays and controls the DAP-3712’s bridge Interface policy. Setting: VLAN: This displays the DAP-3712 VLAN ID tag.
-
Page 31: Qos
Firewall Default Policy Accept: Only accept the devices listed in IP Filter Settings and MAC Filter Settings. Deny: Deny the devices listed in IP Filter Settings and MAC Filter Settings. D-Link DAP-3712 User Manual... - Page 32 Section 3 - Configuration IP Filter Click Add to add a new IP address to allow or deny. Settings: MAC Filter Click Add to add a new MAC address to accept or Settings: deny. D-Link DAP-3712 User Manual...
- Page 33 For WMM to be enabled, the wireless client must support it as well. QoS Priority: Use this setting to set the QoS settings on the LAN port. D-Link DAP-3712 User Manual...
-
Page 34: Service
If Manual is selected, you can change the time, Type: or click Synchronize to sync the DAP-3712’s time with user’s PC. If NTP is selected, the DAP-3712 will sync with a dedicated NTP server. Internet access is required if this setting is enabled. Time Restart:... - Page 35 IP address of the AP that the client is connecting to). If it is unable to ping using the settings that you entered, the DAP-3712 will automatically reboot. It is highly recommended that you enable this feature when using Access Point / Access Point (WDS) Mode.
- Page 36 Section 3 - Configuration LED1, LED2, and LED3 light up to indicate the Configuration: DAP-3712’s signal strength. The default ranges are: LED1: -95 dBm to -71 dBm LED2: -71 dBm to -56 dBm LED3: -56 dBm and above When the signal strength is within LED1’s range, only LED1 will light up.
-
Page 37: System
Click the Reset button to restore the device to the Factory factory default settings. Settings: Reboot: Click the button to reboot the DAP-3712. Firmware Click the Browse button and choose a firmware Update: file, then click the Update button to upgrade the firmware to the latest version. - Page 38 Read Only account. Modify User Use this to change the admin account’s password Account: Read-Only Use this to enable a Read Only guest account Account: Change Read- Use this to change the guest account’s password Only Account: D-Link DAP-3712 User Manual...
-
Page 39: Status
The length of time that the device has been powered on Time: The current time Network: This displays the DAP-3712’s network status Network Mode: This indicates whether the device is in Router Mode or Bridge Mode IP Protocol: This indicates whether the device is configured... - Page 40 Displays the current noise floor value. In order to achieve the best results, a value of less than -95dBm is recommended Transmit Displays the DAP-3712’s current Wi-Fi power Power: output Station This will list all of the client devices which are List Info: connected to the DAP-3712.
-
Page 41: Statistics
Section 3 - Configuration Statistics There are two subsections: Interface Statics and Throughput. Interface Displays the DAP-3712’s traffic Statics: Throughput: Displays the current Ethernet and wireless traffic D-Link DAP-3712 User Manual... -
Page 42: Network
Section 3 - Configuration Network In this tab, you can see the current IPv4 route table, APR table and bridge table. D-Link DAP-3712 User Manual... -
Page 43: Syslog Info
Section 3 - Configuration Syslog Info This tab shows the current syslog. Click the Clear button to clear the log. D-Link DAP-3712 User Manual... -
Page 44: Tools
Section 3 - Configuration Tools The DAP-3712 has many useful tools built in to help you manage the device and your network. These tools include Ping IP, Traceroute, Link Test, Antenna Alignment and Spectrum Analyzer. Ping IP You can type in an IP address and check the ping result. -
Page 45: Traceroute
Section 3 - Configuration Traceroute This allows the user to traceroute an IP address. IP Address: Enter the IP address to traceroute D-Link DAP-3712 User Manual... -
Page 46: Link Test
Link Test The DAP-3712 has a built-in Iperf function. Users can configure the DAP-3712 in Iperf Server Mode. Then the Iperf client can connect to the Iperf server to verify the speed between the two links. In client mode, you can assign an Iperf server IP address to check the speed between the two links. -
Page 47: Antenna Alignment
Section 3 - Configuration Antenna Alignment When you select this, the DAP-3712 will recalibrate its signal strength. You can check which angle has the best antenna alignment when you install the DAP-3712. D-Link DAP-3712 User Manual... -
Page 48: Spectrum Analyzer
Section 3 - Configuration Spectrum Analyzer You can use the Spectrum Analyzer to scan for the best channels. When performing the scan, the DAP-3712 Wi-Fi may disconnect. Spectrum Enter the frequency range to conduct spectrum Analysis analysis on. It will take a few seconds to finish the Range: scan. -
Page 49: Technical Specifications
Range will vary depending on country’s maximum transmit power output regulation. Maximum wireless signal rate derived from IEEE Standard 802.11g and 802.11n specifications. Actual data throughput will vary. Network conditions and environmental factors, including volume of network traffic, building materials and construction, and network overhead, lower actual data throughput rate. Environmental conditions will adversely affect wireless signal range. D-Link DAP-3712 User Manual... - Page 50 Web-based upgrade Power Input PoE+ 48 V Power Consumption ≤ 15 W Operating Temperature -40ºC to 65ºC Storage Temperature -40ºC to 85ºC Operating Humidity 0% to 90% Storage Humidity 0% to 90% Weight 900 g (2.0 lbs) D-Link DAP-3712 User Manual...
- Page 51 Trademarks: D-Link is a registered trademark of D-Link Corporation/D-Link Systems, Inc. Other trademarks or registered trademarks are the property of their respective owners. Copyright Statement: No part of this publication or documentation accompanying this product may be reproduced in any form or by any means or used to make any derivative such as translation, transformation, or adaptation without permission from D-Link Corporation/D-Link Systems, Inc., as stipulated by the...