NETGEAR GS105PE Installation Manual
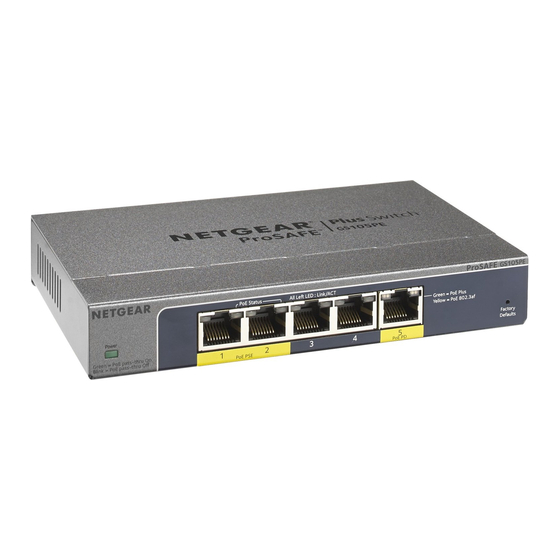
5-port gigabit ethernet pd-powered/poe pass-thru smart managed plus switch
Hide thumbs
Also See for GS105PE:
- Installation manual (2 pages) ,
- User manual (83 pages) ,
- Installation (2 pages)
Advertisement
Quick Links
Installation Guide
5-Port Gigabit Ethernet PD-Powered/PoE
Pass-thru Smart Managed Plus Switch
Model GS105PE
Package Contents
•
Switch model GS105PE
•
Wall mount kit
•
Installation guide
Ethernet cables not included.
1. Register With the NETGEAR Insight App
Use the NETGEAR Insight app to register your switch, activate your warranty, and
access support.
1. On your iOS or Android mobile device or tablet, visit the app store, search
for NETGEAR Insight, and download the latest version of the app.
2. Open the NETGEAR Insight app.
3. If you did not set up a NETGEAR account, tap Create NETGEAR Account and
follow the onscreen instructions.
4. Enter the email address and password for your account and tap LOG IN.
5. Tap + in the upper right corner.
6. Enter the serial number located on the bottom of the switch, or use the
camera on your mobile device or tablet to scan the serial number bar code.
7. Tap Go.
8. Follow the onscreen instructions to add your switch to a network location.
The switch is registered and added to your account.
2. Connect the Switch
Sample Connections
GS105PE
switch
PoE switch
IP camera
Wireless AP
Desktop
3. Discover the IP Address of the Switch
An IP address is required to configure your switch. The switch gets an IP
address from a DHCP server (such as your router) by default. If your switch is not
connected to a DHCP server, use the default IP address: 192.168.0.239.
1. Connect your mobile device to the same WiFi network as the switch.
2. Make sure that the network connects to the Internet.
3. Launch the NETGEAR Insight app from your mobile device.
4. Log in to your account.
The current IP address of the switch displays.
4. Configure the Switch
We recommend that you use a web browser on a computer or tablet to configure
the switch.
Note:
If your computer is a Mac, use the NETGEAR Switch Discovery Tool, as
described on the other side of this document.
1. Open a web browser from a computer or tablet connected to the same
network as your switch.
You can use a WiFi or wired connection.
2. Enter the IP address of the switch.
Internet
3. Enter the password.
The default password is password. We recommend that you change the
password to a more secure password.
4. Click the Login button.
Router
Server
Advertisement

Related Manuals for NETGEAR GS105PE


Summary of Contents for NETGEAR GS105PE
- Page 1 2. Open the NETGEAR Insight app. The current IP address of the switch displays. Pass-thru Smart Managed Plus Switch 3. If you did not set up a NETGEAR account, tap Create NETGEAR Account and follow the onscreen instructions. 4. Configure the Switch Model GS105PE 4.
- Page 2 The GS105PE switch must receive power through its PD port from a PoE switch. The GS105PE switch can then pass a portion of that power through to PSE port 1 and PSE port 2. Depending on the power supplied to the PD port, up to 20W of PoE power can be supplied to the PSE ports (assuming the sourcing PoE device is IEEE 802.3at).