Hitachi CP-TW2503 Quick Start Manual
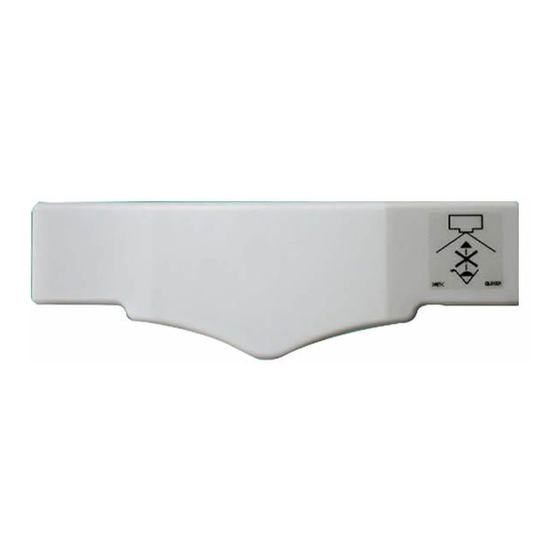
Ft-01 finger touch unit
Hide thumbs
Also See for CP-TW2503:
- User manual (148 pages) ,
- Quick start manual (2 pages) ,
- User manual (109 pages)
Advertisement
Quick Links
FT-01 Finger Touch Unit - Quick Start Guide
Models CP-TW2503 and CP-TW3003
Getting Started: Installation and Configuration
Please read pages 12-16 in the FT-01 User's Manual for complete installation instructions
U-Pointer software should be installed on computer before Finger Touch Unit is used
This device can only be used with Hitachi LCD projectors. It cannot be used with
other projectors or for floor-mounted installation.
INSTALLATION:
• Use one of three ways to attach/secure the
finger touch unit:
— Use four strips of double sided tape (A) on
flat, smooth surfaces
— Using magnetic sheet (B), affix three strips.
Secure on a fixed location i.e. metal
— Using two screws (C)
* Always use screws when installing at heights
of more than 6.5' or 2m
• Use a Phillips-head screwdriver to remove the
cover
• Use the USB cable to connect the Finger
Touch to the Projector option port
USB cable
Projector's Ports
The unit must be mounted 2"- 4" above the
projected image, also allow 2" between the
projected image and the screen frame. You may
need to shrink your image. The image needs to be
between 60"- 80" diagonal.
CONFIGURATION:
1. Press the IWB button on the remote control to change to
WITH PC mode.
The adjustment procedure using a Windows PC
is shown. If using a Mac PC, perform the same
procedure by referring to the U-Pointer manual
loaded in the DVD drive.
Double-sided tape (A)
Red side
Pull out so that
3M is visible.
Option port
Magnetic sheet (B)
or
2 Click the U-Pointer icon in the task tray of the
computer and select configuration
Fixing screws (C)
or
Advertisement

Related Manuals for Hitachi CP-TW2503


Summary of Contents for Hitachi CP-TW2503
- Page 1 Please read pages 12-16 in the FT-01 User’s Manual for complete installation instructions U-Pointer software should be installed on computer before Finger Touch Unit is used This device can only be used with Hitachi LCD projectors. It cannot be used with other projectors or for floor-mounted installation.
- Page 2 Getting Started: Installation and Configuration (continued) U-POINTER CONFIGURATION: approx. 8mm 1. Set U-Pointer configuration as shown below 5. Turn the adjusting knob until the reflection line appears on the screen. 2. Once the confirmation screen is displayed, click [Finish] 6. Turn the adjusting knob clockwise until the reflection line is horizontal.
- Page 3 - Advanced annotation, drawing & multi-media interactive software. For use WITH PC mode. StarBoard Software - Advanced Interactive software that comes complimentary with your Hitachi projector. There is no yearly subscription fee associated with the use of this software.
- Page 4 “Finger touch mode” at the U-pointer’s menu on the PC. We are here to help! 800-HITACHI was established to give our U.S. customers easier access to Hitachi products and service information.