Table of Contents
Advertisement
INSTALLATION INSTRUCTIONS
(
)
ORIgINAL INSTRUCTIONS
C
W
ommerCial
asher
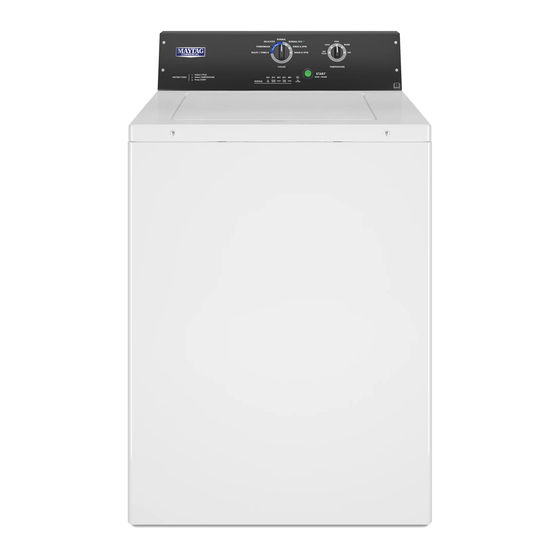
Model maT20mNBKW
IMPORTANT SAF
WARNING:
To reduce the risk of re, electric shock, or i
precautions, including the following:
W11295172C
www.maytagcommerciallaundry.com
Read all instructions before using the dryer.
Keep a minimum clearance of 100 mm (4 in.) between the
rear of the dryer and any wall.
The operation of this appliance may affect the operation o
Advertisement
Table of Contents

Related Manuals for Maytag MAT20MNBKW


Summary of Contents for Maytag MAT20MNBKW
- Page 1 INSTALLATION INSTRUCTIONS ORIgINAL INSTRUCTIONS ommerCial asher Model maT20mNBKW IMPORTANT SAF WARNING: To reduce the risk of re, electric shock, or i precautions, including the following: W11295172C www.maytagcommerciallaundry.com Read all instructions before using the dryer. Keep a minimum clearance of 100 mm (4 in.) between the rear of the dryer and any wall.
-
Page 2: Table Of Contents
General Use Instructions ............3 Typical Full Load Sizes ............4 Transporting Your Washer ............5 If You Need Assistance or Service ......... 5 FOR MAYTAG AUTHORIZED SERVICE PERSONNEL ONLY Tools & Parts ................7 Alternate Parts & Accessories ..........7 Dimensions ................8 Location Requirements ............ -
Page 3: Washer Safety
WASHER SAFETY IMPORTANT SAFETY INSTRUCTIONS IMPORTANT SAFETY INSTRUCTIONS WARNING: To reduce the risk of fire, electric shock, or injury to persons when using the washer, WARNING: To reduce the risk of re, electric shock, or injury to persons when using the dryer, follow basic follow basic precautions, including the following: precautions, including the following: Read all instructions before using the... -
Page 4: Typical Full Load Sizes
IEC capacity: 7.7 kg. children. Washer installation and service must be Before the washer is removed from service performed by a Maytag authorized service or discarded, remove the door or lid. person. Do not reach into the washer if the basket, Do not use an extension cord or an electrical tub, or agitator is moving. -
Page 5: Transporting Your Washer
You will need the washer model number and serial number. Both numbers can be found on the serial-rating plate located LIMITED WARRANTY on the washer. IF YOU NEED SERVICE: Contact your authorized Maytag Commercial Laundry distributor. To locate your authorized Maytag Commercial Laundry distributor, visit www.maytagcommerciallaundry.com For written correspondence:... - Page 6 INSTALLATION INSTRUCTIONS fOR mAyTAg AUThORIzed SeRvICe peRSON ONLy ORIgINAL INSTRUCTIONS ommerCial asher Model maT20mNBKW...
-
Page 7: For Maytag Authorized Service Personnel Only Tools & Parts
FOR MAYTAG AUTHORIZED SERVICE PERSONNEL ONLY TOOLS & PARTS Tools Needed: Level Pliers Utility Knife 9/16" Open-End Wrench Flat-Blade Screwdriver or Adjustable Wrench Optional tools: Flashlight Bucket Parts Supplied: Drain Hose with Clamp, Water Inlet Hoses (2) Inlet Hose Washers (4) U-Form, and Cable Tie ALTERNATE PARTS &... -
Page 8: Dimensions
DIMENSIONS Front View Side View 686 mm 686 mm (27") (27") Non-coin-operated models: 159 mm (6 ⁄ ") 1.080 m 921 mm ") ") 25 mm 25mm 25 mm (1") (1") (1") Back View Non-coin-operated models 406 mm (16") 267 mm ") 140 mm ") -
Page 9: Location Requirements
LOCATION REQUIREMENTS Selecting the proper location for your washer improves Recessed Area or Closet Installation performance and minimizes noise and possible washer “walk.” This washer may be installed in a recessed area or closet. Your washer can be installed in a basement, laundry room, The installation dimensions shown are the minimum spaces or recessed area. -
Page 10: Installation Instructions
INSTALLATION INSTRUCTIONS LEVEL WASHER IMPORTANT: Level washer properly to reduce excess noise WARNING and vibration. WARNING Excessive Weight Hazard Use two or more people to move and install washer. Excessive Weight Hazard Failure to do so can result in back or other injury. Use two or more people to move and install washer. -
Page 11: Connect Drain Hose
CONNECT DRAIN HOSE Proper routing of the drain hose avoids damage to your floor 5. Place hose into standpipe (As shown in figure below) or over due to water leakage. side of laundry tub. Remove drain hose from the washer basket IMPORTANT: 1. -
Page 12: Drain System
DRAIN SYSTEM Floor drain system Drain system can be installed using a floor drain, wall standpipe, floor standpipe, or laundry tub. Select method you need. Floor standpipe drain system 710 mm (28") 990 mm (39") 203 mm (8") Floor drain system requires a Siphon Break Kit (Part Number 285320). -
Page 13: Connect Inlet Hoses
CONNECT INLET HOSES Connect Inlet Hoses to Washer Insert new hose washers (supplied) into each end of the inlet hoses. Firmly seat the washers in the couplings. 1. Attach cold water hose to cold water inlet valve marked with NOTE: Use new hoses supplied with the washer. Do not reuse a blue ring. -
Page 14: Electrical Requirements
If the supply cord is damaged, the appliance must be replaced by the manufacturer, its service agent, or a qualified person to avoid a hazard. IMPORTANT: Washer installation and service must be performed by a Maytag authorized service person. -
Page 15: Complete Installation
COMPLETE INSTALLATION Check electrical requirements. Be sure that you have the WARNING correct electrical supply and the recommended earthing method. See “Electrical Requirements.” Check that all parts are now installed. If there is an extra part, go back through the steps to see which step was skipped. Check that you have all of your tools. -
Page 16: Warranty
DISCLAIMER OF REPRESENTATIONS OUTSIDE OF WARRANTY Maytag makes no representations about the quality, durability, or need for service or repair of this major appliance other than the representations contained in this Warranty. If you want a longer or more comprehensive warranty than the limited warranty that comes with this major appliance, you should ask your retailer about buying an extended warranty.