Advertisement
Advertisement
Table of Contents

Related Manuals for JVC AV-08NT310

Summary of Contents for JVC AV-08NT310
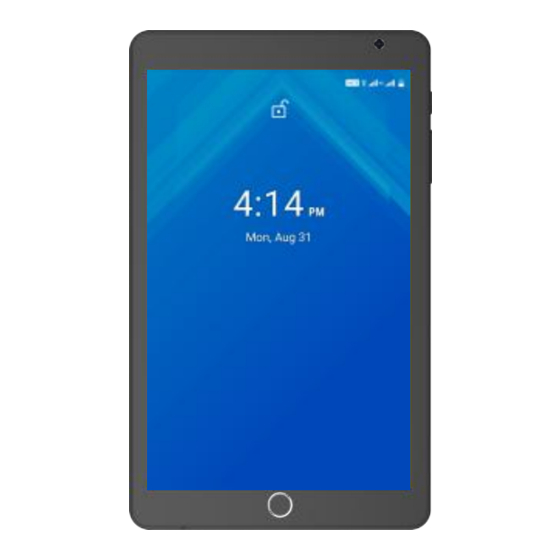
- Page 1 8’’ 4G + WIFI TABLET AV-08NT310 User Manual...
-
Page 2: Important Safeguards
Important Safeguards Do not use the tablet in exceptionally cold or hot, dusty, damp or dry environments. Avoid dropping this device as there is a high risk that you will damage the screen and other fragile components. Please charge your battery when: The battery power icon shows that battery is low;... - Page 3 - Tablet in the indicated colour - Mains adaptor + USB charging cable - User manual + Warranty card Rear camera Front camera Earphone Power On/OFF Rear Speaker volume AV-08NT310 SN: 038786-100001 0920OLN11431 Home SIM Card 1 Slot SIM Card 2 Slot Memory Card Slot...
-
Page 4: Basic Operation
Basic Operation Power on Press and hold the Power button and the device will start up. Power off Press and hold the power button, choose "Power Off" to shut down. Sleep When the device is on, press the Power button quickly to shut down the display, it will then go into Sleep mode. - Page 5 supports the extension of the Micro SD card from 4GB to 64GB. Inserting and Removing the SIM cards and microSD card Inserting: Open the cover and place the SIM card and microSD card facing upwards (side with the words should face up). You might need to gently push the card into the socket for correct connection to the unit.
-
Page 6: Setting Up Your Tablet
Battery: This tablet has a built-in high capacity polymer battery. The run time depends on the volume, types of apps/files played, as well as the battery settings. To increase run time, you can adjust settings like 'user defined power off time' and 'display setup. Charging: To recharge, connect the microUSB end of the charging cable to the port on the tablet and the USB end to the provided Charger. - Page 7 Follow the on-screen instructions to select a language and a wireless network.
- Page 8 All Apps —Displays a list of All Apps installed. All apps Setting —Set the WLAN, BT, and Brightness etc. button moves back one step to the previous menu/page. button returns immediately to the main screen. button displays a menu of recently opened applications.
-
Page 9: Settings Menu
Please note: The appearance of the Home screen may vary. Google Search—allows you to type one or more keywords to search. Voice search—allows you to speak one or more keywords to search with the installed search app. Settings Menu he Settings Menu allows you to adjust Tablet cellphone System Configuration. To Change Settings: 1. - Page 10 • Wi-Fi – Connect to/disconnect from wireless networks, view connection status. • Bluetooth – Connect or disconnect Bluetooth devices. • Display – Adjust display settings. • Prompt & Notifications – Adjust different notification settings. • Audio Profiles – Adjust the different audio settings such as ringtones. •...
- Page 11 • Accounts – Add or remove email and Google™ accounts such as Gmail™, Google. • Google – Location, security, Ads, Nearby, Set up nearby device. • Language and input – add to the dictionary, edit on-screen keyboard settings, vocal search, etc. •...
-
Page 12: Home Screen
Home Screen • To add an App or a Widget to the Home screen, touch the Apps tab or the Widgets tab, then tap and hold an App or Widget until it is added to the Home screen. • To remove an App or Widget from the Home screen, drag it to the X at the top of the screen. - Page 13 Notification—Swipe down from the top of the screen to see your notifications. Data Back Up It is strongly recommended that you periodically back up your personal data and media on your tablet to another computer, a dedicated storage device, or to the cloud using one of several commercially available solutions.
- Page 14 Calls and Messages To make a call, touch the "Phone" icon on the home screen or in applica�on menu. Now insert the phone number or select from contacts as desired. Press "Handset" on the bo�om and select which SIM card you wish to use. To send a message, choose the "Message"...
- Page 15 Problems with e-mailsetup: • Make sure the device is connected to a Wi-Fi network and that this network can be connected to the Internet. • Make sure all the data for the e-mail account is correctly inserted in the applica�on. •...
- Page 16 11. Ne�lix APP: • Important No�ce: For the Ne�lix App please follow the steps below: Install the Ne�lix App from Google Play Store and open it. Create an account to access the App. This may prompt you to update Google Play Service – please update when requested.
- Page 17 12 . You Tube Go APP: • Important No�ce: An Enlarge Bu�on is located on the bo�om right hand corner of a video. Enlarge Bu�on...
- Page 18 2) Press the enlarge bu�on , the picture will automa�cally rotate, and go to landscape mode.
- Page 19 13. Techni cal Specifica�ons Android 10.0 Quad Core Spreadtrum SC9832E, 1.4GHz Display 8'', 1280 x 800 px RAM Memory 1GB DDR3 Memory 8 GB (Total Buil�n) Speaker Web Camera Front: 0.3 MP; Back 2.0MP Ports Micro USB, Micro SD (supports up to 64 GB), Headphone Jack, 2x SIM Card Slots Wi-Fi 802.11 b/g/n...
- Page 20 Register your product at jvctv.com.au/warranty-registration...