Table of Contents
Advertisement
Available languages
Available languages
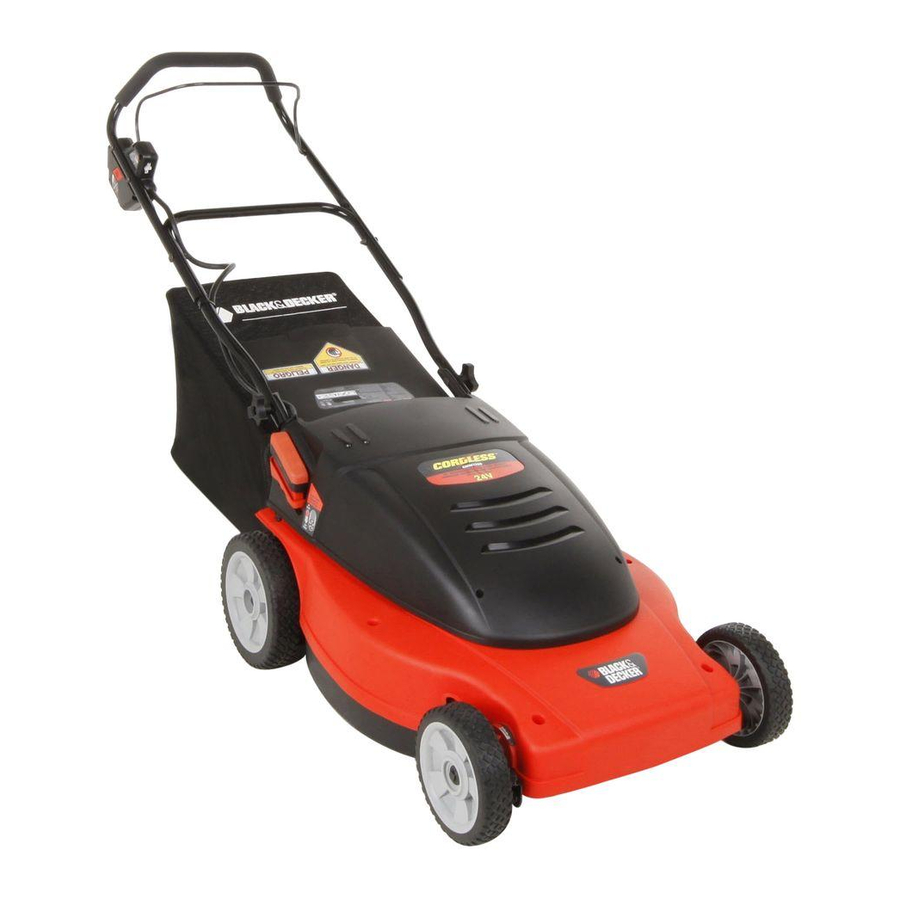
19" (483mm) Cordless Mulching
KEY INFORMATION YOU SHOULD KNOW:
• Do not operate mower unless handle is locked into position.
• For best cutting results, keep blade sharpened and balanced.
• Inspect and thoroughly clean your mower after each use (a deck with caked grass will degrade performance).
• Make sure mowing area is clear of other persons or pets prior to starting and during operation.
Cat No. CMM1200
Copyright © 2007 Black & Decker
Rear Bag Mower
INSTRUCTION MANUAL
CMM1200
SAVE THIS MANUAL FOR FUTURE REFERENCE
Form No. 90514757
JAN. '07
Printed in Mexico
Advertisement
Table of Contents

Related Manuals for Black & Decker 90514757


Summary of Contents for Black & Decker 90514757
-
Page 1: Instruction Manual
• Make sure mowing area is clear of other persons or pets prior to starting and during operation. Cat No. CMM1200 Copyright © 2007 Black & Decker Rear Bag Mower CMM1200 SAVE THIS MANUAL FOR FUTURE REFERENCE Form No. 90514757 JAN. ‘07 Printed in Mexico... - Page 2 HANK HANK & & LACK ECKER LACK ECKER LACKAND ECKER LACKAND ECKER REGISTER YOUR REGISTER YOUR BEFORE RETURNING THIS PRODUCT FOR ANY REASON PLEASE CALL 1-800-544-6986 BEFORE YOU CALL, HAVE THE CATALOG No. AND DATE CODE AVAILABLE. IN MOST CASES, A BLACK & DECKER REPRESENTATIVE CAN RESOLVE THE PROBLEM OVER THE PHONE.
- Page 3 3. Do not mow on wet grass or excessively steep slopes. Poor footing could cause a slip and fall accident. 4. Do not mow near drop-offs, ditches, or embankments. You could lose your footing or balance. CHILDREN Tragic accidents can occur if the operator is not alert to the presence of children.
-
Page 4: Handle/Wheel Height Adjustment
PREPARATION PLEASE REFER TO DIAGRAMS (A, B, C...) AND ITEM NUMBERS (1, 2, 3...) AS NOTED THROUGHOUT MANUAL. FOR EXAMPLE, A-1 REFERS TO ITEM 1 IN FIGURE A. UNPACKING Your mower has been completely assembled at the factory except for the grass bag. -
Page 5: Mower Descriptions
OPERATION PLEASE REFER TO DIAGRAMS (A, B, C...) AND ITEM NUMBERS (1, 2, 3...) AS NOTED THROUGHOUT MANUAL. FOR EXAMPLE, A-1 REFERS TO ITEM 1 IN FIGURE A. KNOW YOUR MOWER READ THIS INSTRUCTION MANUAL AND SAFETY RULES BEFORE OPERATING YOUR MOWER. See diagram G to familiarize yourself with the location of various controls and adjustments referenced below. -
Page 6: Preventing Corrosion
1. Slow down in areas where the grass is especially long or thick. 2. When mulching, avoid cutting more than 1-1/2 inches off the length at any one time. 3. Avoid mowing when the grass is wet from rain or dew-soaked. 4. -
Page 7: Off-Season Storage
immediately afterward as follows: (1) Release switch lever to turn mower off and remove safety key. (2) Wipe all exposed parts with a damp cloth. CAUTION: DO NOT POUR OR SPRAY WATER ON THE MOWER IN AN ATTEMPT TO CLEAN IT. Do not store the tool on or adjacent to fertilizers or chemicals. -
Page 8: Service Information
perform short cutting tasks, but we don’t recommend this be done frequently. The battery and mower perform much better if charged fully. SAVE THESE INSTRUCTIONS FOR FUTURE USE Service Information All Black & Decker Service Centers are staffed with trained personnel to provide customers with efficient and reliable power tool service. -
Page 9: Troubleshooting Guide
TROUBLE SHOOTING GUIDE PROBLEM Mower doesn’t run when switch lever is activated. Motor stops while mowing. Mower runs but cutting performance is unsatisfactory, or does not cut entire lawn. Mower is too hard to push. Mower is abnormally noisy and vibrates. NOTE Should the red light remain on after charging the battery for 24 hours on initial charge, the mower can still be used. -
Page 10: Operation Diagrams
GRASSBAG SAC À HERBE BOLSA PARA PASTO FRAME CADRE BASTIDOR CLIP PINCE PINZA... - Page 14 • S’assurer que la surface à tondre est à l’écart de toute personne ou animal de compagnie avant de démarrer la tondeuse et en cours d’utilisation. Cat. n o CMM1200 Copyright © 2006 Black & Decker FRANÇAIS GUIDE D’UTILISATION MODÈLE CMM1200 CONSERVER CE MANUEL POUR UN USAGE ULTÉRIEUR Form. n o 90514757 JAN. ‘07 Imprimé au Mexico...
- Page 15 ’ ’ ERCI VOIR CHOISI ERCI VOIR CHOISI ISITEZ ISITEZ LACKAND ECKER LACKAND ECKER POUR ENREGISTRER POUR ENREGISTRER PRODUIT PRODUIT AVANT DE RETOURNER CE PRODUIT POUR QUELQUE RAISON QUE CE SOIT, COMPOSER LE 1-800-544-6986 AVANT D’APPELER, AYEZ EN MAIN LE N° DE CATALOGUE ET LE CODE DE DATE. DANS LA PLUPART DES CAS, UN REPRÉSENTANT DE BLACK &...
- Page 16 18. L’utilisation de tout accessoire ou pièce non recommandés avec cette tondeuse s’avérer dangereuse. N’utiliser que les accessoires approuvés par Black & Decker. 19. Ne jamais trop tendre les bras en utilisant la tondeuse. Toujours s’assurer de conserver son équilibre à tout moment au cours de l’utilisation de la tondeuse.
- Page 17 • NE JAMAIS mettre d’écouteur de radio ou de musique pendant l’utilisation de la tondeuse. • ATTACHER les cheveux longs. • NE JAMAIS essayer d’ajuster la hauteur des roues avec le moteur en marche ou lorsque la clé de sûreté est engagée dans le contact. •...
- Page 18 inférieure à 5 °C (41 °F). 6. Tenir la tondeuse et le chargeur à l’écart de sources d’eau, de chaleur (comme les radiateurs, appareils de chauffage, cuisinières, etc.), des flammes ou de produits chimiques. Tenir le cordon du chargeur à l’écart de bords tranchants pour ne pas l’endommager. AVERTISSEMENT : RISQUE D’INCENDIE DÉBRANCHER SYSTÉMATIQUEMENT LE CHARGEUR DE LA SOURCE D’ALIMENTATION (PRISE MURALE) AVANT DE RETIRER...
-
Page 19: Entretien
INSTALLATION DE L’INSERT DE DÉCHIQUETAGE 1. Refaire les étapes 1 et 2 pour retirer l’insert de déchiquetage. 2. Faire coulisser l’insert de déchiquetage I-3 dans l’ouverture de la décharge jusqu’à ce qu’il repose bien contre le châssis. 3. Relâcher le panneau arrière et s’assurer qu’il est correctement fermé. -
Page 20: Quilibrage De La Lame
4. Enlever la cale métallique carrée de la lame O-2, l’isolant plastique carré de la lame O-3 et la lame O-4 comme indiqué à l’illustration O. Examiner les défauts de l’isolant de la lame et le remplacer si nécessaire. 5. Lors du remplacement d’une lame aiguisée ou neuve sur l’épaulement du ventilateur O-5, s’assurer que le «... - Page 21 AVERTISSEMENT : l’utilisation de tout accessoire non recommandé avec cet outil pourrait s’avérer dangereuse. p/n 242354-01 PROTECTEUR DE L’ÉJECTEUR p/n 242867-00 GOULOTTE À ÉJECTION LATÉRALE p/n 242501-05 COLLECTEUR D’HERBE DE RECHANGE MB-850 LAME DE RECHANGE VOICI QUELQUES CONSEILS PRATIQUES POUR OPTIMISER L’UTILISATION DE VOTRE TONDEUSE SANS FIL BLACK &...
-
Page 22: Guide De Dépannage
PROBLÈME La tondeuse refuse de démarrer lorsque la manette actionnée. Le moteur s’arrête en cours de coupe. La tondeuse fonctionne mais le rendement est insatisfaisant ou la tondeuse ne coupe pas toute la pelouse. Il est trop difficile de pousser la tondeuse. La tondeuse produit des sons anormaux et vibre. - Page 23 • Antes de comenzar la tarea, asegúrese de despejar el área de trabajo y no permita el ingreso de personas o mascotas. CONSERVE ESTE MANUAL PARA FUTURAS CONSULTAS Cat No. CMM1200 Copyright © 2006 Black & Decker CMM1200 Form No. 90514757 JAN. ‘07 Impreso en México...
-
Page 24: Normas De Seguridad: Definiciones
¡G ¡G RACIAS ELEGIR RACIAS ELEGIR LACKAND ECKER LACKAND ECKER REGISTRAR NUEVO REGISTRAR NUEVO ANTES DE DEVOLVER ESTE PRODUCTO POR CUALQUIER MOTIVO, LLAME AL (55)5326-7100 ANTES DE LLAMAR, TENGA EL NÚMERO DE CATÁLOGO Y EL CÓDIGO DE FECHA PREPARADOS. EN LA MAYORÍA DE LOS CASOS, UN REPRESENTANTE DE BLACK &... - Page 25 15. Si el sistema de impulsión está equipado, antes de arrancar el motor, destrábelo. 16. En caso de que durante el funcionamiento, la podadora comience a vibrar de manera anormal, suelte de inmediato la palanca del interruptor, espere que la hoja se detenga, retire la llave de seguridad y examine la máquina para detectar la causa de esa vibración.
- Page 26 PELIGRO: ADVERTENCIAS ADICIONALES PARA PODADORAS • Cuando opere la podadora, agarre SIEMPRE con firmeza el mango con ambas manos. • NUNCA escuche radio o use auriculares para escuchar música cuando opere la podadora. • RECOJA el cabello largo. • NUNCA intente realizar un ajuste de la altura de las ruedas con el motor en funcionamiento o con la llave de seguridad colocada en su alojamiento.
-
Page 27: Operación
la lluvia. No realice la carga en lugares húmedos. No cargue la podadora cuando la temperatura está por encima de 40 °C (104 °F) o por debajo de 5 °C (41 °F). 6. Mantenga la podadora y el cargador lejos del agua, fuentes de calor (como radiadores, calefactores, estufas, etc.), el fuego o agentes químicos. -
Page 28: Mantenimiento
suelte, volverá a la posición de cerrado. CÓMO INSTALAR LA PIEZA PARA MANTILLO 1. Repita los pasos 1 y 2 indicados para retirar la pieza. 2. Ahora deslice la pieza I-3 en la abertura de descarga hasta que se asiente en firme con la plataforma. 3. - Page 29 CÓMO EXTRAER E INSTALAR LA HOJA 1. Suelte la palanca del interruptor para apagar la podadora, ESPERE QUE SE DETENGA LA HOJA Y RETIRE LA LLAVE DE SEGURIDAD. 2. Corte un trozo de madera N-1de 2 x 4 [aproximadamente 61 cm (2’) de largo], este se utilizará...
- Page 30 Accesorios Los accesorios recomendados para usar con la podadora están disponibles en su distribuidor local o centro de mantenimiento autorizado. Si necesita asistencia en relación con los accesorios, llame al: 1-800-544-6986 ADVERTENCIA: El uso de accesorios no recomendados para utilizar con esta herramienta puede resultar peligroso. p/n 242354-01 INSERTO PARA DESBROZAR p/n 242867-00 CONDUCTO DE DESCARGA...
-
Page 31: Guía De Solución De Problemas
GUÍA DE SOLUCIÓN DE PROBLEMAS PROBLEMA La podadora no funciona cuando se acciona la palanca del interruptor. El motor se detiene mientras está cortando el césped. La podadora funciona, pero el rendimiento de corte no es satisfactorio o no corta el césped en su totalidad. - Page 32 Para reparación y servicio de sus herramientas eléctricas, favor de dirigirse al Centro de Servicio más cercano: CULIACAN, SIN QUERETARO, QRO Av. Nicolás Bravo #1063 Sur Av. Madero 139 Pte. (667) 7 12 42 11 (442) 214 1660 Col. Industrial Bravo Col.