Advertisement
Quick Links
INSTRUCTIONS
Honda Dealer: Please give a copy of these instructions to your customer.
PARTS LIST
(11)
(12)
(1)
(3)
(12)
(13)
(17)
(16)
(21)
No.
Description
(1)
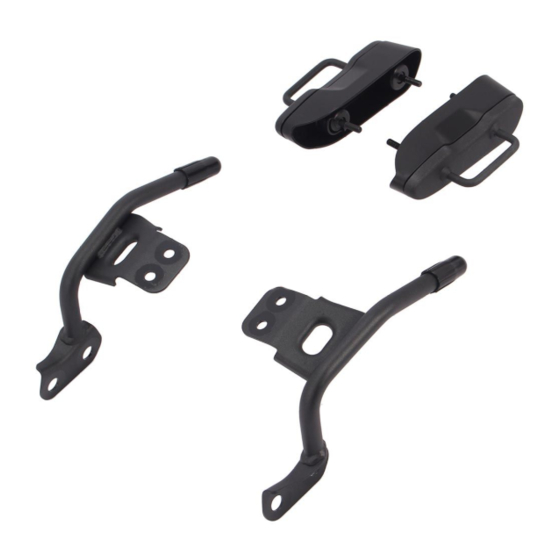
Right saddlebag hook
(2)
Left saddlebag hook
(3)
Right hook cover
(4)
Left hook cover
(5)
Collar A (I.D. 6.5 mm, Length 10 mm)
(6)
Collar B (I.D. 6.5 mm, Length 4.5 mm)
(7)
Saddlebag bracket
(8)
Collar C (I.D. 6.3 mm, Length 4.5 mm)
(9)
Collar D (I.D. 6.3 mm, Length 6.5 mm)
(10)
6 mm socket bolt
(11)
6 mm flange nut
(12)
6 mm washer
(13)
Right saddlebag support stay
(14)
Left saddlebag support stay
(15)
Rubber stop
(16)
8 mm socket bolt [Length 20mm] (short)
© 2016 American Honda Motor Co., Inc. - All Rights Reserved.
Accessory
SADDLEBAG SUPPORT STAY
P/N 08L71-MJJ-D30
(5)
(6)
(4)
(2)
(7)
(8)
(10)
(9)
(15)
(14)
(18)
(19)
(21)
(20)
(22)
(21)
Qty
1
1
1
1
4
4
2
2
2
4
4
8
1
1
2
2
Application
After '12
NC700X/XD, NC750X/XD
No.
(17)
8 mm socket bolt [Length 30 mm] (medium)
(18)
8 mm socket bolt [Length 33 mm] (long)
(19)
Collar E (I.D. 8.5 mm, Length 15.5 mm)
(20)
Collar F (I.D. 8.5 mm, Length 10.8 mm)
(21)
8 mm washer
(22)
Installation Instruction URL
REAR CARRIER
Sold separately
(1)
(3)
No.
(1)
Installation Instruction URL
(2)
Rear carrier
(3)
6 mm plug
(4)
Rubber cushion
(5)
8 mm socket bolt (Not used.)
(6)
8 mm flange nut (Not used.)
TOOLS REQUIRED
Hex wrench (4 and 5 mm)
Box-end wrench (10 mm)
Side cutters
File
Ruler
Torque wrench
1 of 3
Publication No.
MII 15736
Issue Date
March 2016
Description
(4)
(2)
(5)
(6)
Description
08L71-MJJ-D30
Qty
2
4
4
2
16
1
Qty
1
1
4
4
4
4
Advertisement

Summary of Contents for Honda 08L71-MJJ-D30
- Page 1 After ‘12 SADDLEBAG SUPPORT STAY NC700X/XD, NC750X/XD Issue Date P/N 08L71-MJJ-D30 INSTRUCTIONS March 2016 Honda Dealer: Please give a copy of these instructions to your customer. PARTS LIST Description (11) (17) 8 mm socket bolt [Length 30 mm] (medium) (18)
- Page 2 TORQUE CHART 3. Refer to the Service Manual for the motorcycle. Remove the drive chain case. Tighten all screws, bolts, and nuts to their specified torque values. Refer to the Service Manual for the torque values of the removed parts. Item N·m kgf·m...
- Page 3 5. Loosely install the left saddlebag stay as shown. Install the saddlebag bracket as shown. • Repeat on the right side. • Repeat on the right side. COLLAR E 6 mm SOCKET BOLT 8 mm WASHER COLLAR C 6 mm WASHER COLLAR D 8 mm WASHER 8 mm SOCKET...
