Table of Contents
Advertisement
Quick Links
Advertisement
Table of Contents

Related Manuals for Baumatic 34900409


Summary of Contents for Baumatic 34900409
- Page 1 34900409 BRCIF 3050 E...
-
Page 2: Table Of Contents
1 10 Congratulations on purchasing this fridge, which has been designed using the latest technologies for an easy-to-use, environmentally friendly appliance. We recommend you read this guide and the technical datasheet carefully to nd out everything you need to know about your new fridge. CONTENTS ............2--2 SAFETY INFORMATION... -
Page 3: Safety Information
Thank you for purchasing this product. Before using your refrigerato r, please carefully read this instruction manual in order to maximize its performance. Store all documentation for subsequent use or for other owners. This product is intended solely for household use or similar applications such as: - the kitchen area for personnel in shops, offi ces and other working environments - on farms, by clientele of hotels, motels and other environments of a residential type - at bed and breakfasts (B &... -
Page 4: Installation
Scrapping old appliance • The socket is earthed and in compliance with the law. • The socket can withstand the maximum power load of the appliance, as indicated on the nameplate of the refrigerator. • The power supply voltage is within the amounts indicated on the nameplate of the refrigerator. -
Page 5: Conservation
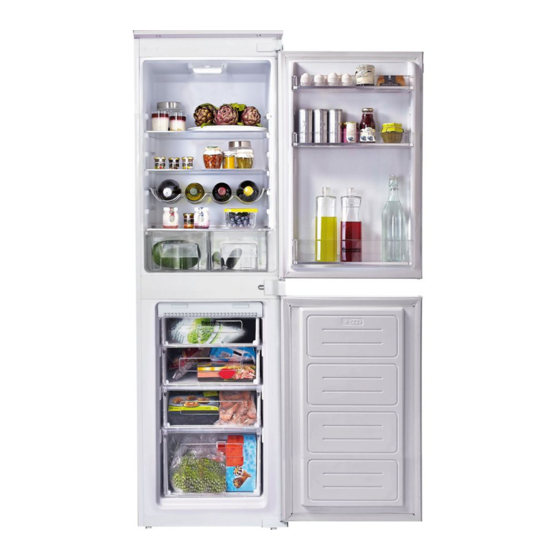
Temperature adjustment Freezer zone (no display) Use the table below for the compartments. Freezing process can only occur in the compartments. 2 - 3 MONTHS Fig. •The temperature adjustment of both compartments is effected by rotating 4 - 6 the thermostat knob (fi g.2 ). MONTHS Select the desired position: •... -
Page 6: Freezing
FRESH ZONE FREEZING • Foods must be fresh. • Freeze small amounts of food at a time in order to freeze quickly. Never exceed the maximum amount indicated on the rating label. • During freezing, do not open the freezer door. •... -
Page 7: Maintenance And Cleaning
IMPORTANT: Defrosting the freezer compartment To prevent cracking of the inside surfaces and plastic parts, follow (static products without NO-FROST technology) these suggestions: • Wipe away any food oils adhered to plastic components. • The internal parts, gaskets and external parts can be cleaned with a cloth When the layer of frost present in the freezer compartment exceeds with warm water and baking soda or a neutral soap. -
Page 8: Product And Aperture Dimensions
REVERSING THE OPENING OF THE DOORS Remove the upper plate and Remove the bottom door. Remove the middle hinge and its Remove the upper door. hinge by screw driver. connecting pin underneath . Remove the right bottom hinge Reassemble the doors and hinges Use the opposite hinge and cover and left plastic plugs, and refit workings from bottom to top, from 1-4. -
Page 9: Installation Of The Appliance In The Column
INSTALLATION OF THE APPLIANCE IN COLUMN Insert the appliance into the column, placing it After ensuring the match between appliance on the opposite site of the hinges, and make door and column door, then screw the sure 3-5 mm distance gap. appliance upper part to the cabinet Fit the seal to the appliance, cut off the Screw the appliance lower part... -
Page 10: Copling Of The Panels Of The Built-In Column Of The Appliance Doors
COUPLING OF THE PANELS OF THE PRECAUTIONS FOR CORRECT OPERATION BUILT-IN COLUMN OF THE APPLIANCE DOORS Once the product has been embedded, place the rear part of the column in contact with the wall so as to prevent access to the The appliance is equipped with coupling devices for the appliance compressor compartment. -
Page 11: Troubleshooting
TROUBLESHOOTING PROBLEM CAUSE REMEDY The inside illumination light bulb does not • Electricity absence. • The power cord is not properly plugged in. turn on. • Check whether the appliance is switched off. (see Temperature Adjustment). • Ensure that there is a current in the house. •... - Page 12 Part of the Hoover Group 11 Beacontree Plaza Gillette Way Reading RG2 0BS www.baumatic.co.uk Customer Care Telephone (0844) 692 3605 Spares Telephone (0844) 692 3606 10/2015...