Advertisement
Quick Links
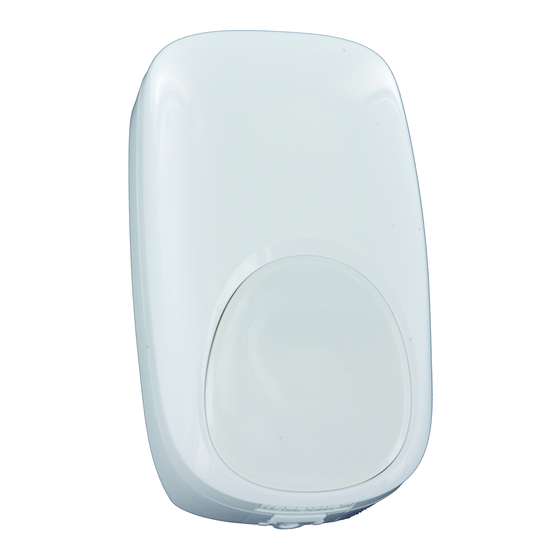
IS3016A Passive Infrared Motion Sensor with Anti-Mask - Installation Instructions
QUICK LINKS
Mounting Location Guidelines
Open the Sensor
Mount the Sensor
Sensor Components and Settings
Wire the Sensor
Mounting location guidelines:
• The maximum range is obtained at a mounting height
of 2.3m (7' 6").
• Allow a clear line-of-sight to all areas to protect.
• Avoid mounting anything within 30cm (12") in front of the sensor.
• Do not directly face windows.
• Avoid close proximity to moving machinery, fluorescent lights, and
heating/cooling sources.
• Not for use in applications with pets.
Wiring Examples
Walk Test the Sensor
Detection Patterns
Remote LED Enable
Relay Operation
Mask Condition
Troubleshooting
Sensor Specifications
Accessories
Approval Listings
[EN] = approved installation.
1. Turn the arrow to point to the Unlock symbol.
2. Press firmly on housing latch.
3. Gently separate the front and rear housing.
Advertisement

Summary of Contents for Honeywell IS3016A
- Page 1 IS3016A Passive Infrared Motion Sensor with Anti-Mask - Installation Instructions QUICK LINKS Mounting Location Guidelines Wiring Examples Mask Condition Open the Sensor Walk Test the Sensor Troubleshooting Mount the Sensor Detection Patterns Sensor Specifications Sensor Components and Settings Remote LED Enable...
- Page 2 • [A] = Wall mounting holes. • [B] = Corner mounting holes. • The rear tamper plate MUST be mounted to a stud, solid wood, or with a robust wall anchor. See wiring details and examples on page - 2 -...
-
Page 3: Wiring Details
WIRING DETAILS - Observe proper polarity. Notes: - If not using the integrated EOL resistors, set all switches to - Consult the Control Panel manual to determine proper OFF. EOL selection. - The Alarm, Tamper and Trouble/anti-mask EOL - If using the integrated EOL resistors: settings must each only have one switch ON. -
Page 4: Relay Operation
Flashlight Feature: 1. Use a flashlight with a bright light beam, and stand within 1.2 m (4’) of the sensor. 2. Swing past the lights beam across the sensor IR window 3-5 times, holding the beam on the window for 0.5 second each pass. The flashlight feature is only available for the first 24 hours after the first power up. -
Page 5: Specifications
CNPP Cert. : www.cnpp.com et Relative Humidity: 5 to 95%; non-condensing AFNOR Cert.: www.marque-nf.com Temperature Compensation: Advanced Dual Slope Honeywell Security Group - BP1219 1198 avenue du docteur Maurice Donat Dimensions: 11.6 cm H x 7.0 cm W x 4.3 cm D INCERT: B-893-0013 Sophia Antipolis 06254 Mougins Cedex. - Page 6 Please contact your local authorised Honeywell representative for product warranty information. 2013 Honeywell International Inc. Honeywell and DUAL TEC are registered trademarks of Honeywell International Inc. All other trademarks are the properties of their respective owners. All rights reserved. Made in China.


