Table of Contents
Advertisement
Quick Links
Advertisement
Table of Contents

Related Manuals for AEG HK764070FB


Summary of Contents for AEG HK764070FB
- Page 1 HK764070FB EN HOB USER MANUAL...
- Page 2 Please spend a few minutes reading to get the very best from it. ACCESSORIES AND CONSUMABLES In the AEG webshop, you’ll find everything you need to keep all your AEG appliances looking spotless and working perfectly. Along with a wide range of...
-
Page 3: Table Of Contents
Contents CONTENTS 4 Safety information 5 Installation instructions 7 Product description 8 Operating instructions 12 Helpful hints and tips 13 Care and cleaning 14 What to do if… 15 Environment concerns The following symbols are used in this user manual: Important information concerning your personal safety and information on how to avoid damaging the... -
Page 4: Safety Information
Safety information SAFETY INFORMATION For your safety and correct operation of the appliance, read this manual carefully before the installation and use. Always keep these instructions with the appliance also if you move or sell it. The users must fully know the operation and safety functions of the appli- ance. -
Page 5: Installation Instructions
INSTALLATION INSTRUCTIONS Before the installation , note down the serial number (Ser. Nr.) from the rating plate. The rating plate of the appliance is on its lower casing. HK764070FB 949 595 123 00 58 HDD 70 AO 220-240 V 50-60-Hz... - Page 6 Installation instructions • A qualified electrician must install the connections in the clamps correctly. • Use a strain relief clamp on cable. • Use the correct mains cable of type H05BB-F Tmax 90°C (or higher) for a single phase or two phase connection. •...
-
Page 7: Product Description
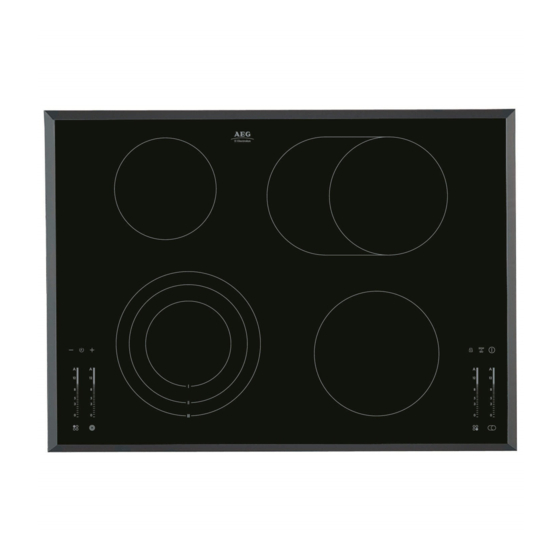
Product description If you use a protection box (the additional acces- sory), the protective floor directly below the ap- pliance is not necessary. PRODUCT DESCRIPTION General overview Cooking zone 1200 W Oval zone 1400/2200 W Control panel Cooking zone 1800 W 120/175/210 Triple cooking zone 800/1600/2300 W Control panel... -
Page 8: Operating Instructions
Operating instructions sensor field function Heat setting display It shows the heat setting. It activates the Automatic Heat Up function. It activates and deactivates the outer ring. It activates and deactivates the outer rings . Control bar To set the heat setting. It increases or decreases the time. -
Page 9: Automatic Switch Off
Operating instructions Automatic Switch Off The function deactivates the appliance automatically if: • All cooking zones are deactivated ( • You do not set the heat setting after you activate the appliance. • You spill something or put something on the control panel for more than 10 seconds, (a pan, a cloth, etc.). -
Page 10: Automatic Heat Up
Operating instructions Automatic Heat Up 9 10 11 12 13 14 TEM. You can get a necessary heat setting in a shorter time if you activate the Automatic Heat Up function. This function sets the highest heat setting for some time (see the illustra- tion), and then decreases to the necessary heat setting. -
Page 11: The Child Safety Device
Operating instructions • To change the Count Down Timer: set the cooking zone with touch • To deactivate the timer: set the cooking zone with . Touch . The remaining time counts back to . The indicator of the cooking zone goes out. To deactivate you can also touch at the same time. -
Page 12: Helpful Hints And Tips
Helpful hints and tips To override the child safety device for only one cooking time • Activate the appliance with . The symbol comes on. • Touch for 4 seconds. Set the heat setting in 10 seconds. You can operate the appli- ance. -
Page 13: Care And Cleaning
Care and cleaning Heat Use to: Time Hints setting Keep cooked foods warm as nec- Put a lid on a cookware. essary Hollandaise sauce, melt: butter, choco- 5-25 Mix from time to time. late, gelatine Solidify: fluffy omelettes, baked eggs 10-40 Cook with a lid on. -
Page 14: What To Do If
What to do if… To remove the dirt: 1. – Remove immediately: melted plastic, plastic foil, and food with sugar. If not, the dirt can cause damage to the appliance. Use a special scraper for the glass . Put the scraper on the glass surface at an acute angle and move the blade on the surface . –... -
Page 15: Environment Concerns
Environment concerns If you tried the above solutions and cannot repair the problem, speak to your dealer or the customer service. Give the data from the rating plate, three digit letter, code for the glass ceramic (it is in the corner of the glass surface) and an error message that comes on. Make sure, you operated the appliance correctly. - Page 16 892933290-A-062010...