Panasonic ES-LV9N Operating Instructions Manual
Hide thumbs
Also See for ES-LV9N:
- Operating instructions manual (72 pages) ,
- Operating instructions manual (410 pages)
Table of Contents
Advertisement
IM-B132-01
Contents
Safety precautions...........4
Intended use ............................8
Parts identification ..................9
Preparation.............................10
How to use .............................12
Cleaning thoroughly ..............15
foil and the inner blades .......16
liquid .......................................17
Thank you for purchasing this Panasonic product.
Before operating this unit, please read these instructions completely and save them for future use.
glows ......................................18
FAQ .........................................19
Troubleshooting ....................19
Battery life ..............................23
rechargeable battery .............23
Specifications ........................23
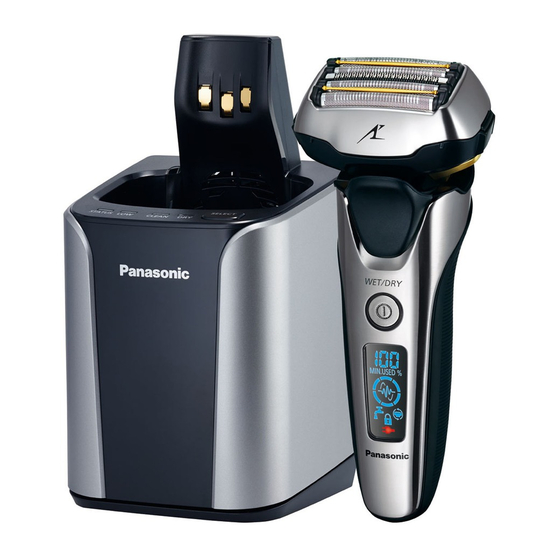
Operating Instructions
Rechargeable Shaver
(Household)
Model No.
ES-LV9N
Advertisement
Table of Contents

Related Manuals for Panasonic ES-LV9N


Summary of Contents for Panasonic ES-LV9N
-
Page 1: Table Of Contents
.....23 Replacing the system outer Specifications ......23 foil and the inner blades ..16 Replacing the cleaning liquid ........17 Thank you for purchasing this Panasonic product. Before operating this unit, please read these instructions completely and save them for future use. -
Page 2: Safety Precautions
Safety precautions WARNING To reduce the risk of injury, loss of life, electric shock, fire, and damage to property, always observe the following safety precautions. ►This product This shaver has a built-in rechargeable battery. Do Explanation of symbols not throw into fire, apply heat, or charge, use, or The following symbols are used to classify and describe the level leave in a high temperature environment. - Page 3 WARNING Do not use in a way exceeding the rating of the household outlet or the wiring. - Exceeding the rating by connecting too many plugs to one ►In case of an abnormality or malfunction household outlet may cause fire due to overheating. Immediately stop using and remove the adaptor if Do not use anything other than the supplied AC there is an abnormality or malfunction.
- Page 4 WARNING Do not forcefully press the system outer foil. Also, do not touch the system outer foil with fingers or nails when in use. If detergent or oil is consumed accidentally, do not Do not use this product for hair on head or any induce vomiting, drink a large amount of water and other part of the body.
- Page 5 Disposing of the rechargeable battery CAUTION DANGER Do not share your shaver with your family or other people. - Doing so may result in infection or inflammation. The rechargeable battery is exclusively for use with this appliance. Do not use the battery with other Do not drop or hit against other objects.
-
Page 6: Intended Use
► Notes • Treat yourself to wet lather shaves for at least three weeks and notice the difference. Your Panasonic WET/DRY shaver requires a little time to get used to because your skin and beard need about a month to adjust to any new shaving method. -
Page 7: Parts Identification
Parts identification Back A Main body f. -
Page 8: Preparation
Notes Preparation • When charging the shaver for the first time or when it has not been in use for more than 6 months, the charging time may Charging the shaver change or the charge status lamp ( ) may not glow for a few minutes. - Page 9 Cleaning can start right after the usage by preparing in advance. • To replace the cleaning liquid, see page 15. (See page 12.) • Only use self‑cleaning recharger detergent for Panasonic shavers. • Remove the AC adaptor from the self‑cleaning recharger. Not doing so may cause malfunction or failure.
-
Page 10: How To Use
How to use While using After use Shaving beard Press and shave. The used time and remaining The used time and remaining • The “shaving sensor”, which automatically battery capacity are shown and battery capacity blink adjusts the power depending on the beard then turn off after 7 seconds. -
Page 11: Using The Trimmer
►Switching the shaver head Locking/unlocking the power switch You can change the pivot action. Locking the power switch FREE FREE The shaver head is moved to prevent LOCK 1. Press once 2. Press for more 3. Release missed spot. and then release. than 2 seconds. - Page 12 Changing the mode of self-cleaning recharger Cleaning, drying, charging We recommend cleaning the shaver after each use. The “Charge” mode starts when attaching the shaver, and the mode can be changed by pressing the SELECT button. Insert the shaver into the self-cleaning recharger and Charge mode AUTO mode...
-
Page 13: Cleaning Thoroughly
Cleaning thoroughly Attach the outer foil section and dry with the self-cleaning Cleaning with water recharger. 1. Insert the shaver into the self‑ • Turn the shaver off and disconnect the AC adaptor. cleaning recharger and plug the Apply some hand soap and some adaptor into a household outlet. -
Page 14: Replacing The System Outer Foil And The Inner Blades
► Drying the shaver without the self-cleaning recharger Cleaning with the brush Dry in a shade and apply oil. Remove the outer foil section and the inner blades. (See page 15.) ► Cleaning with the long brush Clean the outer foil section, system outer foil, the shaver body Notes and the trimmer using the long... -
Page 15: Replacing The Cleaning Liquid
►Removing the outer foil section Replacing the cleaning liquid Press the foil frame release buttons and lift the If the STATUS lamp glows for 5 seconds when the SELECT button outer foil section upwards. is pressed, the cleaning liquid needs to be replaced. •... -
Page 16: When The Low/Status Lamp Glows
Notes When the LOW/STATUS lamp glows • The cleaning liquid will decrease every time it is used, but do not add detergent and water except when replacing the cleaning liquid. It notifies that the cleaning liquid is due for replacement when the Doing so may deteriorate the cleaning function. -
Page 17: Faq
This is due to the difference in the recharger’s lamps blink, contact the store where you purchased drying time. the unit or a service center authorized by Panasonic for repair. The drying time for the “Dry/ Why does “Dry/Charge” Charge” mode is set longer as mode take longer than ►Self-cleaning recharger... - Page 18 Problem Action Problem Action Do not insert any foreign objects Place the self‑cleaning recharger The cleaning liquid unit into the recharger. on a hard, flat surface. The blades crack or cannot be removed. (See page 9.) deform during cleaning. Replace the system outer foil and/ or inner blades.
- Page 19 Problem Action Problem Action During cleaning: Depending on the beard thickness The self‑cleaning recharger or the amount of beard trimmings makes a loud sound due to the in the shaver head, the shaving cleaning of the blades. sensor may not react and the After cleaning: driving sound may not change.
- Page 20 Problem Action Problem Action Apply oil. This can be improved by cleaning every time after shaving. Operating time is short When the number of operations Shavings fly out in all Clean the inner blades with the even after charging. per charge starts to decrease, the directions.
-
Page 21: Battery Life
• Perform steps 1 to 5 and lift the battery, and then remove it. Battery life • Take care not to short circuit the positive and negative terminals of the removed battery, and insulate the terminals by applying The life of the battery is 3 years. The battery in this shaver is not tape to them. - Page 22 MEMO...
- Page 23 MEMO...
- Page 24 Panasonic Corporation http://www.panasonic.com © Panasonic Corporation 2015 Printed in Japan F EN ES9700LV9N1H Y0915‑0...